Table of Contents
TLA5000 Series Service Manual
v
List of Figures
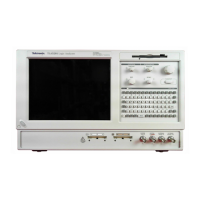
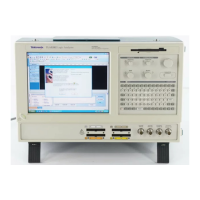
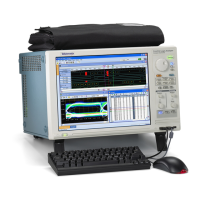
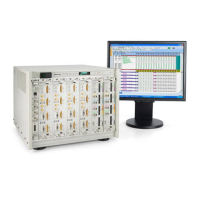
Figure i: TLA5000 series logic analyzers xviii.......................
Figure 2--1: Location of the ground connection 2--2.................
Figure 2--2: TLA5000 series accessory connections 2--3..............
Figure 2--3: Connecting the logic analyzer probes to the logic
analyzer 2--4..............................................
Figure 2--4: On/Standby and AC Power switch locations 2--5.........
Figure 2--5: Controls and connectors on the front pan el 2--7..........
Figure 4--1: Calibration/certification pr ocedur e flow chart 4--2.......
Figure 4--2: Performance verification software startup window 4--5....
Figure 4--3: TLACAL1 test fixture connections 4--12.................
Figure 4--4: Default Verification dialog box 4--13....................
Figure 4--5: Module+Probe timing procedure probe connections 4--16...
Figure 4--6: P6419 Setup & Hold procedure connections 4--18.........
Figure 4--7: Default Certification procedure dialog box 4--20..........
Figure 5--1: TLACAL2 test fixture connections 5--4.................
Figure 5--2: Performance verification software startup window 5--5....
Figure 5--3: Default Adjustment procedure dialog box 5--6...........
Figure 5--4: Deskew procedure probe connections 5--7...............
Figure 6--1: Trim and covers 6--9................................
Figure 6--2: Right-side cover removal 6--10.........................
Figure 6--3: Bottom cover removal 6--12............................
Figure 6--4: Memory board and battery location 6--13................
Figure 6--5: Locator diagram 6--14................................
Figure 6--6: Floppy disk drive removal 6--15........................
Figure 6--7: Flat panel display assembly removal 6--18..............
Figure 6--8: Display adapter board removal 6--19....................
Figure 6--9: Knob removal 6--20..................................
Figure 6--10: Front panel assembly removal 6--22....................
Figure 6--11: JR1 flex cable connector removal 6--23.................
Figure 6--12: Front panel board & keyboard removal 6--24............
Figure 6--13: Fan fastener removal 6--26...........................

 Loading...
