ECLIPSE 8/16/32/99 Series – User Operation Manual
15
3.1.7 Changing the Arming Mode without Disarming
This is an extra functionality for changing the current arming mode with other without
disarming before that. To use this feature, keep in mind that the following priority between
arming modes is adopted:
The Full arming mode cannot be changed with other arming.
The Stay arming mode can be changed to Full arming.
The Sleep arming mode can be changed to Full or Stay arming.
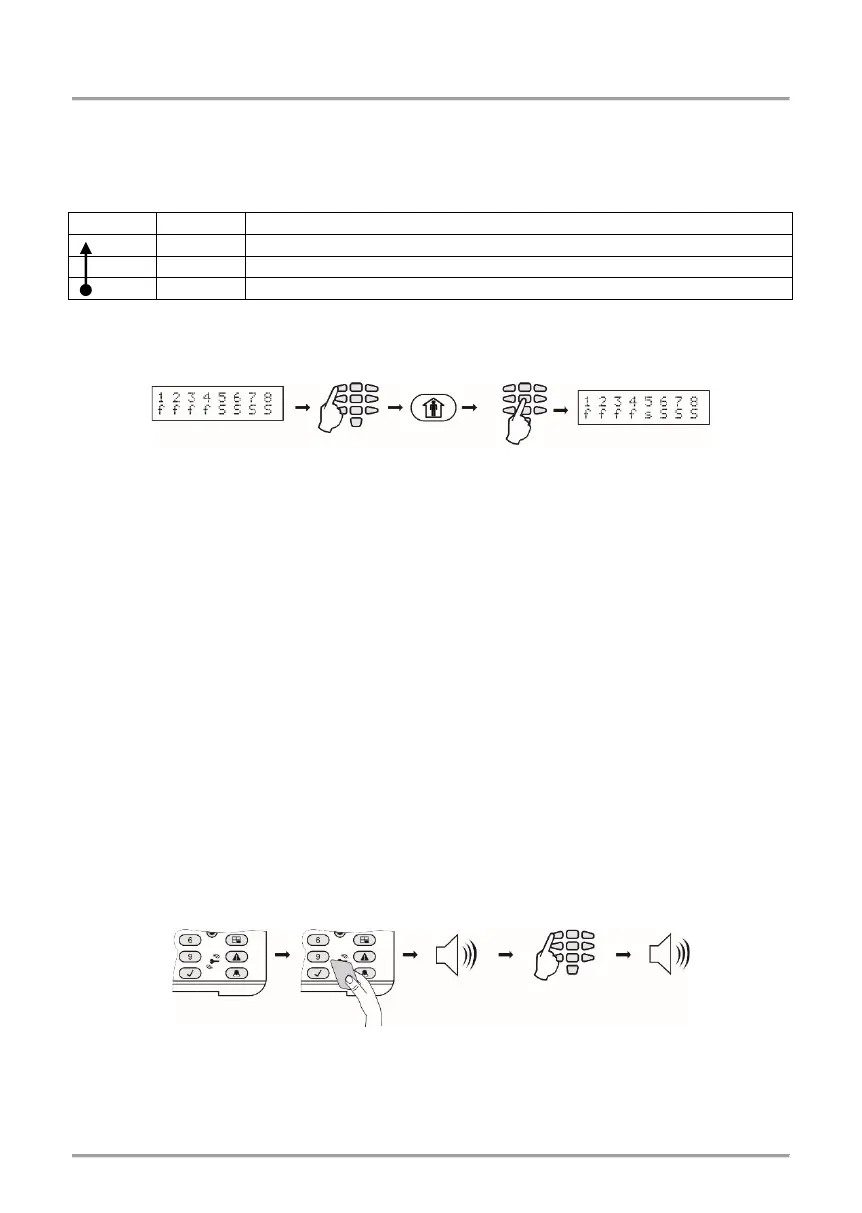
Example: Areas 1-4 are in Full ARM mode, and 5-8 are in Sleep ARM mode. To change
the arming mode of AREA 5, do in sequence (Eclipse 32 in the example):
Note: Use the button “0” (Eclipse 16/32) or “00” (Eclipse 99) to change all areas from one
arming mode to another.
3.2 Arming Via a Card Reader or BRAVO Remote Key Fob
Arming with proximity card is possible when there is a stand-alone proxy reader or a
keyboard with built-in reader connected to the system. To arm the system, the user needs
to put the card over the reader but not further than 1 cm.
3.2.1 Arming via Built-in Proxy Reader in Keyboard
Depending on the arming options set in manager’s menu “1. USERS - xx. USER –
06. PROXY OPTIONS” (Address 10), only one mode of arming can be activated with a
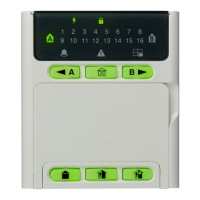
proxy card. When the proxy reader is built-in in the keyboard it is located in the middle
between the MEMORY, TROUBLE, ENTER and “9” buttons.
When using LCD keyboard, after the proxy card is recognized, the numbers of the areas
and their current status are shown on the display.
When using LED keyboard, after the proxy card is recognized the numbers of the areas
that are ready to be armed are blinking in green.
The system will wait for the number of areas to be entered.
Sequence for arming with a built-in in keyboard proximity card reader:
Notes:
Use the button “0” (“00” for Eclipse 99) to arm all associated to the user code areas.
The built-in card reader in LCD 32 Sensitive keyboard is situated in the right bottom
corner on the front panel and it is marked with a “key” pictogram.