ECLIPSE 8/16/32/99 Series – User Operation Manual
31
Depending on the keyboard used, the visualization on screen is as follows:
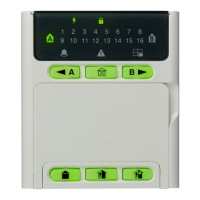
LCD 32 and LCD 32 Sensitive (address menus, Eclipse 32)
By pressing the respective digit button, the area is alternatively enabled or disabled. The
area is associated when the digit is visible on screen. When the area is not associated it is
market with the symbol “*”.
Eclipse99: To enable for operation Area 10, press in sequence buttons and 0; Area
11 – buttons and 1, Area 12 – buttons and 2, etc. To disable the areas, use the
same combination of buttons.
By pressing the respective digit button, the area is alternatively enabled or disabled. The
area is associated when the digit is lit on the display. The numbers of the areas that are
not associated are not lit.
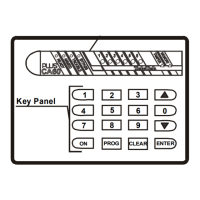
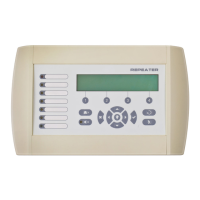
LED 8/LED 16А (Eclipse 32)
Enter at the address 07 and choose a user number- the LED for zone 1 is blinking on the
display. The digit buttons corresponding to the associated areas are
lighting on in red. To
disable an area, press the respective number - the button is off, meaning the area is not
The final choice is confirmed by pushing the ENTER button.
Note: When no areas are associated to a certain code, it is deleted from the system,
regardless if there are attributes assigned to it.
5.9 Entering of User names
This address is available when working with LCD keyboard only.
Entering user names is done in menu “1. USERS – xx. User – 04. Name” or Address 08,
after entering manager code:
The name can be up to 16 digits long – letters, numbers and intervals.
The letters are chosen by pressing the respective digit number until reaching the desired
letter. The cursor moves automatically after choosing a letter or number or manually with
the help of the arrow buttons. If you need to enter a number, the respective button is
pressed for 2-3 second – see also item 2.8.
The final name is confirmed by pushing the ENTER button.
1. USERS - xx. User -
Areas 1, 2 and 3 are associated
Areas 1, 2 and 3 are associated