Eclipse 8/ 16/ 32 Series - Engineer Programming Manual
16
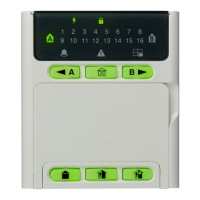
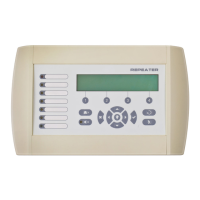
5.2. Enrolling Devices to a working system configuration via LCD keyboard
1. Enter engineer code (7777 by default).
2. Press button “9” for direct access to menu “9. DEVICES”. Use the buttons with arrows to reach a free
address position for adding a new device. Choose in sequence:
ХХ. Device [Free] – ENTER – 1. ID – ENTER – [Free] [________]
3. Press the ENTER button (for a keyboard), the tamper-switch (for modules and standalone proxy reader) or
approach a proxy card (for a reader) of the device connected to the system bus and which you want to enroll to
the system configuration.
4. After successful enrollment to the control panel, the screen displays:
[Device type] [unique ADDRESS] for the respective device.
The following device types are supported from ECLIPSE Series:
* Eclipse 8: Up to 2 devices can be enrolled to the system bus: 2 keyboards, 2 proximity card readers or 1
keyboard and 1 proximity card reader.
** Eclipse 16: Up to 5 devices can be enrolled to the system bus irrespective of their type.
*** Eclipse 32: Up to 31 devices can be enrolled to the system bus irrespective of their type.
NOTE: It is not necessary to enroll the built-in proximity reader in keyboards LED 32, LCD 32 and LCD 32S.
5. Press ENTER button of the used for programming keyboard. The keyboard will confirm the end of the
successful enrollment procedure with sound signal.
6. The new enrolled device is in normal operation mode and ready for further programming and configuration.
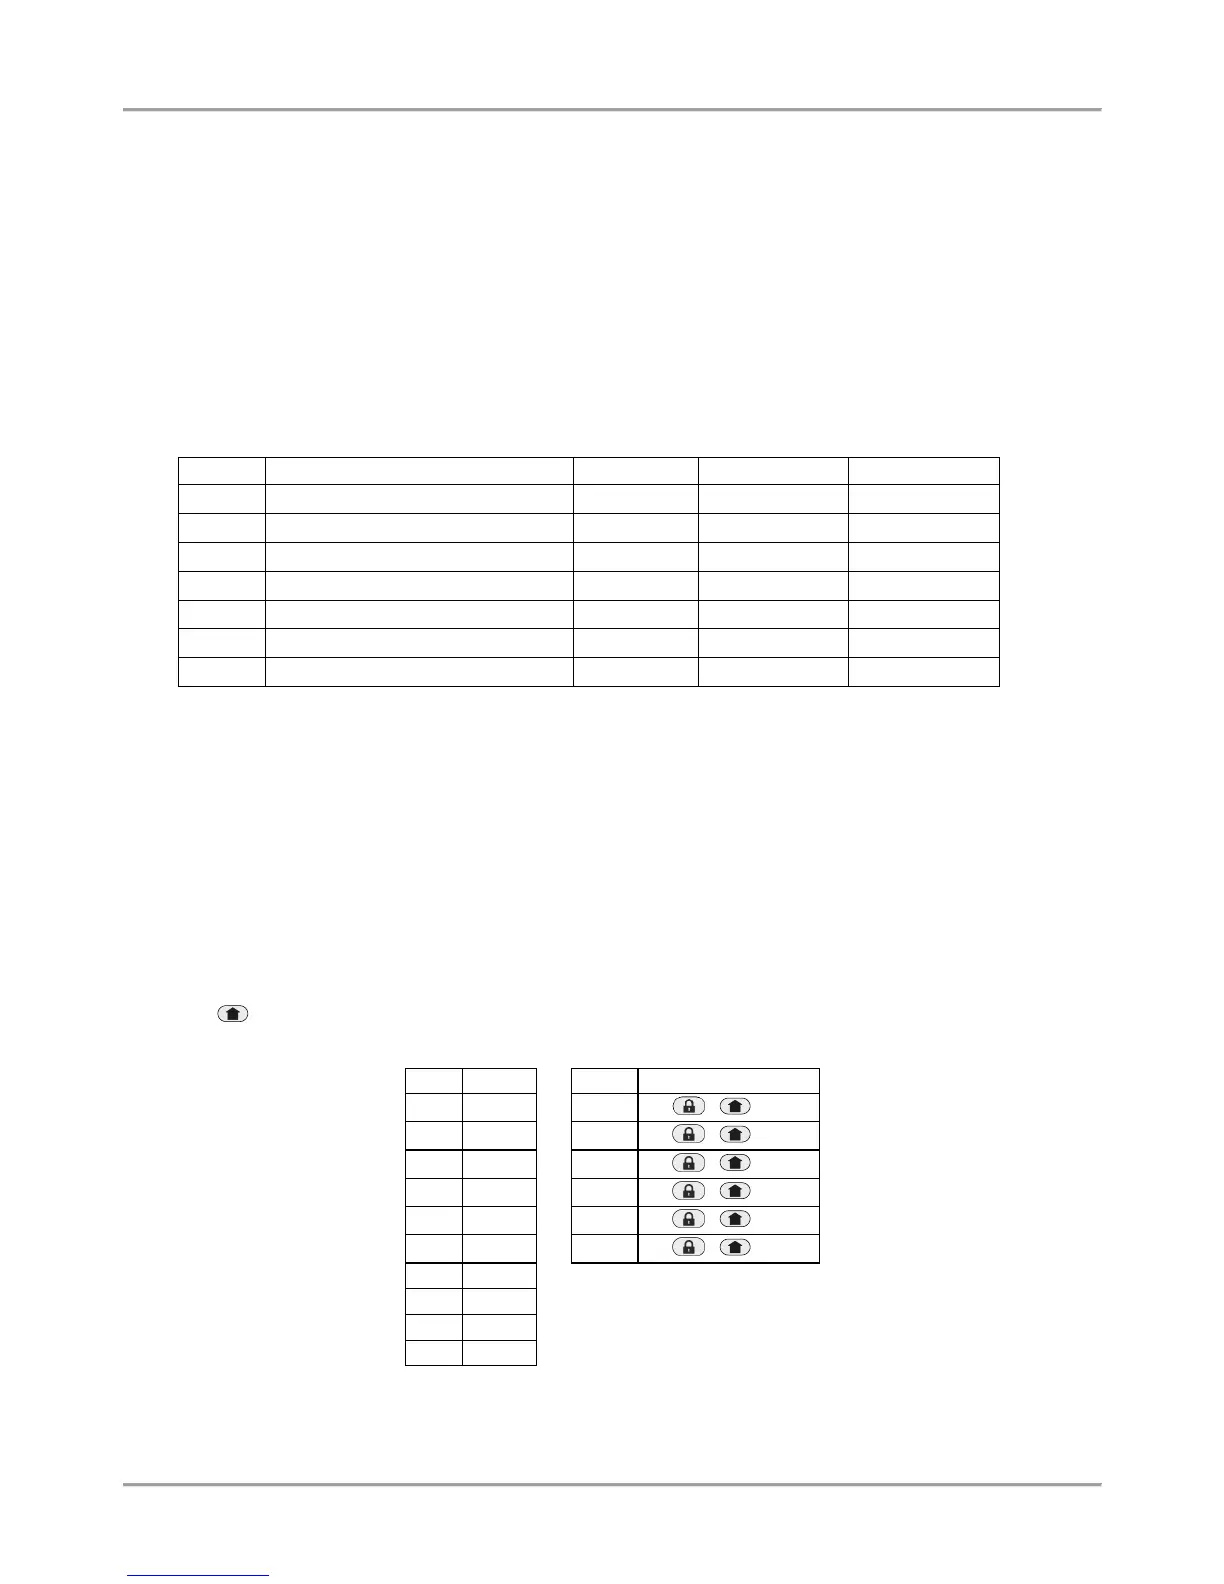
* Note: Other way for enrolling of a new device is to enter its unique ID number directly at a free address as use the
digit buttons and some button combinations – see the table below. The unique ID number is provided from the
manufacturer with a sticker on the backside of the PCB of the device.
The button is used in the previous design of the keyboards and has the same functionality.