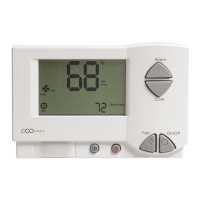
EcoInsight I, O & M Guide
Telkonet, Inc.
For Use with Firmware Version 2.x
20800 Swenson Drive, Suite 175
High Voltage Installation
Waukesha, WI 53186
Revision 4.2
(414) 302-2299
Page 9
www.telkonet.com
Step 9 Level the high voltage Telkonet JBOX adapter plate and mount to the mud ring with two
#6-32 1” screws. See Figure 5.
Figure 5: JBOX, Mud Ring, Adapter Plate
Step 9 Remove the safety screw from the left side of the thermostat using the hex wrench. See
Figure 6.
Figure 6: Thermostat Side View
Step 10 Separate the high voltage back plate from the thermostat: Use a flathead screwdriver to
GENTLY press the tab next to the screw hole to allow the thermostat to pop open.
WARNING: Using too much force can break the tab.
Step 11 Place thermostat backplate against the JBOX adapter plate. The adapter plate and
backplate holes should align if both are correctly oriented.
Thermostat wiring cannot touch or be placed in close proximity to the J8 pins! This can occur if
the wiring enters the thermostat from the J8 hole and is placed diagonally, directly over the J8
Safety Screw
Tab

 Loading...