EasyManuals Logo

Teltonika RUT500 User Manual

Teltonika RUT500
54 pages
To Next Page IconTo Next Page
To Previous Page IconTo Previous Page
Page #8 background imageLoading...
Page #8 background image
8
Setting up your router
Installation
After you unpack the box, follow the steps, documented below, in order to properly connect the device. For better Wi-
Fi performance, put the device in clearly visible spot, as obstacles such as walls and door hinder the signal.
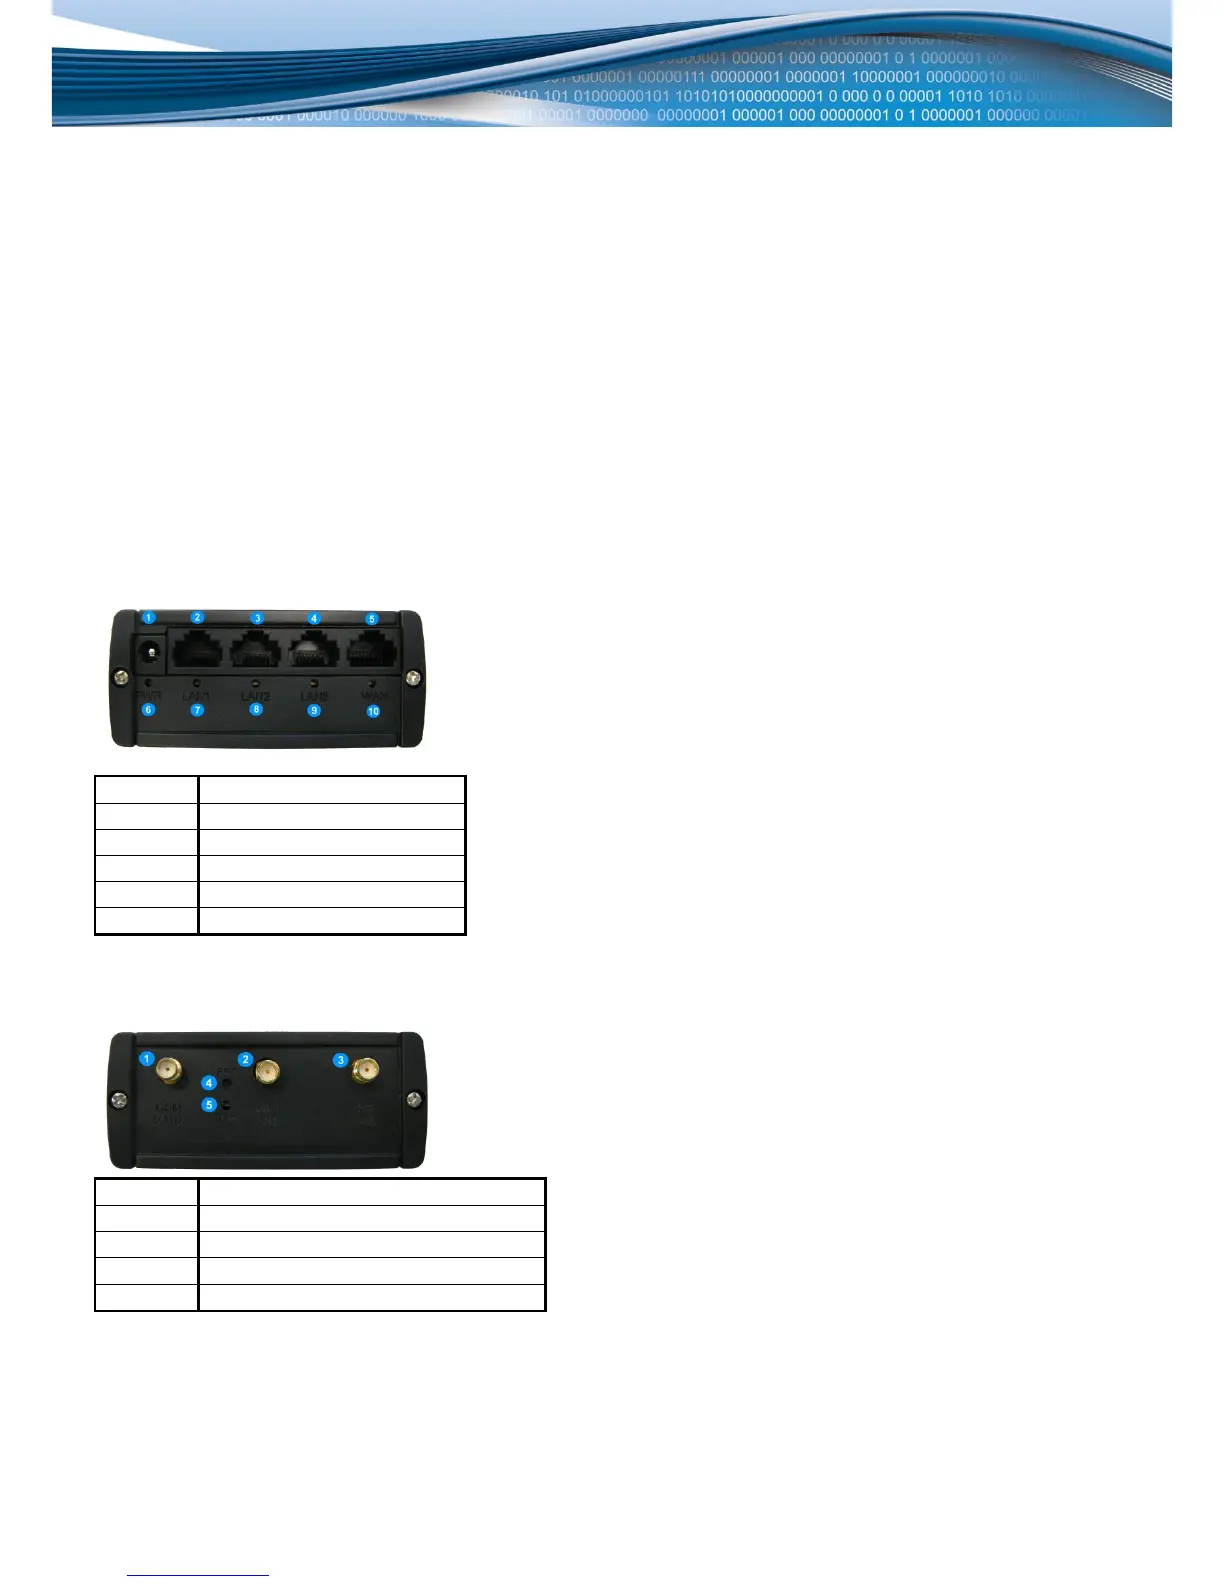
1. First assemble your router by attaching the necessary antennas and inserting the SIM card (if you have bought
the 3G version).
2. To power up your router, please use the power adapter included in the box. (IMPORTANT: Using a different
power adapter can damage and void the warranty for this product.).
3. If you have a wired broadband connection you will also have to connect it to the WAN port of the router
(Ethernet cable is not provided).
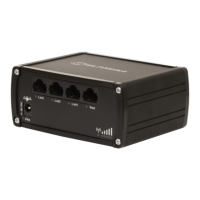
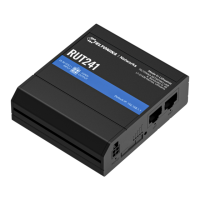
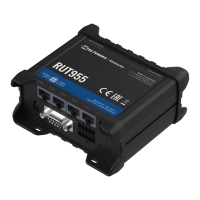
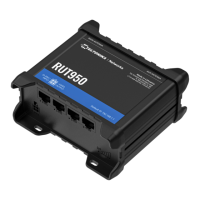
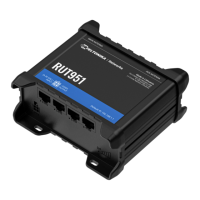
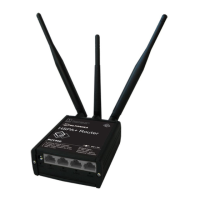
Front Panel
1
Power socket
2,3,4
LAN Ethernet ports
5
WAN Ethernet ports
6
Power LED
7,8,9
LAN LEDs
10
WAN LED
Back Panel
1
GSM main antenna connector
2
Wi-Fi antenna connector
3
GSM auxiliary antenna connector
4
Reset button
5
GSM LED

Other manuals for Teltonika RUT500

Questions and Answers:

Question and Answer IconNeed help?

Do you have a question about the Teltonika RUT500 and is the answer not in the manual?

Teltonika RUT500 Specifications

General IconGeneral
BrandTeltonika
ModelRUT500
CategoryNetwork Router
LanguageEnglish

Related product manuals