9
SIM Card
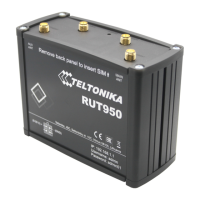
1. Remove back panel and insert SIM card which was given by your ISP (Internet Service Provider). Correct SIM
card orientation is shown in the picture.
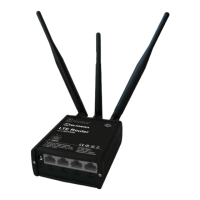
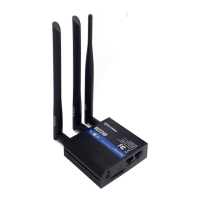
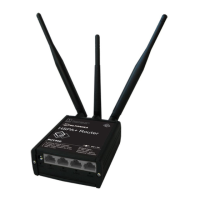
2. Attach GSM main and Wi-Fi antennas.
3. Connect the power adapter to the socket on the front panel of the device. Then plug the other end of the power
adapter into a wall outlet or power strip.
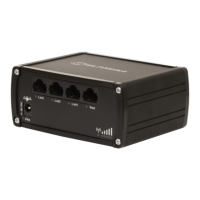
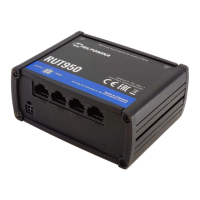
4. Connect to the device wirelessly (SSID: Teltonika) or use Ethernet cable and plug it into any LAN Ethernet port.
Logging in
After you’re complete with the setting up as described in the section above, you are ready to start logging into your
router and start configuring it. This example shows how to connect on Windows 7. On windows Vista: click Start ->
Control Panel -> Network and Sharing Center -> Manage network Connections -> (Go to step 4). On Windows XP: Click
Start -> Settings -> Network Connections -> (see step 4) -> You wont’s see “Internet protocol version 4(TCP/IPv4)”,
instead you’ll have to select “TCP/IP Settings” and click options -> (Go to step 6)
We first must set up our network card so that it could properly communicate with the router.
1. Press the start button
2. Type in “network connections”, wait for the results to pop up.
 Loading...
