EasyManuals Logo

Tenda O1 User Manual

Tenda O1
198 pages
To Next Page IconTo Next Page
To Previous Page IconTo Previous Page
Page #17 background imageLoading...
Page #17 background image
9
If the LED1, LED2 and LED3 indicators of a new-added CPE turn off after it is powered on for 1
minute, the bridging fails. Reset the CPE to factory settings, and wait until its LED1, LED2 and LED3
indicators keep blinking.
When using O2 to perform peer-to-multiple peers bridging, after the peer-to-peer bridging
succeeds, place the rest CPEs which are in factory settings near the CPE with the LED1, LED2, and
LED3 indicators solid on and power them on in 3 minutes.
If the bridging still fails, try manual bridging. Refer to Client mode for details
Option 2 Manual bridging
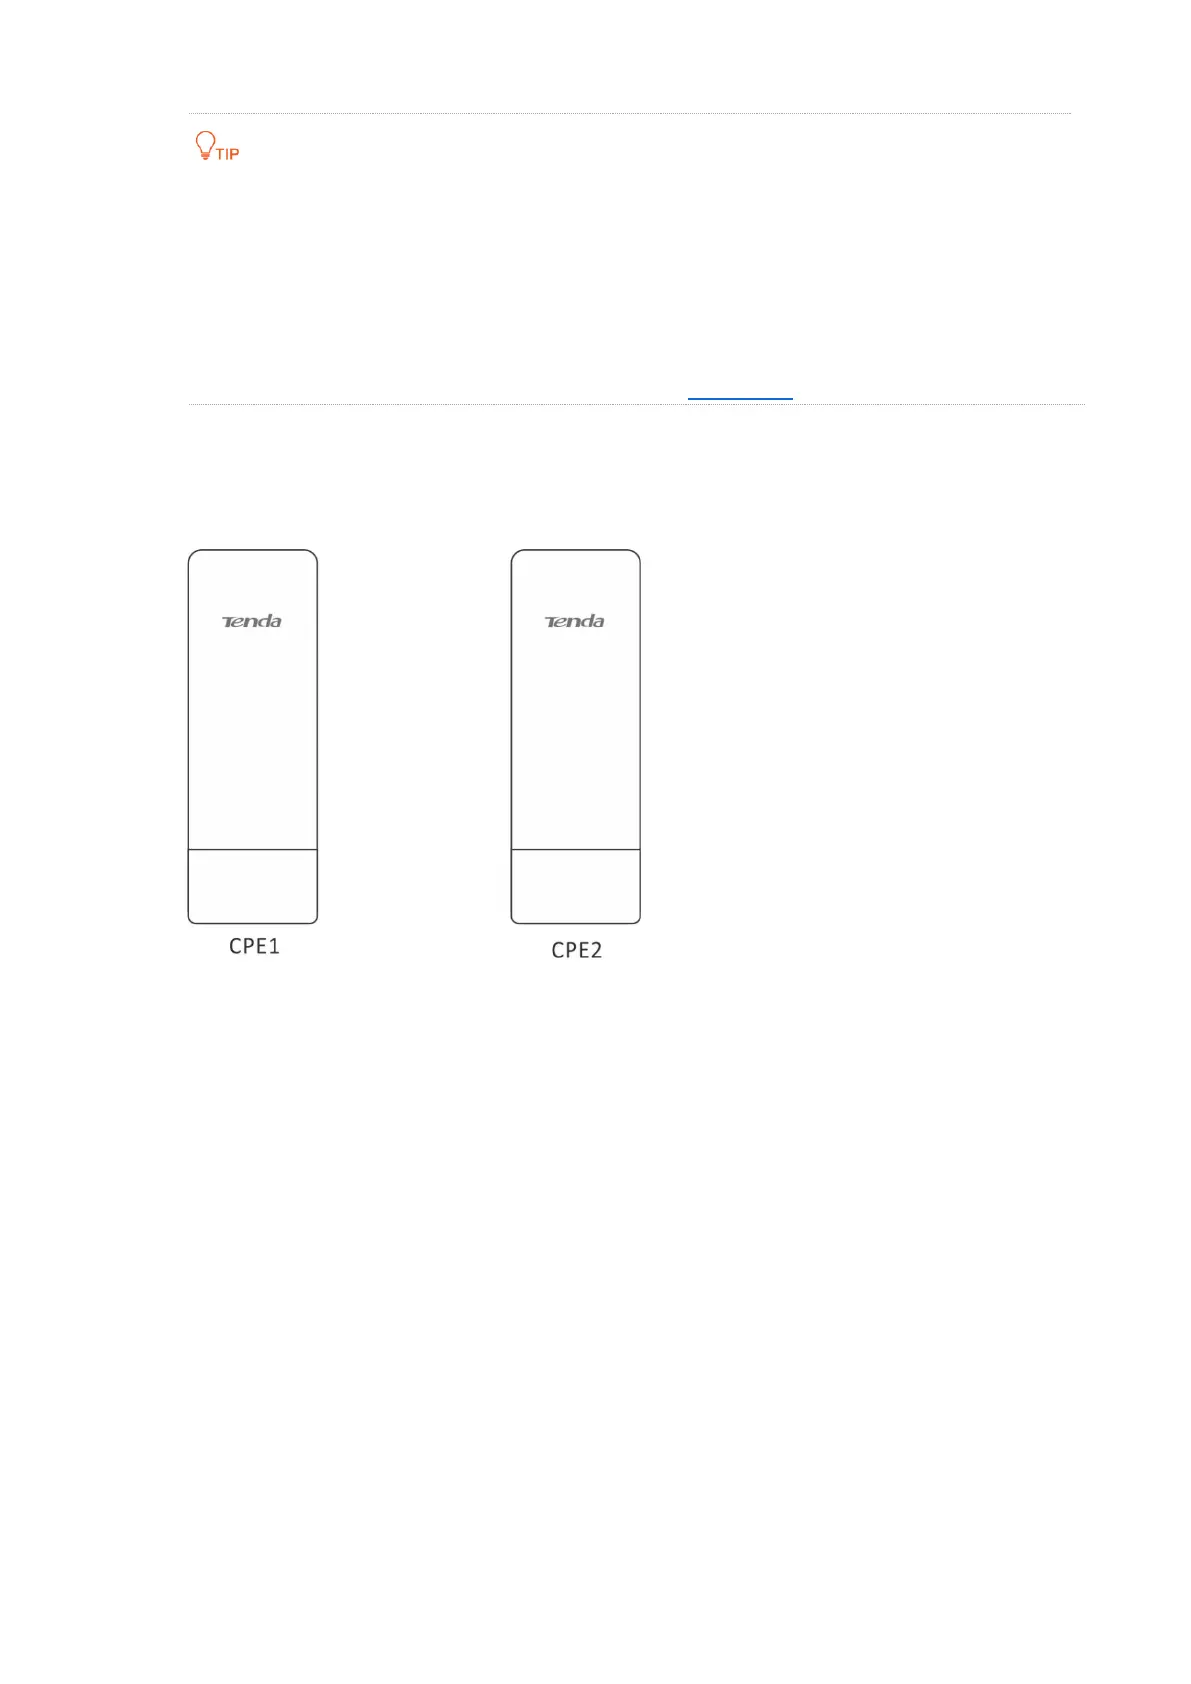
Step 1 Place the two CPEs next to each other.

Other manuals for Tenda O1

Questions and Answers:

Question and Answer IconNeed help?

Do you have a question about the Tenda O1 and is the answer not in the manual?

Tenda O1 Specifications

General IconGeneral
5 GHzNo
Bandwidth2.4 GHz
Networking standardsIEEE 802.11b, IEEE 802.11g, IEEE 802.11n
Maximum data transfer rate300 Mbit/s
PlacementWall
CertificationFCC/CE/RoHS
Product colorWhite
LED indicatorsLAN, PoE, WLAN
International Protection (IP) codeIP64
Output voltage9 - 12 V
Power consumption (max)2.6 W
Security algorithmsWEP, WPA-PSK, WPA2-PSK
USB 2.0 ports quantity0
Ethernet LAN (RJ-45) ports1
Antenna featuresIntegrated antenna
Cables includedLAN (RJ-45)
Storage temperature (T-T)-40 - 70 °C
Operating temperature (T-T)-30 - 55 °C
Operating relative humidity (H-H)10 - 90 %
Weight and Dimensions IconWeight and Dimensions
Depth67.5 mm
Width80 mm
Height190.35 mm

Related product manuals