IB 9020661 (07- 2021) 1
INSTRUCTION BULLETIN
No. 9020661
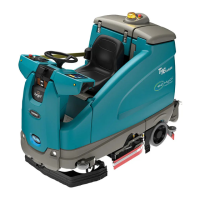
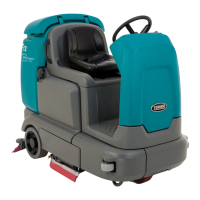
Machine: T12/T16/
T16AMR
Published: 07- 2021
Rev. 01
NOTE: DO NOT DISCARD the Parts List from the Instruction Bulletin. Place the
Parts List in the appropriate place in the machine manual for future
reference. Retaining the Parts List will make it easier to reorder
individual p arts and will save th e cost of ordering an entire kit.
NOTE: Numbers in parenthesis ( ) are reference numbers for parts listed in Bill of Materials.
Installation instructions for kit number 9020660, 9020681, 9020685, 9020686, and 9021543
Kit installation must be performed by TennantTrue
service or an authorized service provider.
SYNOPSIS:
This kit contains the parts needed to replace the drive wheel/drive wheel hub on T12/T16/T16AMR
scrubbers.
Please follow step-by-step instructions.
SPECIAL TOOLS / CONSIDERATIONS: NONE
(Estimated time to complete: 1 hour)
PROTECT THE ENVIRONMENT
Please dispose of packaging mat erials , used machine component s
such as bat t er ies and f luids in an envir onment ally saf e way according
to local was t e disposal regulat ions.
Always remember to recycle.
PREPARATION:
1. If scrub head is not raised, turn key switch
ON, completely raise the scrub head, and turn
key switch OFF.
FOR SAFETY: Before leaving or servicing
machine, stop on level surface, turn off
machine, and remove key.
2. T urn the steering wheel as far to the left as
possible.
3. Remove the main scrub brush(es) and side
scrub brush(es) from the machine. Set all
scrub brushes aside.
INSTALLATION:
1. Place a chock behind both rear tires.
2. Remove the socket screws (Qty. 4) from the
front wheel assembly. Discard the socket
screws. (Fig. 1)
FIG. 1