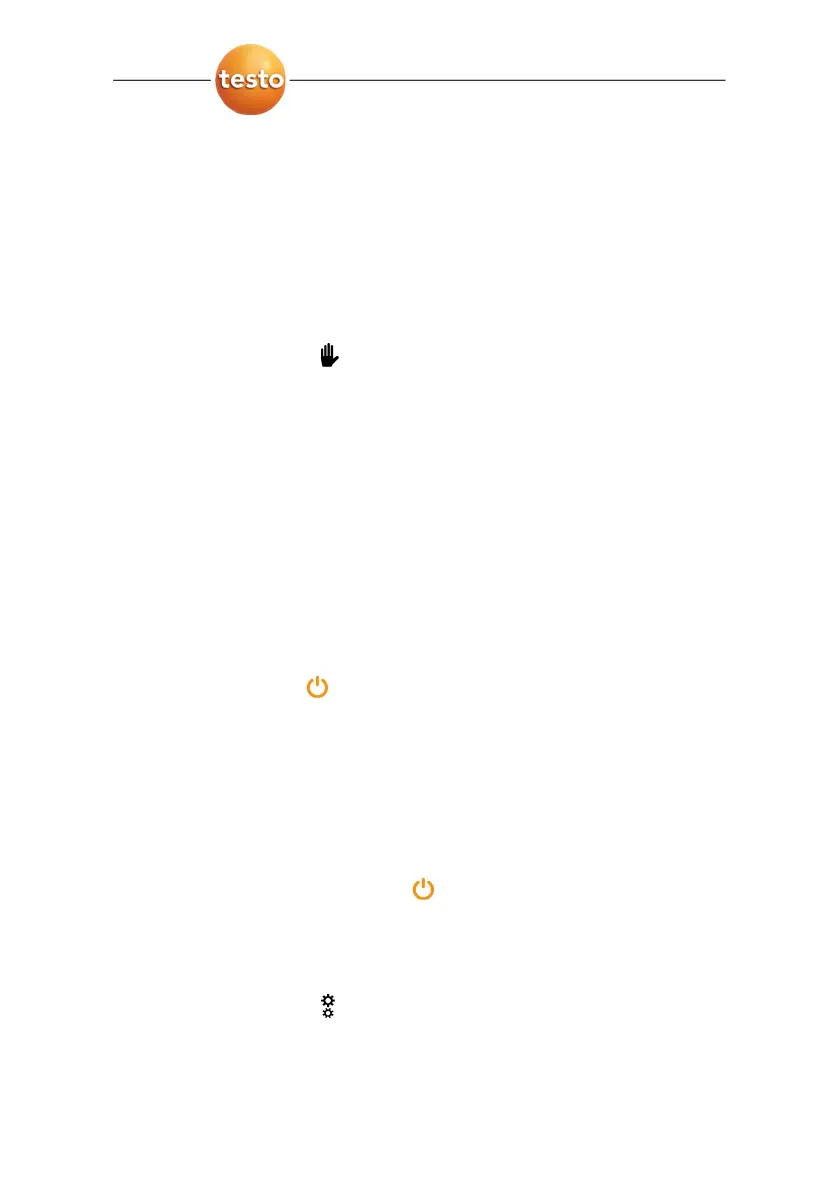
5 First steps
19
Change lens (testo 880-2, -3 only)
Only lenses that were adjusted to the respective thermal imager
can be used. The serial number on the lens must match the
serial number of the instrument, see Configuration page 30.
> Switch instrument off before changing the lens.
> To keep the lens from falling out: Hold the instrument with
the lens pointing up.
> testo 880-3: Slide [Autofocus switch] towards the lens
(position:
).
1. Turn lens lock ring anticlockwise to the stop (approx. 2 cm).
2. Remove lens.
3. Insert new lens, taking care to align the white markings on
the lens and the instrument with one another.
4. Turn the lens lock ring clockwise to the stop.
Always store lenses not in use in the container designed for this
in the case.
> Turn the lens ring clockwise to the stop, place the lens in the
container and close it.
Switch the imager on/off
1. Remove protection cap from the lens.
2. Press [
].
- The start screen appears on the display. The type
designation of the imager and the firmware version are
shown.
- The measurement view is opened after the warm-up period.
- The imager performs an automatic zeroing approx. every 60
sec. This can be recognized by means of a "click". The
image is frozen briefly when this occurs.
> To switch off: Press [
].
- The display goes out and the imager is switched off.
Focus image using autofocus (testo 880-3 only)
> testo 880-3: Slide [Autofocus switch] towards the display
(position:
).
> Move [Autofocus control] until the image is in focus.