5 First steps
30
5.2.9. Switching the imager on/off
1. Remove protection cap from the lens.
2. Press [ ].
- The start screen appears on the display. Instrument information
is displayed (e.g. serial number, type designation, firmware
version).
- The measurement view is opened. Measurement values on the
cursor and scale are only displayed when the stabilisation
phase is complete (indicated by a rotating symbol in the top
right of the display).
- The imager performs automatic adjustment approx. every 60 s.
This can be recognized by means of a "click". The image is
frozen briefly when this occurs.
> To switch off: Hold down [
] until the confirmation prompt is
no longer displayed.
- The imager is switched off.
5.2.10. Manually focusing the image
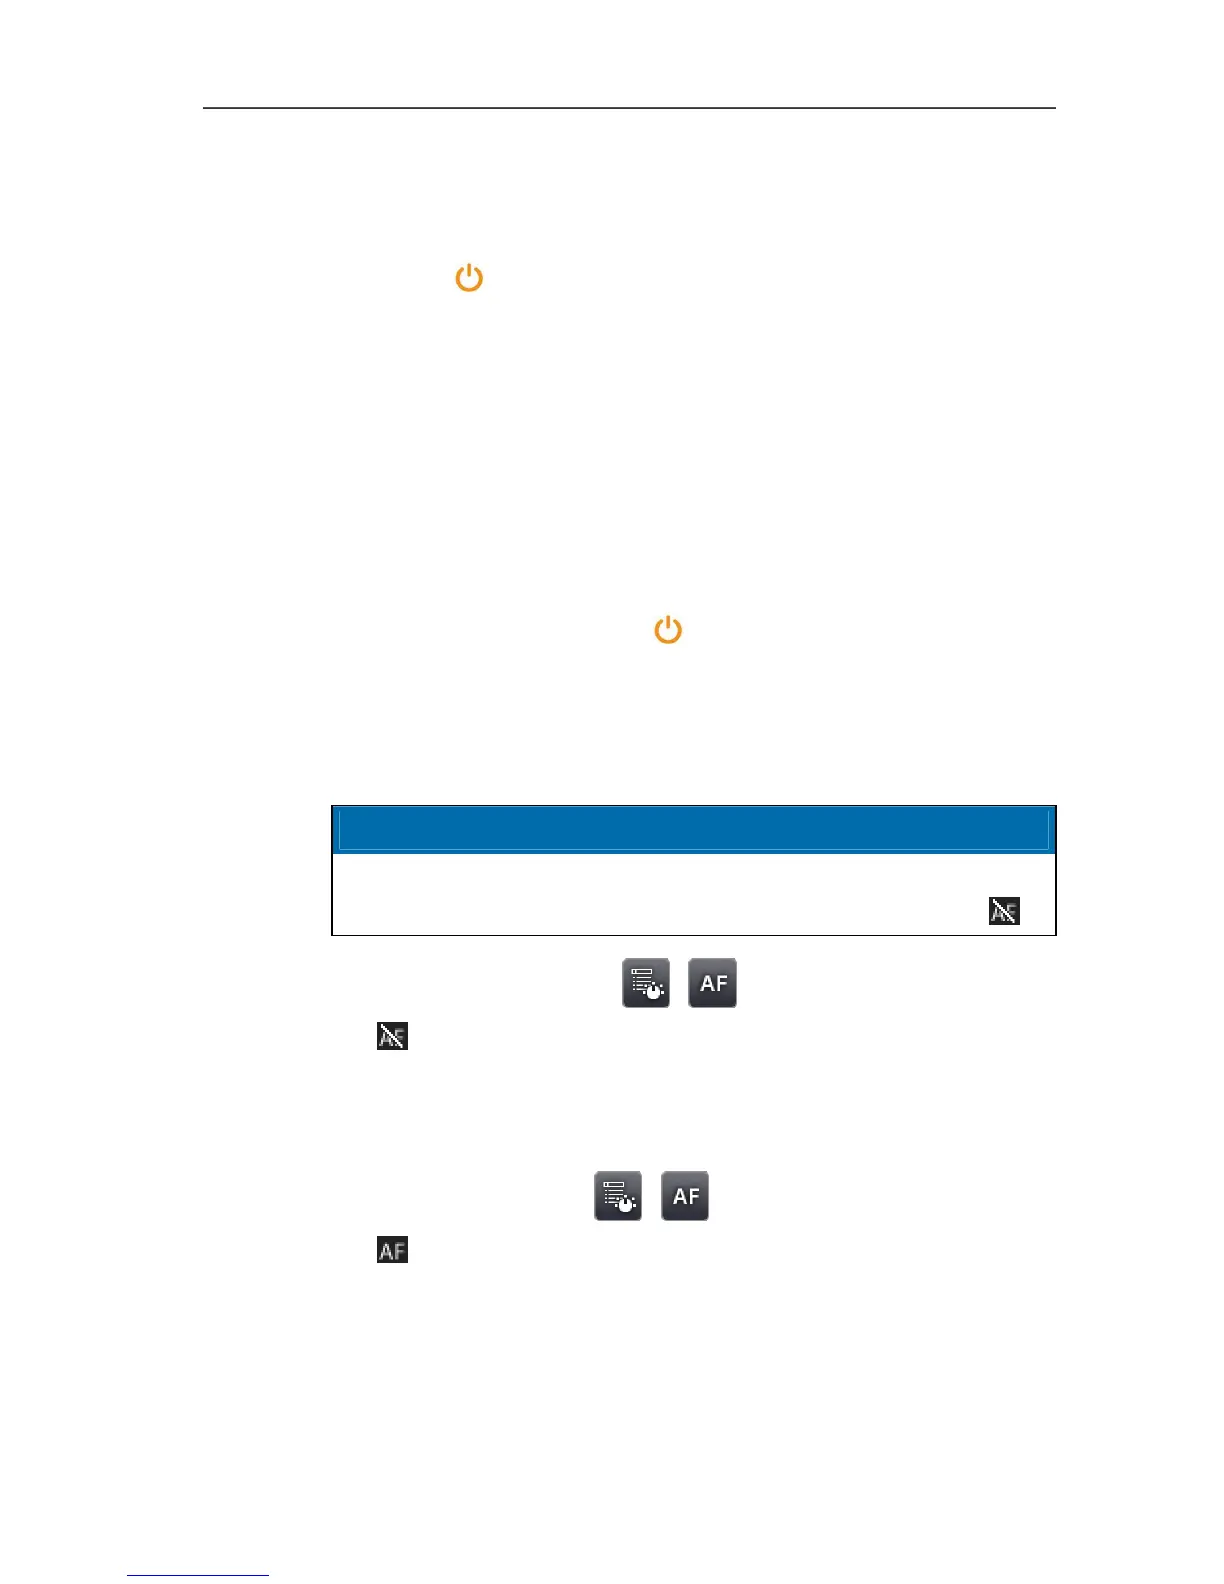
CAUTION
Auto mechanism may be damaged!
> Only turn focusing ring when auto-focus is deactivated (
).
> Deactivate auto-focus: | .
- is displayed.
> Turn the lens focusing ring until the image is in sharp focus.
5.2.11. Automatically focusing the image
> Activate auto-focus: | .
-
is displayed.
> Touch [Shutter button].
- The image is automatically focussed. The area to be focussed
must be inside the orange box, which is shown by touching the
shutter button.