10
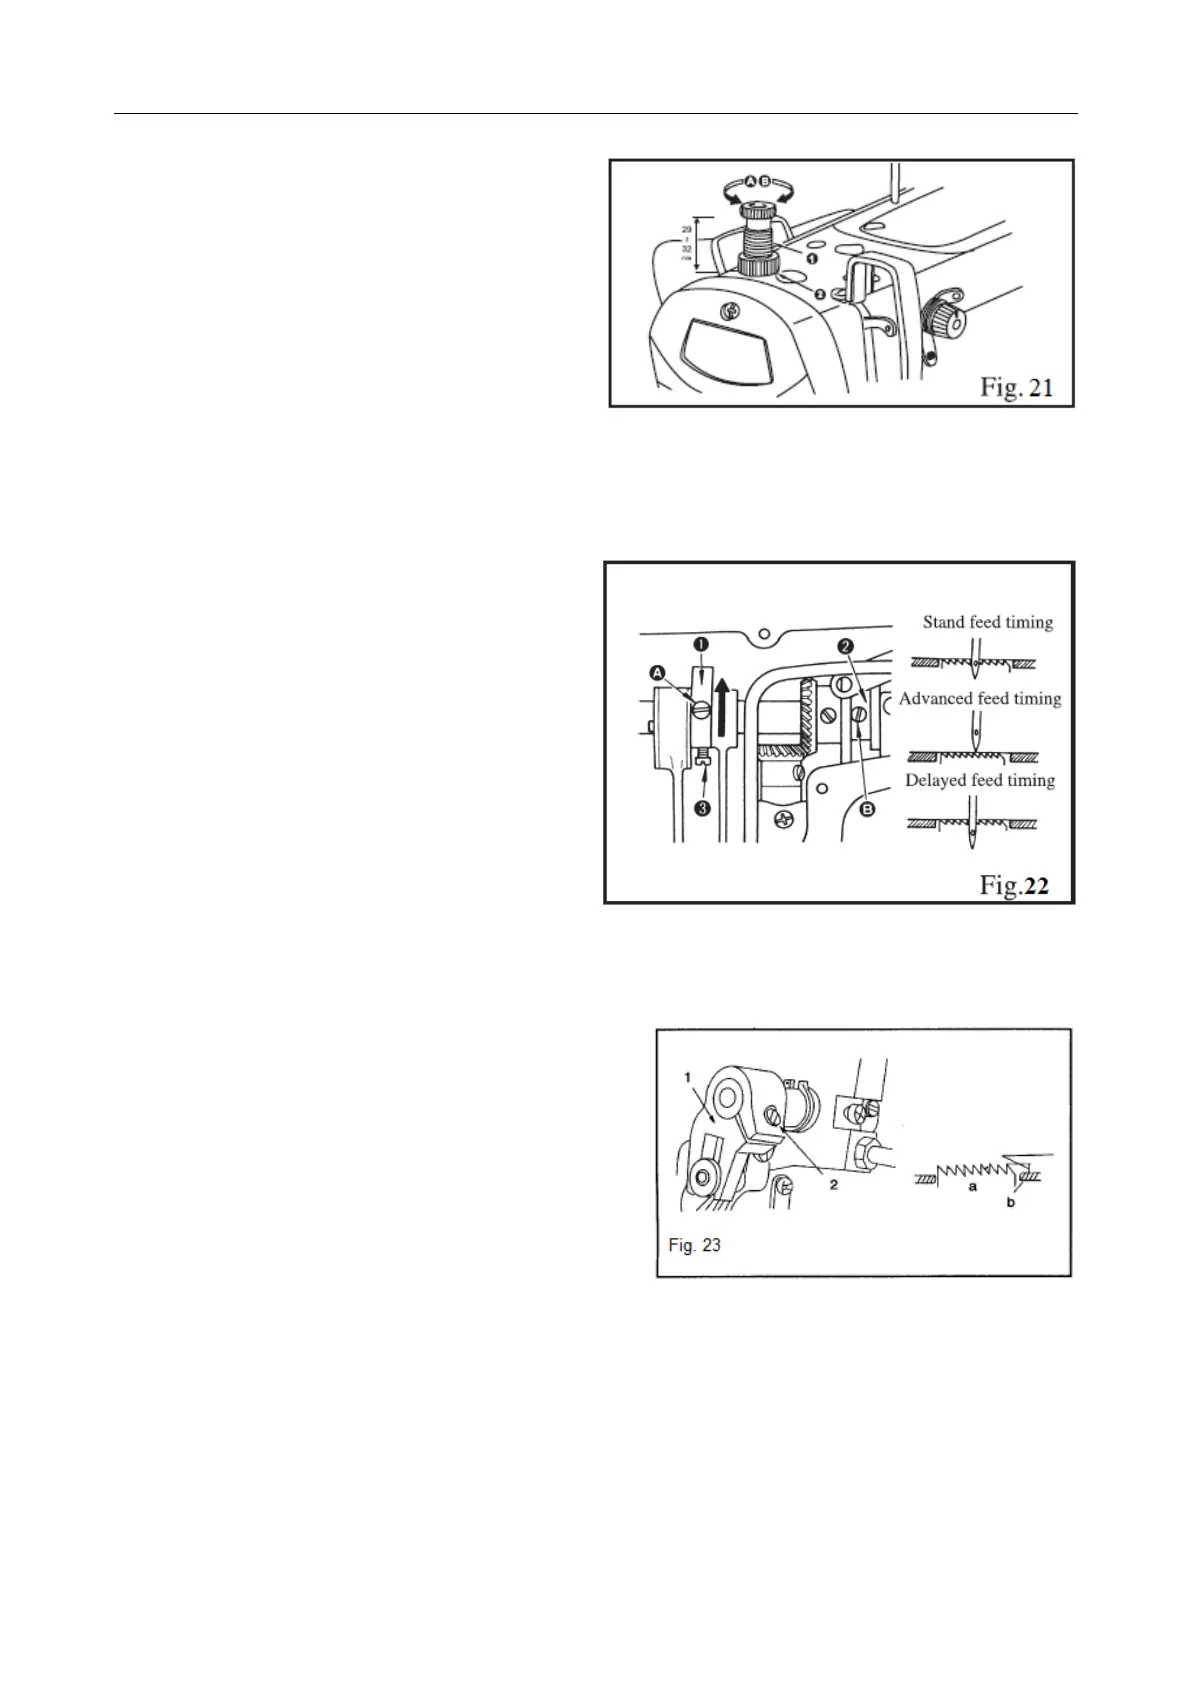
17. Presser foot regulation
1. Loose nut (2). After turning the pressure reg-
ulator to the right (direction A) pressure will in-
crease.
2. After turning the regulator to the left (direction B)
pressure will decrease.
3. After regulation, tighten nut (2).
4. For the majority of woven fabrics, the standard
height of the pressure spring regulator is equal
to 29 to 33 mm.
18. Feed timing
1. Loosen screws (2) and (3) of the eccentric cam
(1), place it correctly on the main shaft and
tighten screws.
2. In order to accelerate synchronization and en-
sure even material feeding, the cam should be
shifted in the direction of the arrow.
3. In order to delay synchronization and thicken
stitching, the cam should be shifted in the direc-
tion opposite to the arrow.
4. If the cam is moved too far, the needle may
break.
The feed dog factory setting enables its sliding out
over the surface of the needle plate at a height of 0.75
to 0.85 mm for light materials and 1.15 to 1.25 mm for
medium and heavy materials.
In order to adjust feed dog height:
1. Loosen screw (2) of the crank (1).
2. Slide the travel bar up or down, accordingly.
3. Tighten screw securely (2).
19. Feed dog height
TEXI Tronic 1 operation manual

 Loading...