12
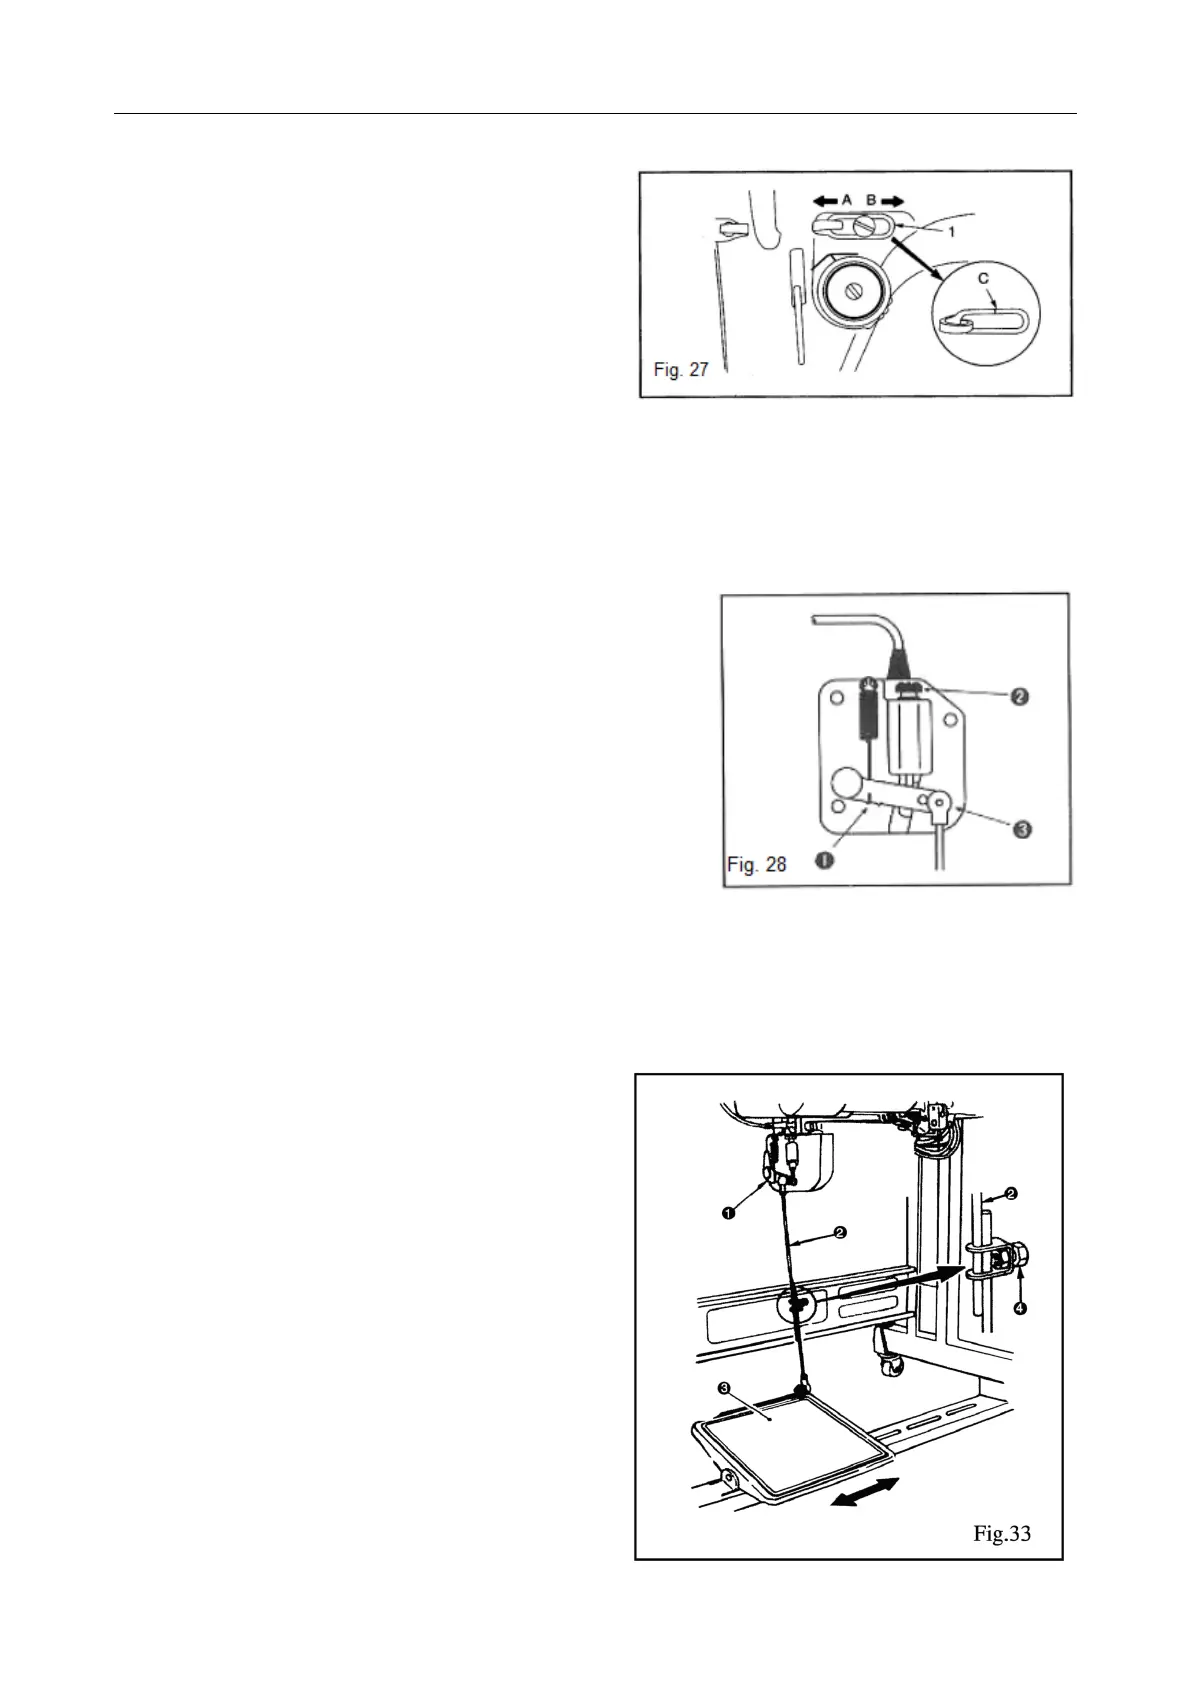
23. Thread guide regulation
1. During sewing light materials, the thread
guide (1) should be moved to the right
(direction B) in order to increase the length of
thread pulled by the thread take-up.
2. During sewing of thick materials, the thread
guide (1) should be moved to the left
(direction A) in order to decrease the length
of thread pulled by the thread take-up.
3. Normally, the thread guide (1) is set so that
the marker line (C) is leveled with the line on
the screw.
24. Changing pedal pressing force
1. Changing pedal pressing force:
1) Remove spring (1).
2) Place the spring in the left groove in order to de-
crease pressure.
3) Place the spring in the right groove in order to in-
crease pressure.
2. Setting pedal return force:
After tightening screw (2) pedal return force will in-
crease; after loosening, it will decrease.
25. Pedal regulation
1. Tension rod regulation:
Shift pedal to the right or left according to the ar-
rows so that the motor control lever and tension
rod are aligned.
2. Pedal angle regulation:
1) Pedal angle can be set at will by changing the
tension rod length.
2) Loosen regulation screw and set tension rod
length.
TEXI Tronic 1 operation manual

 Loading...