4
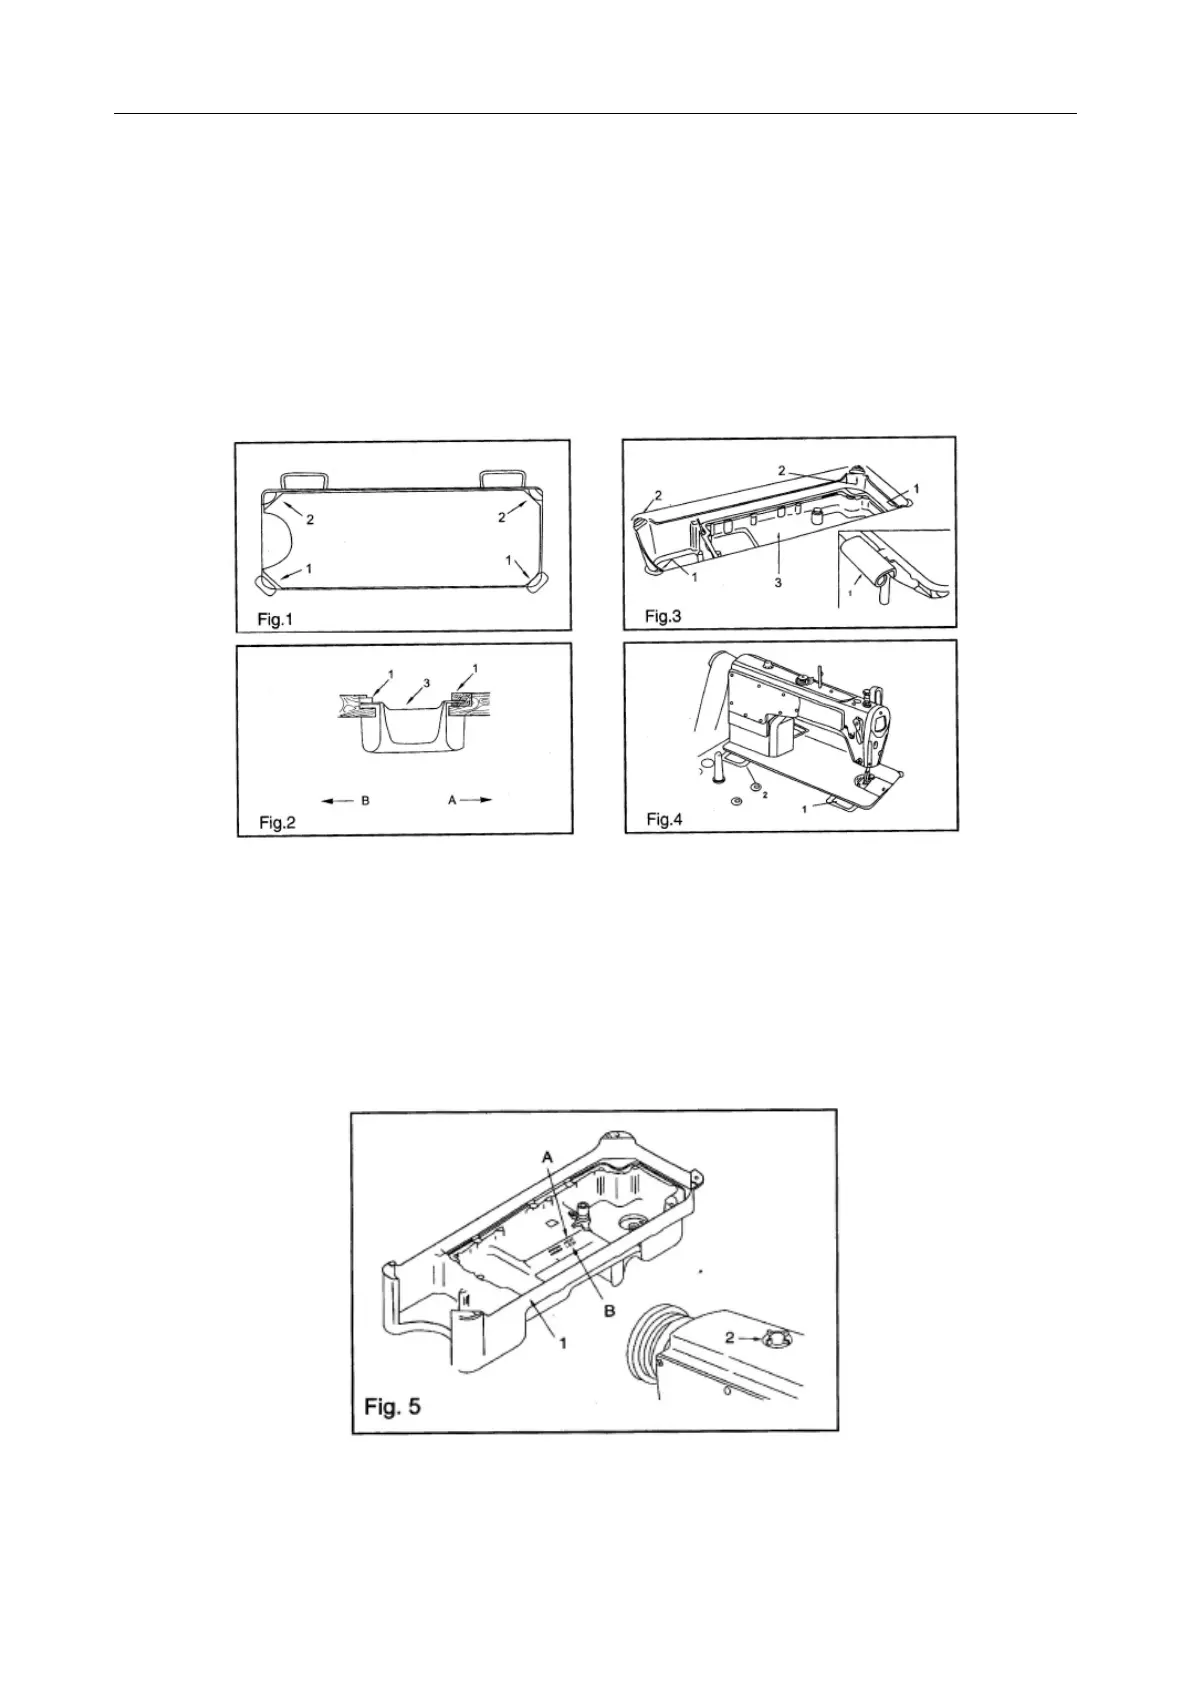
2. Installation of the oil reservoir
1. Fasten the two-armed washer (1) on side A of the oil reservoir (3), in the direction of the operator.
Fasten the two-armed washer (2) on side B of the oil reservoir (3), in the direction of the hinges and fasten t
he reservoir (Fig. 1, Fig. 2).
2. The oil reservoir should rest upon four corners of the cut-out in the machine table-top.
3. Insert hinge (1) into the opening in the machine head, place machine head on table-top with the hinge into
the recess and fasten it on the washers in the four corners of the reservoir (Fig. 3, Fig. 4).
Attention: In the packaging, the four rubber washers placed in the corners of the oil reservoir, only serve trans-
portation purposes.
3. Lubrication
1. Fill the oil reservoir (1) with high-speed machine oil, up to the level of upper marker A.
2. When the oil level falls to the level of lower marker B, refill the reservoir.
3. During machine operation, oil spatter will be visible in the eye-hole (2).
4. Remember that the amount of oil spatter is not related to the amount of oil in the oil reservoir.
TEXI Tronic 1 operation manual

 Loading...