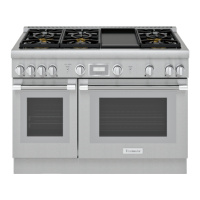
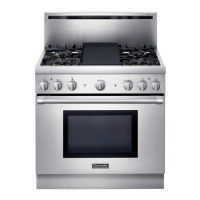
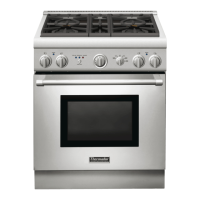
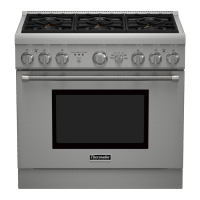
English 5
Replacing Burner Orifices in Cooktop / Rangetop
NOTICE:
After the replacement of each orifice, and before
reassembly of the burner, perform a brief gas leakage
check of the orifice and associated fittings, per the "Check
for Gas Leaks" section of these instructions.
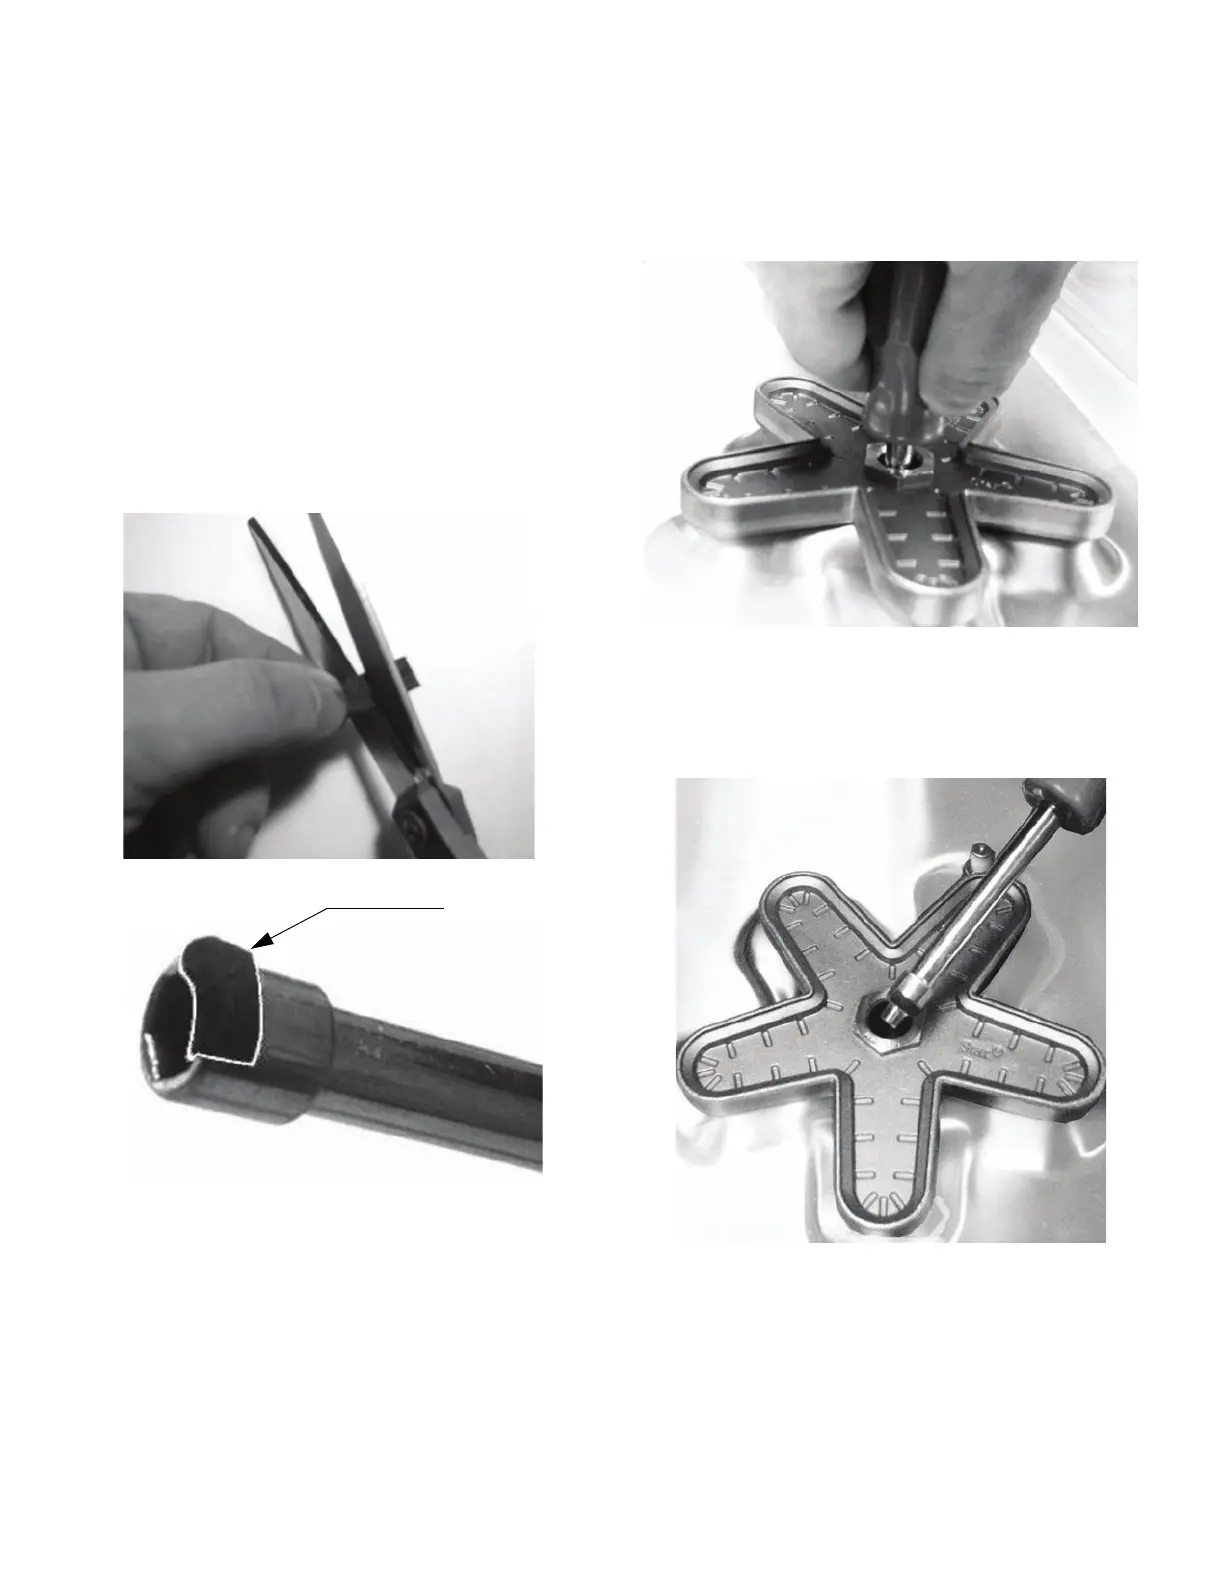
Replace the Star
®
Burner orifices—
all models
• Cut a 3/8" long piece of the adhesive foam strip
supplied in the kit and place over the edge of the nut
driver used to replace the Star
®
Burner orifices, as
shown.
The foam piece helps to retain the orifice in the end of
the nut driver, so it will not fall inside the appliance
during orifice removal or installation.
• Use a 7mm nut driver to reach down through the
venturi and remove the orifice from the burner's jet
holder.
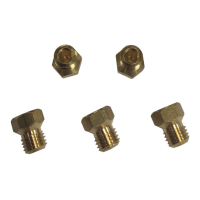
• Replace each star burner jet orifice with one of the
1.07mm, LP jets supplied in the kit. These are sized for
the Star
®
Burners to produce 13,000 BTU/hr. [3.81 kW]
flow rate using Propane (LP) Gas.
• Perform a brief gas leakage test of each orifice and
associated supply tube fittings, per the "Check for Gas
Leaks" section of these instructions. Proper access to
the burner's jet holder can be accomplished after spill
tray removal—see "Accessing the Gas Regulator"
section for instructions on how to remove the spill tray.
Foam Strip