Installation Guide
4
6
5
J
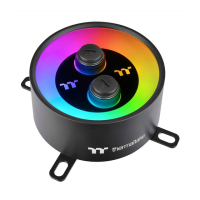
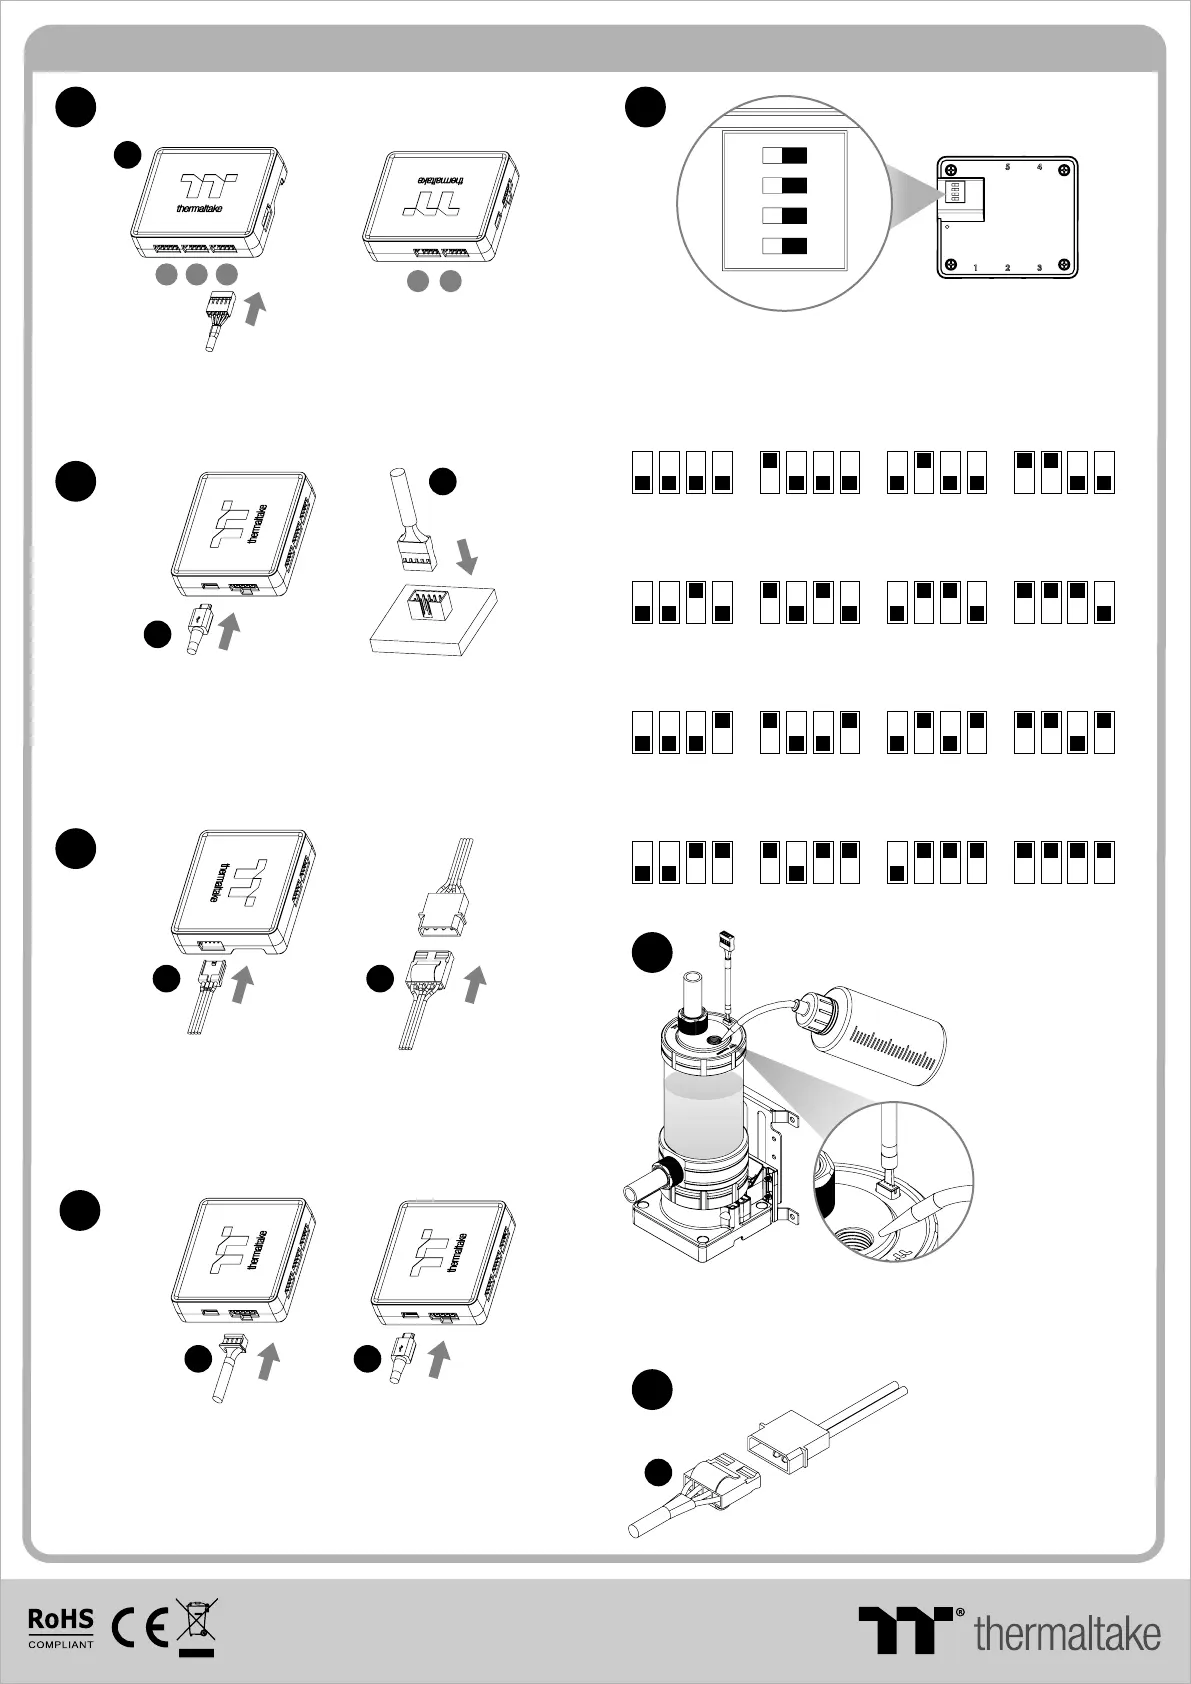
Connect the reservoir cable onto the controller.
Set the DIP switch on the back side of the controller
to assign the number of the controller
7
123
45
J
NO.1
ON
1 2 3 4
NO.3
ON
1 2 3 4
NO.2
ON
1 2 3 4
NO.4
ON
1 2 3 4
NO.9
ON
1 2 3 4
NO.11
ON
1 2 3 4
NO.10
ON
1 2 3 4
NO.12
ON
1 2 3 4
NO.5
ON
1 2 3 4
NO.7
ON
1 2 3 4
NO.6
ON
1 2 3 4
NO.8
ON
1 2 3 4
NO.13
ON
1 2 3 4
NO.15
ON
1 2 3 4
NO.14
ON
1 2 3 4
NO.16
ON
1 2 3 4
Connect the controller cable onto the mainboard
(USB 2.0 9 pin) and controller.
9
10
8
If you want to connect two or more connectors,
you can use the bridge cable to connect the
controllers.
Connect the power cable to the 4pin Molex
connecter and controller.
K K
K
M M
© 2021 Thermaltake Technology Co., Ltd. All Rights Reserved.
After adding the recommended coolant, remember to
fill the reservoir to only 80% and leave the fill port cap
off. This will help stabilize your internal loop pressure
Keep the reservoir cap dry!
Do not allow coolant to
access the wire and
the LED module
Caution!
I
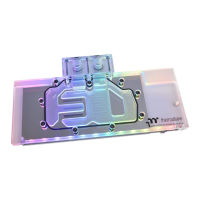
Connect the Pump power cable to
the 4pin Molex connecter.
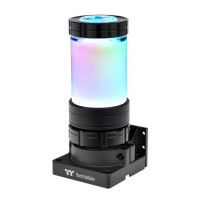
CL-W338-PL00SW-A
www.thermaltake.com
1 0 5 G是 X X
雙銅
單色 無無
其他特 殊處理效果表面處 理
2
厚度(g/m )
折數 材質雙面印 刷 印刷色 彩單面印 刷
規格樣 式
單張
CHECK DESIGN
藍色線條為尺寸標示,請勿印刷上去!
210 mm
297 mm
刀模線
產品料號
C L - W 3 3 8 - P L 0 0 S W - A P a c i f i c P R 1 2 - D 5 P l u s 說明書 2 1/06 /0 7 A
產品名稱
印刷項目
發稿日期
版本
Peipei
(21/06/07)
Leon
(21/06/07)
 Loading...