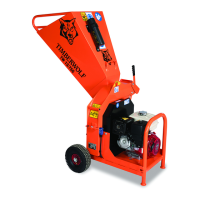
TW 230DHB
1
8 / 55
SERVICE INSTRUCTIONS
C190-0101 25.07.2017 Rev: 1.0
Turn the chipper off and remove the ignition keys.1
Remove battery leads.2
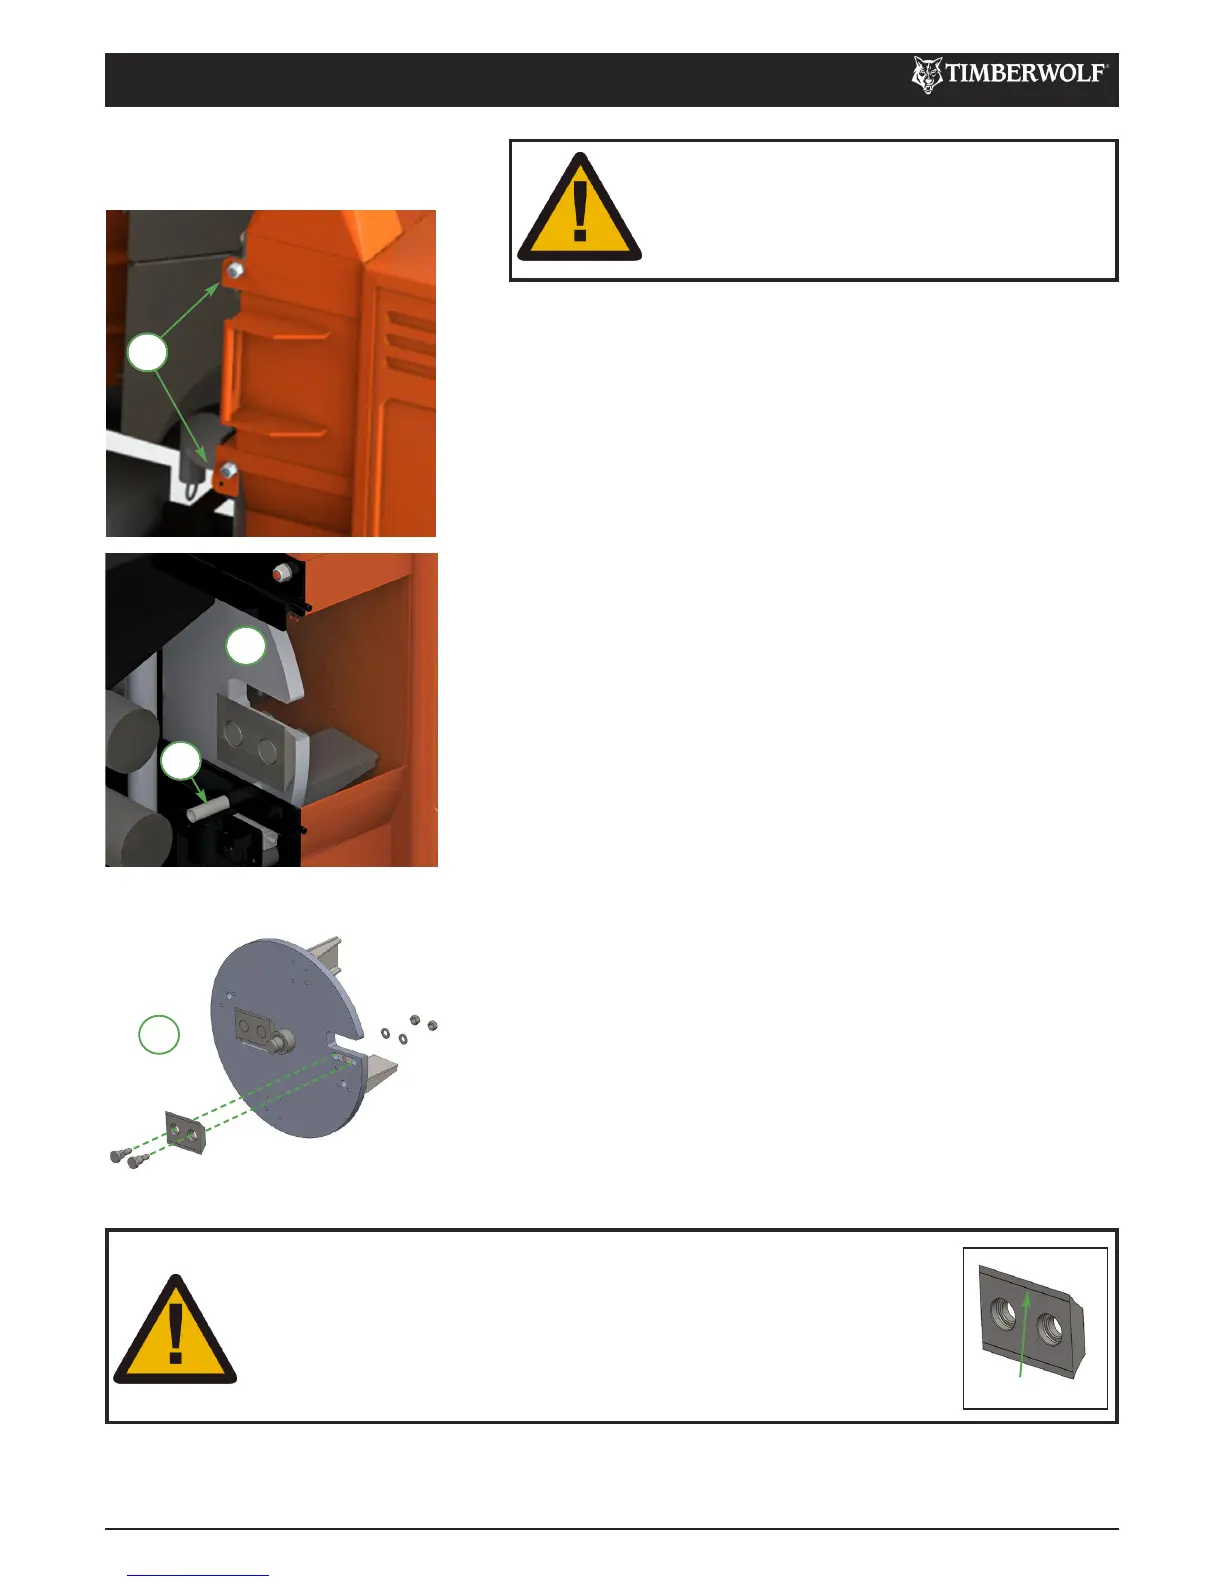
Remove the 2 nuts retaining the rotor housing blade access hatch,3
slide hatch clear of rotor housing.
Turn rotor to blade change position.4
Insert locking bar into rotor housing and rotor.5
Brush away all dirt and debris from the rotor and blades.6
With a 24mm spanner/socket undo the two nyloc nuts and washers7
that are holding the blade in place. Remove both blade bolts from
the blade.
Grasp the blade by the flat edges while wearing heavy duty gloves.8
Withdraw the blade from the rotor. 9
Clean the back surface of the blade, blade bolts and blade area of10
the rotor before reseating blades. The blades must not have any
material underneath them when tightened. If they are not flat
and tight they will become loose very quickly.
Reassemble the blades, bolts, washers and nuts in the order shown11
in the diagram above. Use only genuine Timberwolf nuts and
washers, as they are of a higher grade than normally stocked at
fastener factories. Failure to use the appropriate grade nuts or
washers may result in damage, injury or death. The use of genuine
Timberwolf blades and bolts is recommended.
Apply a smear of anti seize compound (copper ease) to the bolt12
threads and back face of the nuts. Do not apply copper grease onto
the counter bore faces of the blades or bolts.
A calibrated torque wrench must be used to tighten the bolts to a13
torque setting of 125 lbs ft (170 Nm).
Remove lock pin, rotate rotor to next blade then replace lock pin14
and repeat steps 6 - 13.
Refit rotor housing blade access hatch.15
Refit the nuts and tighten to 40lb/ft.16
Refit battery leads.17
CHANGE BLADES
3
4
5
11
W
AR
NING
W
E
A
R
R
IGGERS
GL
O
V
E
S
FOR
TH
E
BLA
D
E
C
H
A
NGING
OP
ER
ATION
.
WARNING
ALWAYS S
HARPEN BLADES ON A REGULAR BASIS. FAILURE TO DO SO
WI
LL CAUS
E
TH
E
MACH
INE
TO UNDER PERFORM AND WILL OVERLOAD
ENG
INE
AND
BEARING
S CAUSING MACHINE BREAKDOWN. BLADES
MUST NOT BE SHARPENED BEYOND THE WEAR MARK SEE DIAGRAM.
FAILURE TO COMPLY WITH THIS COULD RESULT IN MACHINE DAMAGE,
INJURY OR LOSS OF LIFE.
WEAR MARK