18 TimePilot me and a endance systems TimePilot me and a endance systems 19
Return to the TimePilot so ware CD’s main A.
menu.
Click “Install TimePilot Drivers.”B.
Click “Blue Dot Receptor” and follow the C.
instruc ons that appear.
A er the TimePilot so ware is installed, you’ll 9.
see:
If you installed just the Virtual Clock: A.
A TimePilot PC icon on the computer’s
desktop (shown at right). Double-click the
icon to start the program.
If you installed just TimePilot Central: A TimePilot Central B.
icon on the desktop (shown at right).
If you installed both programs: Both icons. C.
When you’ve fi nished the installa on, double-click the 10.
TimePilot PC icon. The so ware will ask you to select the drive
where the me and a endance data collected by this PC will be stored. This should be
the same loca on that you chose for the data when you set up TimePilot Central on
the supervisor’s computer. Don’t remember the loca on? Start TimePilot Central, and
on the opening screen, below the fi elds for your username and password, the data
loca on is listed.
Next, you’ll be asked to register your program. The “5-Client TimePilot PC License 11.
Number” is on a s cker on the inside cover of your user manual. If you’re just trying
out TimePilot PC, click the “Evalua on” bu on to get a 30-day tryout. If you wish to
purchase TimePilot PC at any me during the tryout, call us at 630.879.6400. You will
Blue Dot Receptor
receive the registra on code that converts the so ware from a trial version to the
regular retail version, a copy of the program on CD and a printed version of the manual.
The setup informa on entered into the trial version, as well as the data collected, will
automa cally be transferred to the permanent version of the so ware.
Repeat steps 2-11 for each PC on which you’ll install the “virtual clock.”12.
You can see which computers have the virtual clock installed, as well as delete a license from
a par cular computer so it can be used on another computer, by going to the “TimePIlot PC
Administra on” item in the Administra ve menu in TimePilot Central.
Using TimePilot PC
When employees enter their ID number, their name appears in the fi eld at the top of the clock
and the four bu ons down the right side, “In,” “Out,” “View” and “Clear,” become ac ve.
“In” and “Out” are self-explanatory (click “In” to clock in and “Out” to clock out.).•
“View” will show the employee their Current Transac ons. This func on is op onal: •
See the Op ons menu below.
“Clear” will erase a digit if the employee makes a mistake entering his or her ID •
number.
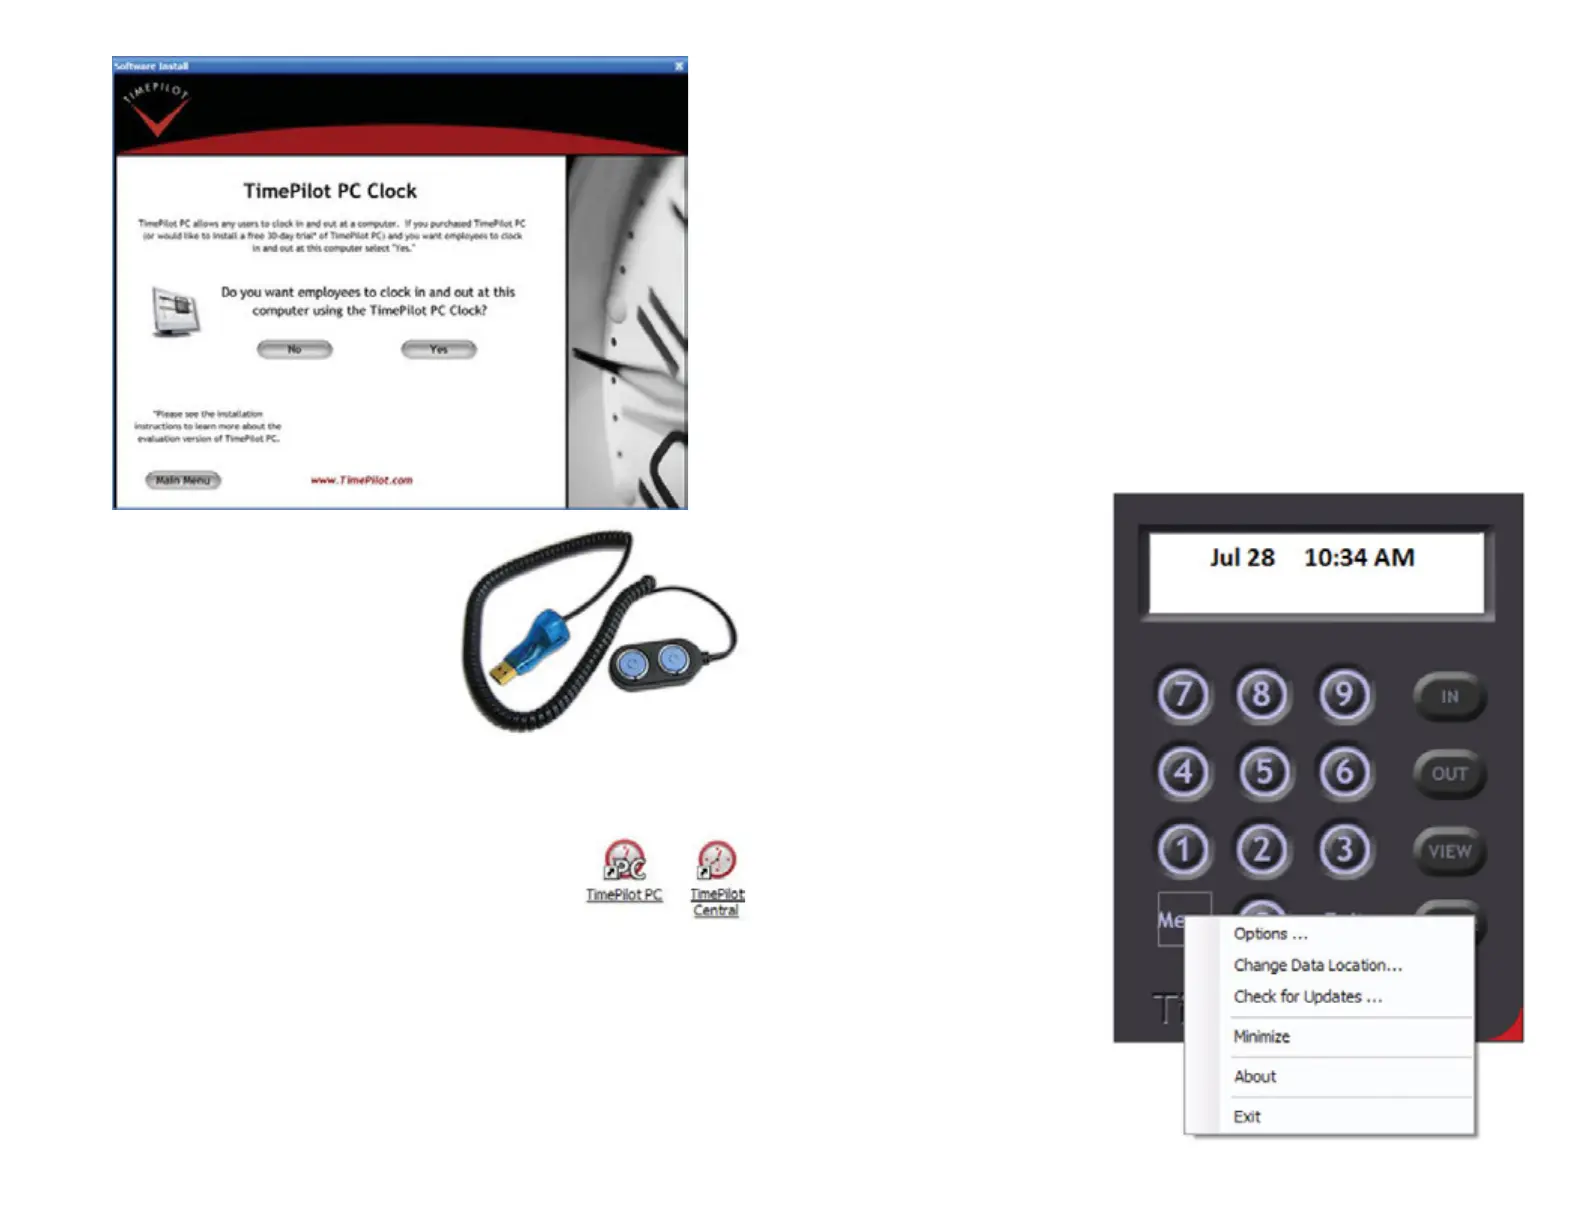
To close the program, click the
“Exit” bu on or press the “Esc”
key on your keyboard.
At the bo om le of the screen is
the “Menu” bu on. Clicking the
menu bu on will cause a list of
items (see screenshot at right) to
appear:
Op ons
“View Op ons” tab•
Enable at Startup:
Clicking this box will
cause the “virtual
clock” to appear
automa cally when
the computer is
started.
Enable Users to
View and Print Their
Transac ons: If this
box is checked,
employees can click
the “View” bu on on
the “virtual clock” to
see and print their
transac ons. If the
 Loading...