12 TimePilot me and a endance systems TimePilot me and a endance systems 13
right place. The recommended placement on a wall is to have the top of the
sta on 5 feet off the fl oor. At this level, it’s easy for most employees to see
the LCD screen.
A er moun ng, plug the power supply into an electrical outlet. As with all
electronic equipment, we suggest using a surge protector to protect your
system.
Se ng the date and me
When the Vetro powers up, you’ll see a message on the clock’s screen
asking you to set the date and me. To do so, follow these instruc ons:
Enter the factory-set administra ve password: “123456” (You’ll change this password 1.
to something unique to your business later, when you run the TimePilot Vetro Setup
Wizard.)
Follow the on-screen instruc ons, using the keypad to enter the date and me.2.
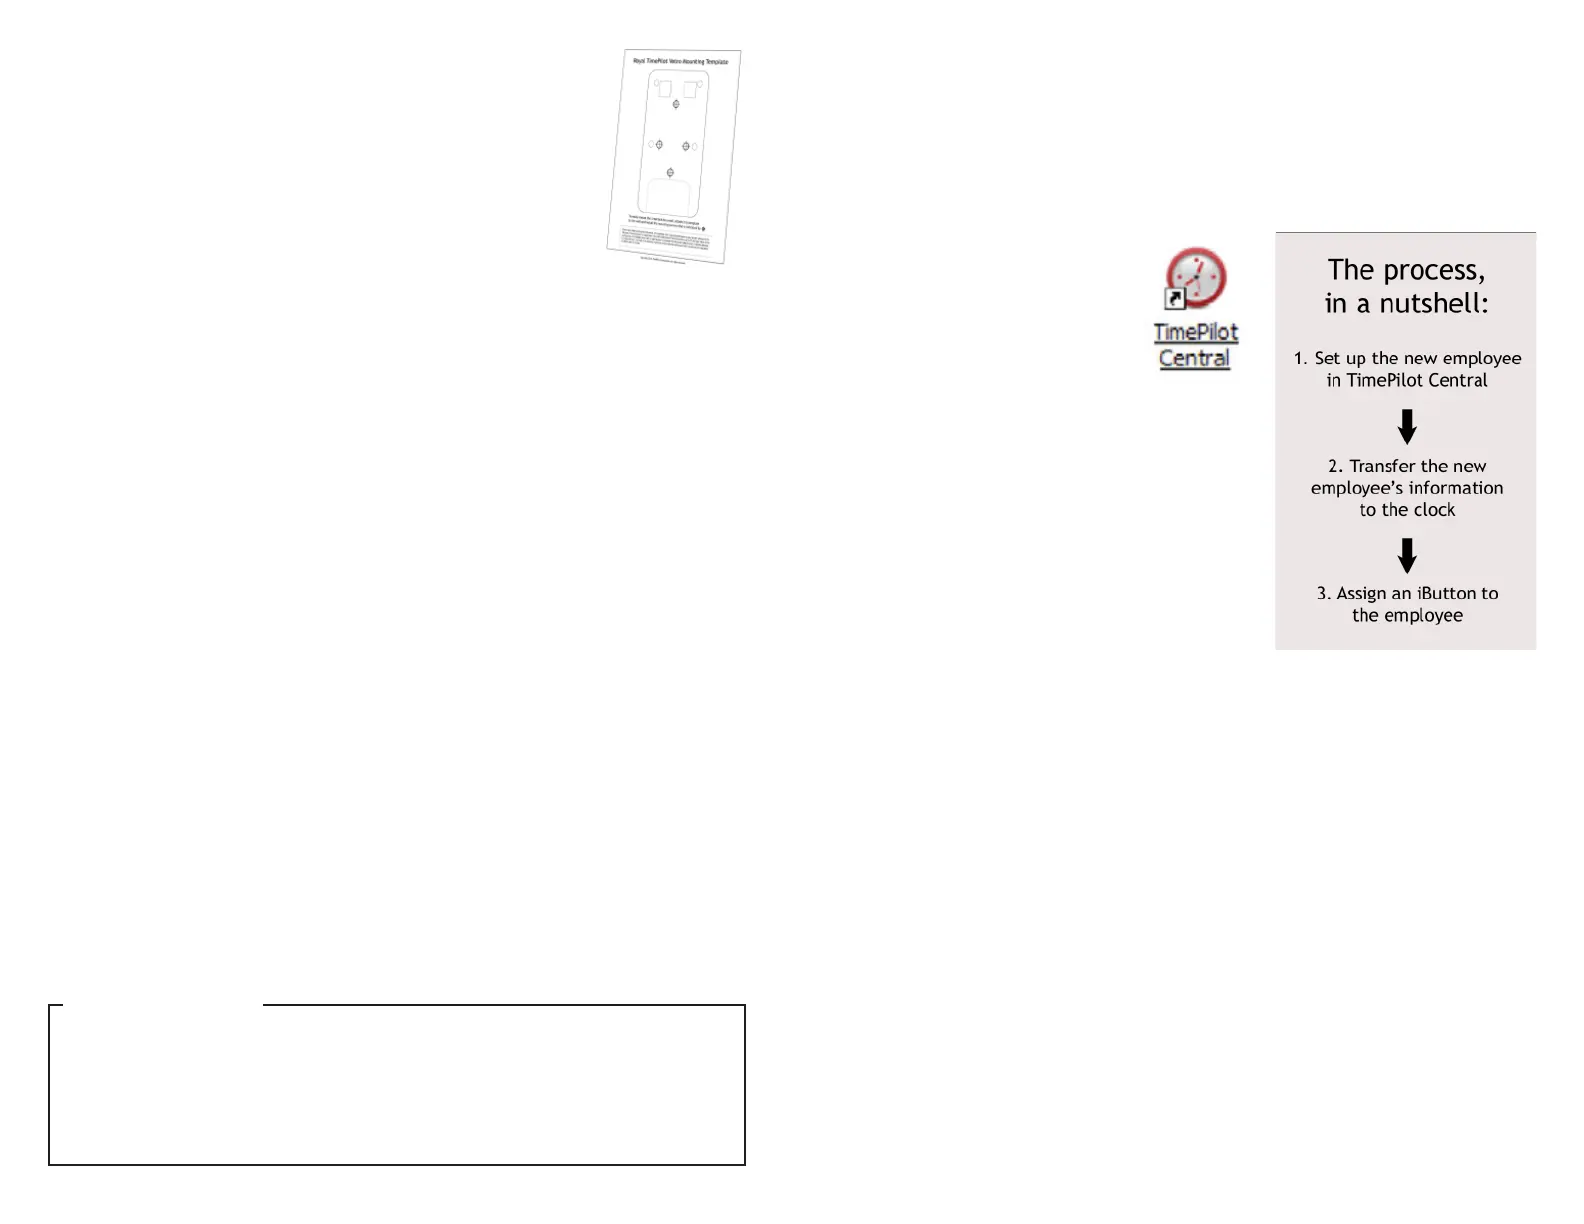
Installing the so ware
Follow the instruc ons for installing and se ng up your TimePilot Central so ware on Page 25.
When you complete the TimePilot Central Setup Wizard, you’ll be taken directly to the Vetro
Setup Wizard, which will guide you through se ng up your clock in the so ware.
In the Vetro Setup Wizard, you’ll do the following:
Give the Vetro meclock a name. The name of the clock where employees clocked in •
or out will appear in TimePilot Central--helpful if you’re using more than one Vetro
meclock in your business.
Set an administra ve password on the clock. The factory-set password is 123456, and •
you’ll use that to set the me and date on your clock when you fi rst power it up, but
you’ll change the password here to a six-digit number unique to your business.
Transfer the clock’s name and new password, as well as the names and the ID numbers •
of each employee, to the TimePilot USB drive. A er the data has been transferred to
the drive, you’ll plug it into the Vetro clock and download it into the clock’s memory.
Assign iBu ons to employees. This is done at the Vetro clock. •
Assigning iBu ons or ID numbers
You ini ally set up employees with iBu ons or ID numbers when you ran the Vetro Setup
Wizard. Later, a er you’ve fi nished using the wizard, you may fi nd that you want to add more
employees and assign them an iBu on or an ID number.
For the greatest security we strongly recommend using iBu ons. If you’re using ID numbers, it’s
easier for one worker to clock in another; all they have to do is know their co-worker’s number.
Because iBu ons are usually kept on an employee’s keychain, it’s much less likely that an
employee will loan another their keys to clock them in.
Here’s how to set up employees without using the Vetro Setup Wizard:
Start TimePilot Central by clicking the icon on your desktop.1.
Click the “Setup” menu, then “Profi le Setup.”2.
Click “Add a Profi le.”3.
Enter the employee’s name and 4.
other informa on by fi lling in
the blanks. Be sure to enter a
four-digit ID number of your
choosing and click the “Enable
User ID Entry” box in the profi le’s
Iden fi ca on sec on. Don’t enter
an iBu on serial number; that will be done at the
Vetro clock later in this process.
Plug your TimePilot USB drive into your 5.
computer’s USB port.
In TimePilot Central, click the Setup Menu, then 6.
choose “Transfer Changes to Vetro Clocks.”
Wait un l the new data is loaded on the USB 7.
drive. When the process is complete, remove the
drive from the computer and plug it into the USB
port on the Vetro clock.
On the Vetro clock’s keypad, enter Administra ve 8.
Mode by pressing “99” and then “OK,” followed
by your Vetro password.
Select “Read USB Drive” from the menu that appears on the clock’s screen by entering 9.
its menu number (3) on the keypad. The data will be transferred from the USB drive to
the clock.
Press the “ESC” key to return to the Administra ve Mode’s main menu. 10.
If you’re just using ID numbers to clock in and out, stop here; the process is complete.
You can press “ESC” to exit Administra ve Mode.
If you’re going to use iBu ons, stay in Administra ve Mode; now you’ll need to assign
an iBu on to each employee:
Select “Assign iBu ons” from the clock’s menu by entering its menu number (4) on the 11.
keypad.
Use the up and down arrow keys to scroll to the name of the employee to receive the 12.
iBu on and tap the iBu on to the “In” or the “Out” probe. The iBu on’s serial number
will appear on the meclock’s screen.
Repeat Step 12 for the next employee, or press the “ESC” key to return to the 13.
Administra ve Menu and ESC again to exit Administra ve Mode.
Do you want to delete an employee’s iBu on or ID code? (This might occur if an employee
leaves your company.) Here’s how:
iBu ons:• Enter Administra ve Mode on your Vetro clock (99 > OK > password), select
“Assign iBu ons” from the clock’s menu by entering its menu number (4) on the
keypad and follow the instruc ons to clear the iBu on. This process will change the
iBu on serial numbers
The iBu on numbers will appear in each employee’s profi le in TimePilot Central a er
the clock-in and clock-out data is collected for the fi rst me. See Page 14 for more on
collec ng data from your clock.
TimePilot Tip

 Loading...