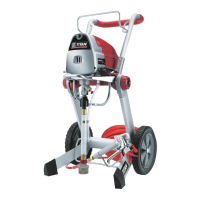
RX-80 7
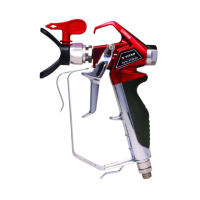
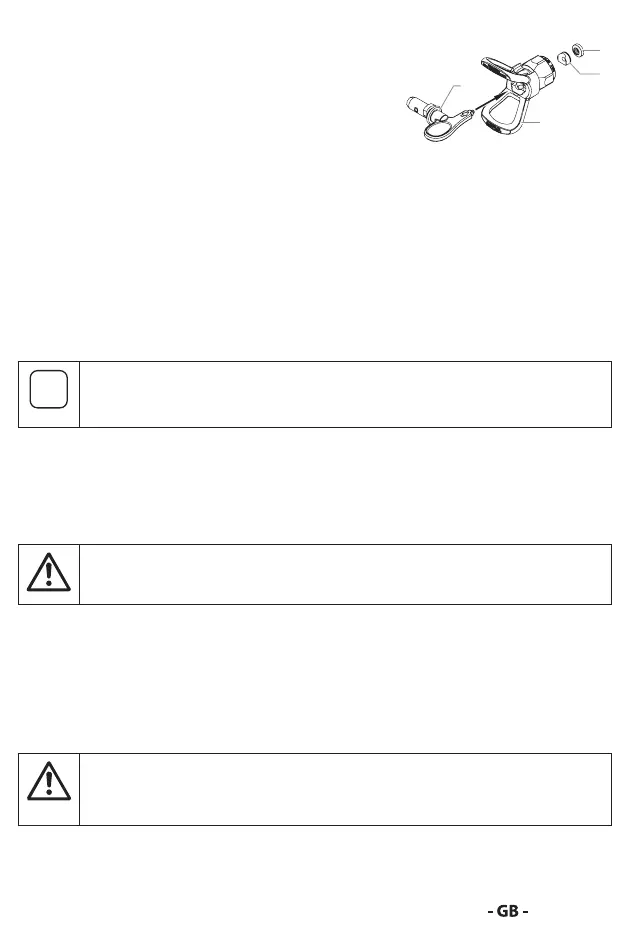
REMOVING THE SEAL AND TIP SEAL
2
1
1. Remove the tip (1) from the tip guard (2).
2. Insert the tip handle through the front of the
tip guard.
3. Push the tip seal (3) and tip seal retainer (4)
out through the back of the tip guard.
IDENTIFYING TIP SIZES
To identify tip sizes, use the following formula. A “517” tip size will be used in
this example.
The rst digit multiplied by two represents the size of the spray pattern when
spraying 12” away from the work surface:
5 x 2 = 10” spray pattern
The second two digits represent the diameter of the orice on the tip:
17 = .017” orice
Worn spray tips will adversely aect the spray pattern and result in
reduced production, poor nish, and wasted material. Replace worn
tips immediately.
CLEANUP
Maintaining a clean gun is important to ensure trouble-free operation. Flush
the gun after each use and store in a dry location. Do not leave the gun or any
of its parts in water or solvents.
Special cleanup instructions for use with ammable solvents:
• Always ush spray gun preferably outside and at least one hose length from
spray pump.
• If collecting ushed solvents in a one gallon metal container, place it into an
empty ve gallon container, then ush solvents.
• Area must be free of ammable vapors.
• Follow all cleanup instructions.
The sprayer, hose, gun and gun lter should be cleaned thoroughly
after daily use. Failure to do so permits material to cake, seriously
aecting the performance of the unit.
 Loading...