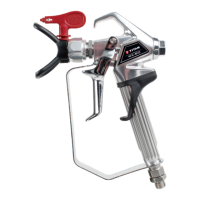
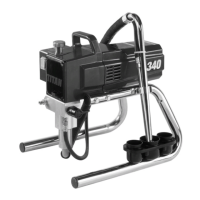
RX-80 9
Lubricate all packings and moving parts before reassembly with a
lithium-based grease.
9. Install the seal assembly into the front of the gun head.
10.Replace the retractor plate (4) inside the rear of the gun head. Make sure
the ats just above the threads on the seal assembly are horizontal so it
slides through the hole in the retractor plate.
11.Using a 3/8” socket, tighten the lock nut onto the end of the seal assembly.
Torque to 5 Nm (3.7 ft. - lbs.).
12.With the trigger depressed, install the diuser into the front of the gun head
and tighten securely with a wrench.
13.Replace the rear housing.
REPLACING/REMOVING THE FILTER
The gun lter should be cleaned after every use.
1. Unclip the top of the trigger guard from the gun head.
2. Using the bottom of the trigger guard as a wrench, loosen and remove the
handle assembly from the gun head.
3. Pull the old lter out of the gun head. Clean or replace.
4. Slide the new lter, tapered end rst, into the gun head.
5. Thread the handle assembly into the gun head. Tighten with the trigger
wrench.
6. Snap the trigger guard back onto the gun head.
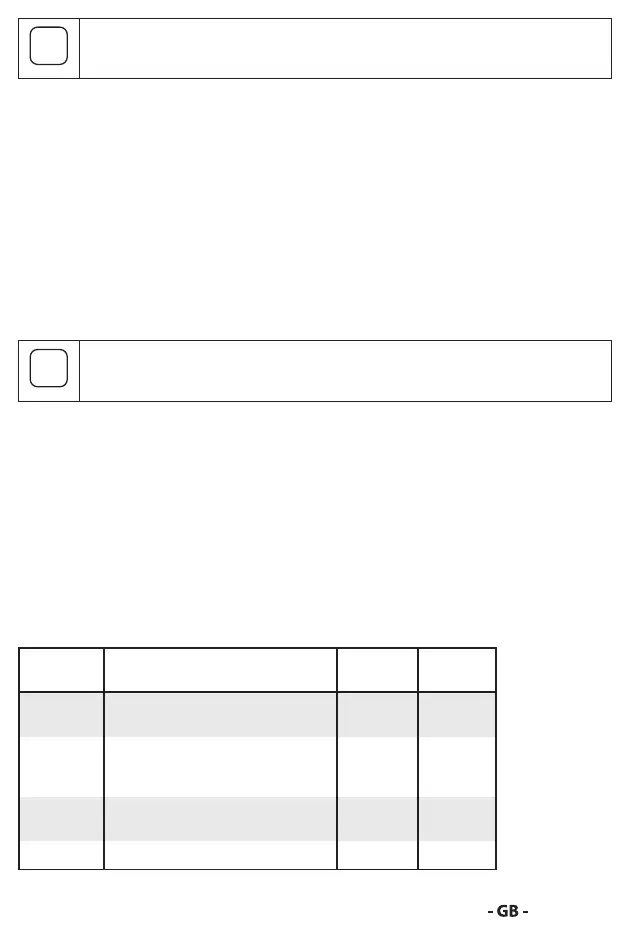
FILTER CHART
Part
Number
Application Filter
Type
Filter
Color
0089960 Synthetic resin, enamels, clean
varnishes, stains, azures
Extra-ne Red
0089959 Base coat enamels, primer
enamels, llers, marking paints,
textured enamels
Fine Yellow
0089958 Emulsions, latex paints, acrylic
paints
Medium White
0089957 Filler paints, large area surfaces Coarse Green