67
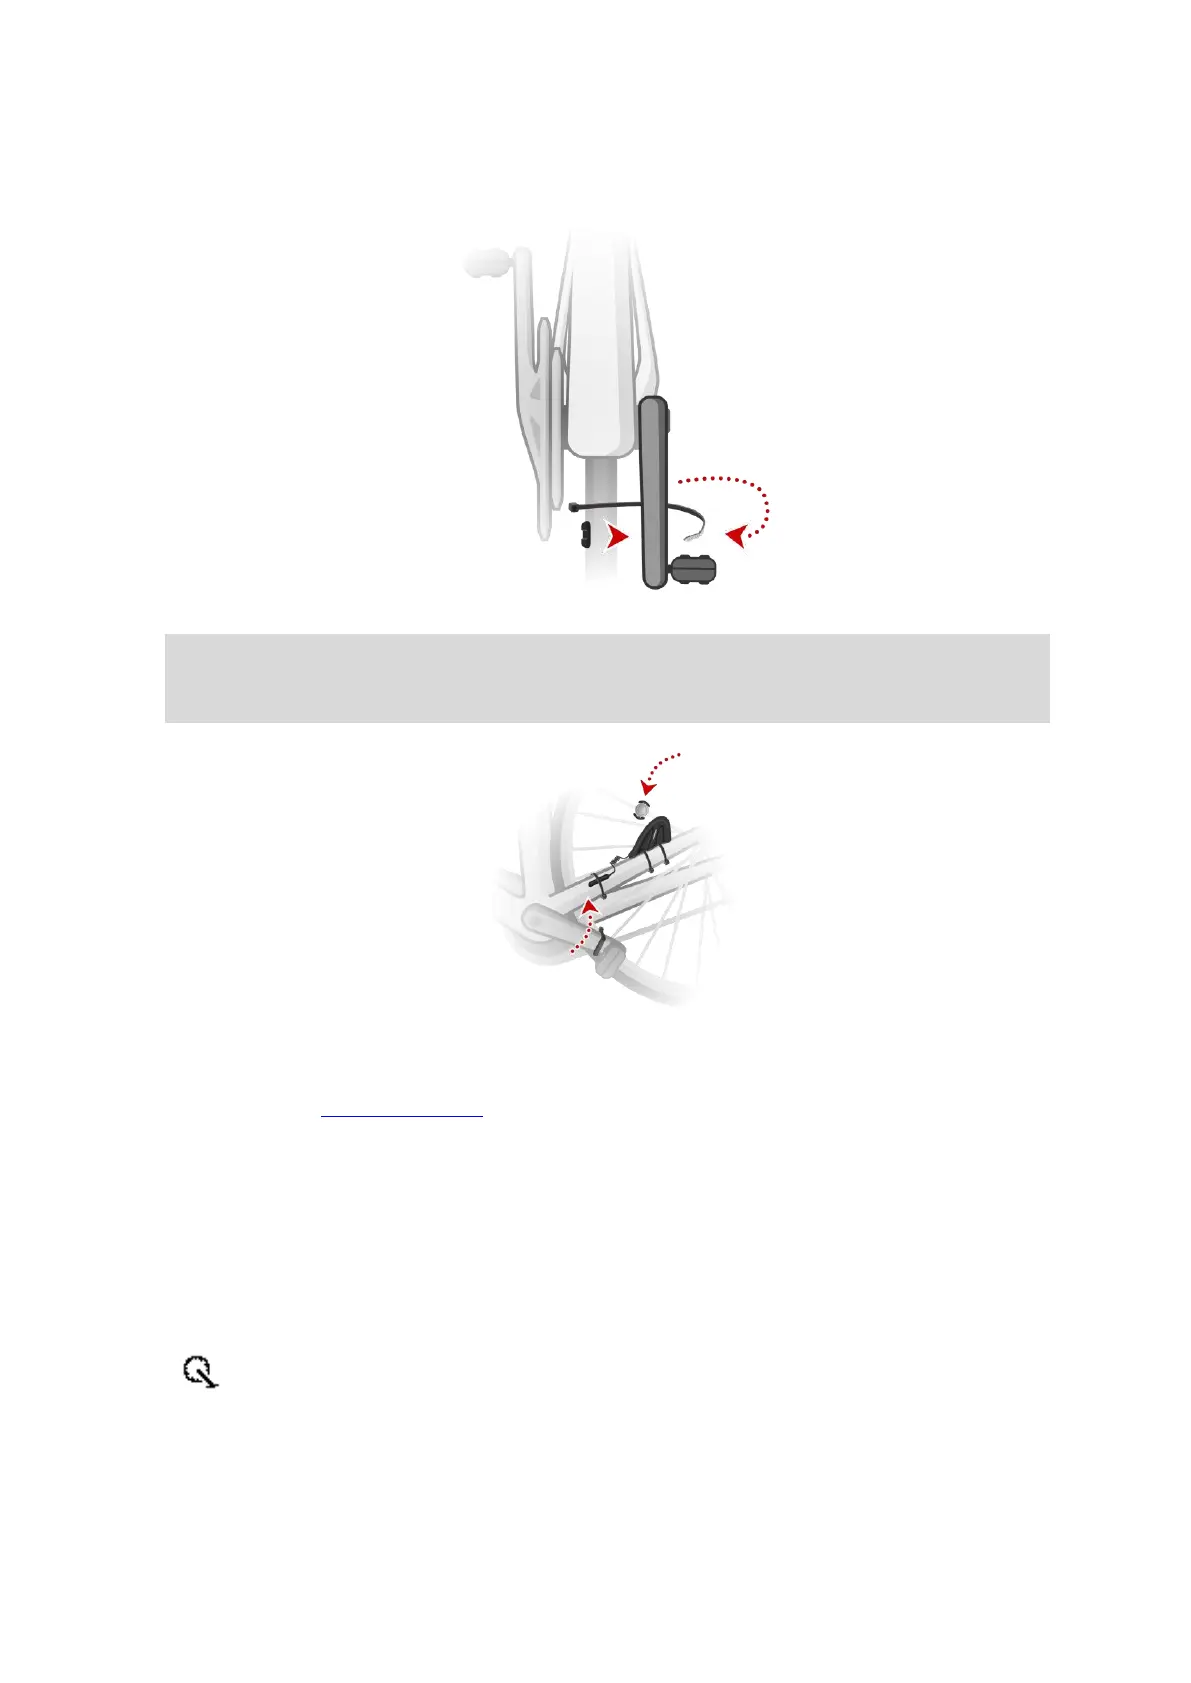
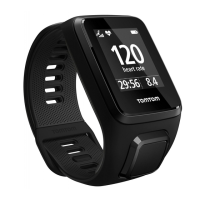
4. Attach the crankarm magnet to one of the crankarms on your bike. The magnet should face the
chainstay where you attached the chainstay sensor.
Tip: Make sure the different parts of the Cadence & Speed Sensor are lined up correctly on
your bike. The spoke magnet should pass the main body of the chainstay sensor and the
crankarm magnet should pass the tip of the sensor.
Once you have adjusted the sensors to the right position, tighten the cable ties so they are held
securely in place.
5. On your watch, set the wheel size to help increase the accuracy of the metrics provided by the
sensor. The wheel size is the circumference of your tyre in millimetres (mm).
6. Move your bike or its crankarm so that at least one of the magnets passes the sensor. This
switches on the sensor.
7. From the Clock screen, press DOWN.
8. Select SENSORS, then press RIGHT.
9. Select BIKE, then press RIGHT to turn it on.
10. When you begin a workout, your watch connects to the sensor and you see an icon of a chainring
at the bottom of the screen.
When your watch is trying to connect to the Cadence & Speed Sensor, the chainring flashes.
The first time your watch tries to connect to your sensor, if it finds more than one sensor, your
watch doesn't know which sensor to connect to. Move to a place where there are no other
sensors within range of your watch.