Print date and time can be set.
Press and hold down the FUNCTION key for approximately two seconds while the ready
lamp is illuminated. “F01” will start ashing in the temperature display.
Press the temperature setting up/down keys until the code of a desired setting item shows in
the display. The time display will show the code of a desired setting item.
<
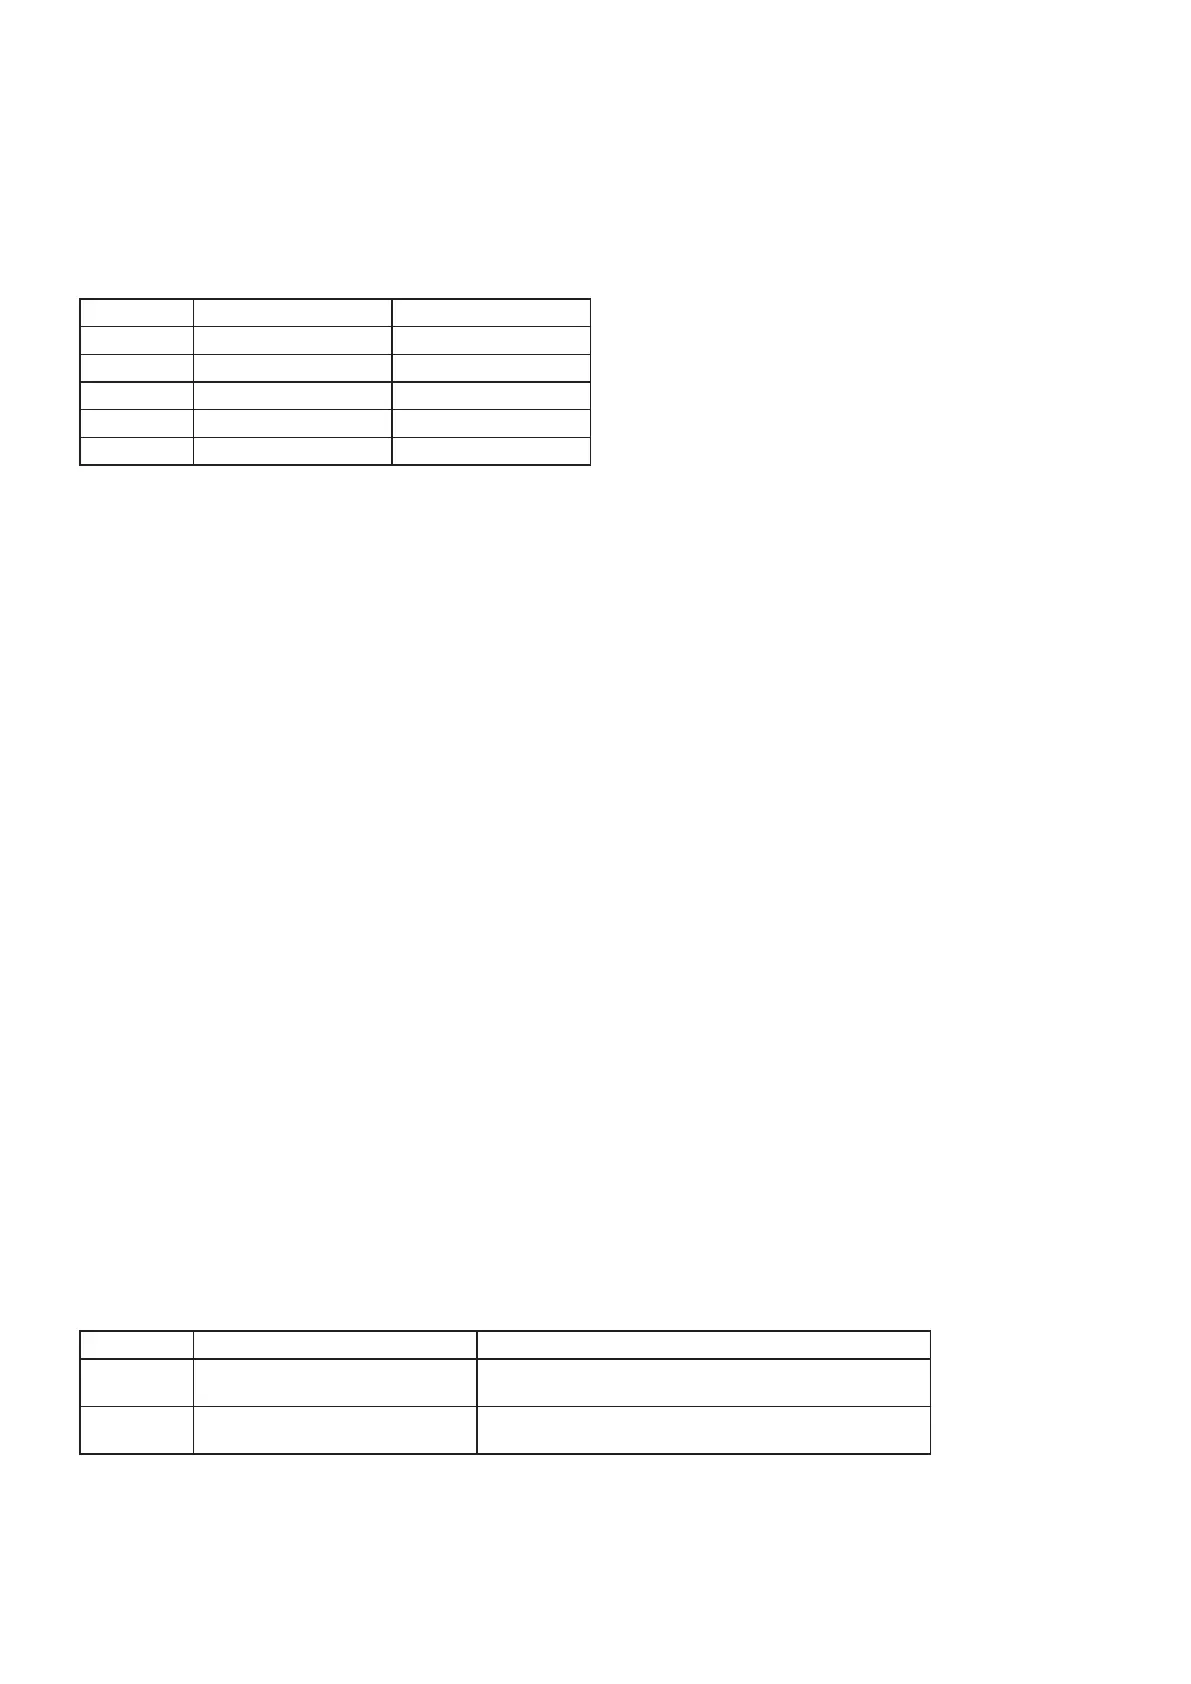
To set date and time
>
①
②
Code Setting item Setting range
F09 Year 00-99
F10 Month 1-12
F11 Day 1-31
F12 Hour 0-23
F13 Minute 0-59
Press the START key. The time display will start ashing.
Press the time setting up/down keys until the display shows a desired set value.
Press the START key again to enter the value.
※
When the set value for the minutes is entered, seconds are set as 00.
③
④
⑤
※
To set the year, enter the last two digits of the year.
Printing intervals during sterilizing and heating processes can be changed.
Press and hold down the FUNCTION key for approximately two seconds while the ready
lamp is illuminated. “F01” will start ashing in the temperature display.
Press the temperature setting up/down keys until “F07” shows in the display. The time
display will show a printing interval.
Press the START key. The time display will start ashing.
Press the time setting up/down keys until the display shows a desired printing interval.
Press the START key again to enter the value.
<
To set printing intervals during sterilizing and heating processes
>
①
②
③
④
⑤
※
During sterilizing and heating processes, printing intervals can be changed between 1 and 5
minutes.
※
During temperature raising, temperature and pressure raising, temperature and pressure
reduction, and temperature reduction processes, printing intervals are set to every three minutes
(xed value).
Data of operating conditions stored in the autoclave and a test print can be manually printed.
Press and hold down the FUNCTION key for approximately two seconds while the ready
lamp is illuminated. “F01” will start ashing in the temperature display.
Press the temperature setting up/down keys until “F08” is displayed. The time display will
show the code of the print item.
<
To print data manually
>
①
②
Code Print Item Contents
1 Operating conditions data
Printout of the stored data of operating
conditions
2 Test print
Printout of the information on model name,
serial number, date and time
Press the START key. The time display will start ashing.
Press the time setting up/down keys until the display shows the code of a desired print item.
Press the START key to set the print item and start printing.
③
④
⑤