15
7. SETTING UP THE INSTRUMENT
7. Adjust the leveling screw again to align the survey
point with the center of the optical vertical reticle.
(Tribrach type: Detachable)
Loosen the centering screw slightly.
Looking through the optical plummet eyepiece,
slide the instrument over the tripod head until the
survey point is exactly centered in the reticle.
Retighten the centering screw securely.
(Tribrach type: Centering)
Loosen the centering fixing screw slightly.
Looking through the optical plummet eyepiece,
slide the instrument over the tripod head until the
survey point is exactly centered in the reticle.
(The instrument is moved horizontally within a
range of ± 8mm.)
8. Check again to make sure the bubble in the plate
level is centered.
If not, repeat the procedure starting from step 3.
(DT-302/305/305L/307/307L only)
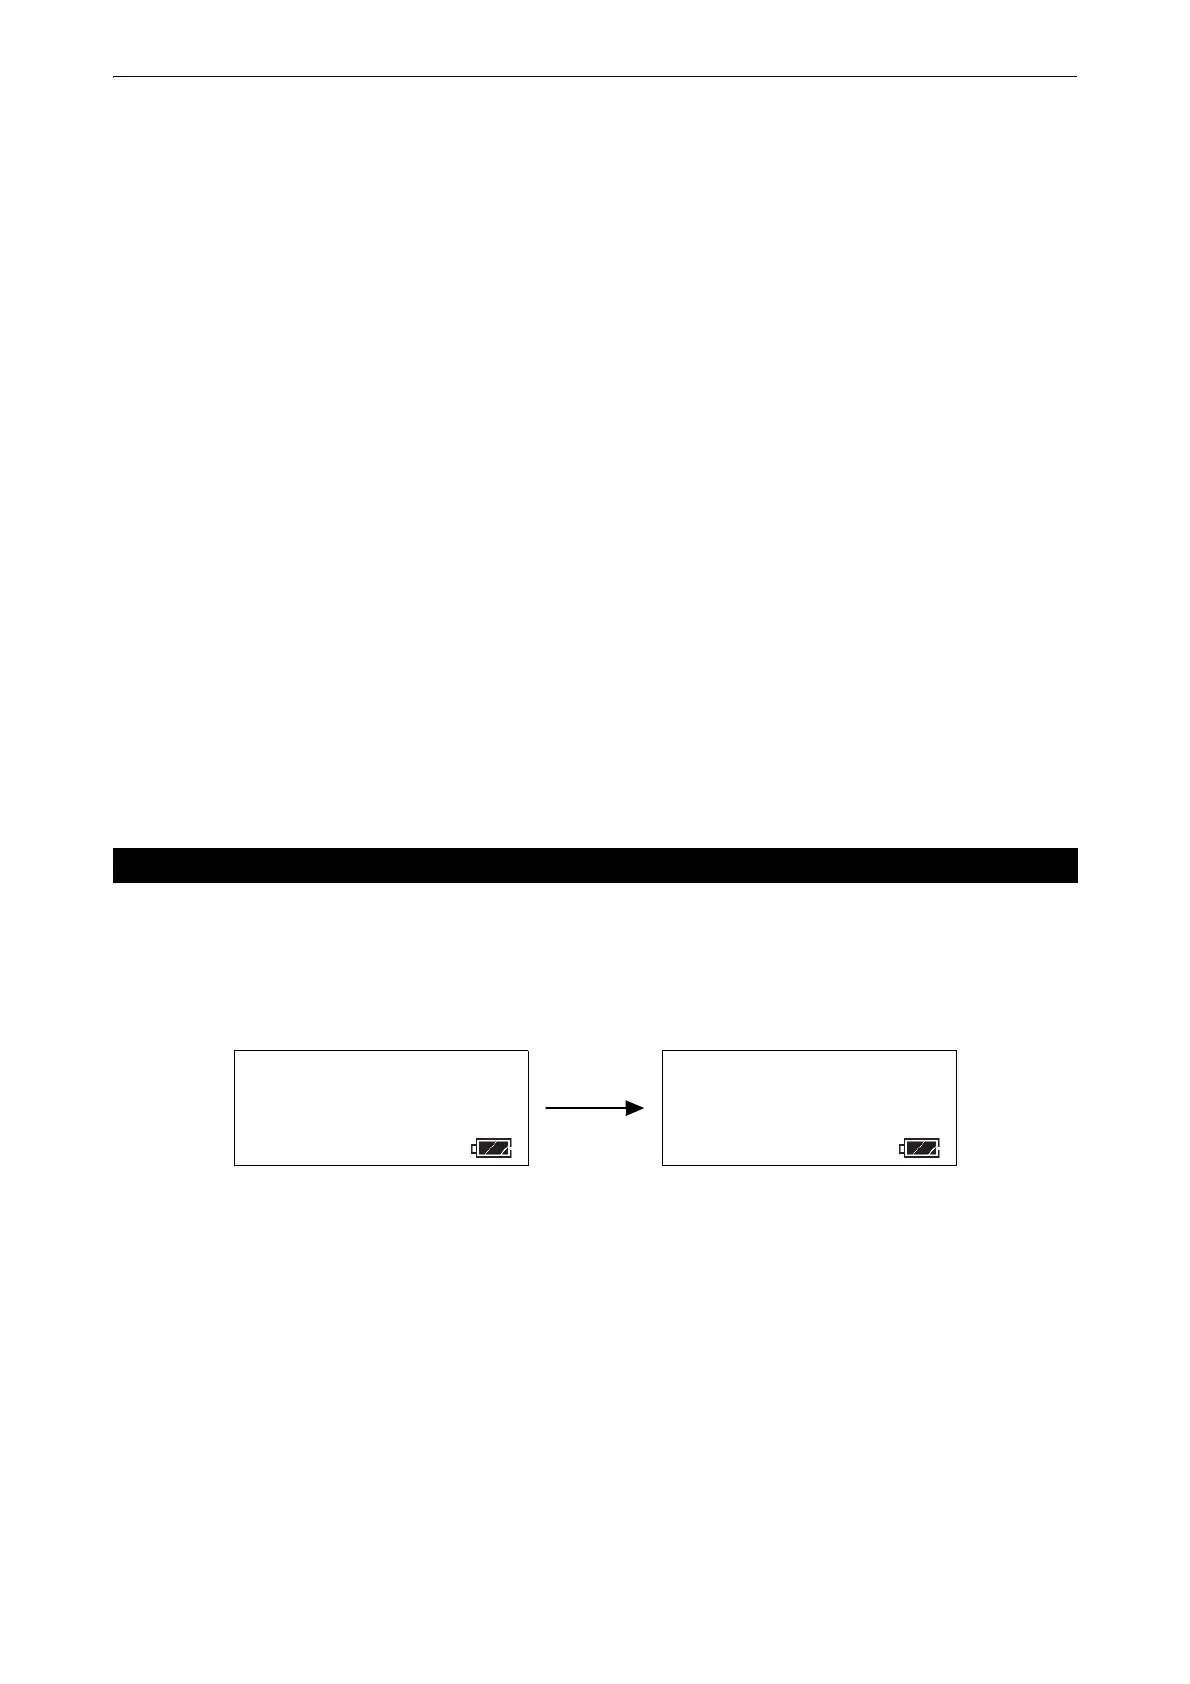
When the tilt sensor is activated, automatic correction of vertical angle for mislevelment is displayed. To ensure
a precise angle measurement, tilt sensors must be turned on. If the "b" display appears the instrument is out
of automatic compensation range and must be leveled manually.
In case the instrument is used in an unstable situation, constant indexing of vertical angle may be impossible.
In this case, the function of tilt correction can be stopped.
To stop the function of tilt correction, refer to "12. SELECTING MODE".
7.3 Vertical Angle Tilt Correction
Out of the tilt
correction
range
V 90°10’20”
TILT
HR 123°40’50”
V b
TILT
HR 123°40’50”
 Loading...