8
SettingtheClip-Control
Feature
NoPartsRequired
Procedure
Themachinehasaclip-controlfeaturethatvariesthe
speedofthereelswiththespeedofthemachineto
maintainaconstantclip.Thisachievesaconsistent,
highquality-of-cutandauniformafter-cutappearance.
Theclip-controlfeatureisoffbydefault;tocongureit
andturniton,refertoSettingtheClip-ControlFeature
(page20)
9
AddingRearWeight
Partsneededforthisprocedure:
1
Weightkit(PartNo.119-7129)—soldseparately
Procedure
ThismachinecomplieswithANSIB71.4-2017and
ENISO5395:2013whenequippedwiththeWeight
Kit(PartNo.119-7129).
10
InstallingtheCEDecals
Partsneededforthisprocedure:
1
Warningdecal(PartNo.136-8505)
1
CEmarkdecal
1Productionyeardecal
Procedure
Ifyouusethismachineinacountrythatcompliesto
CEstandards,performthefollowingstepsafteryou
installtheguardkittothemachine:
•ApplytheCEwarningdecal(PartNo.136-8505)
overtheexistingwarningdecal(PartNo.
136-8506).
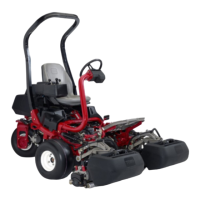
•ApplytheCEmarkdecaltotheframeunderthe
frontoftheseat(Figure11).
g233420
Figure11
1.CEmarkdecal
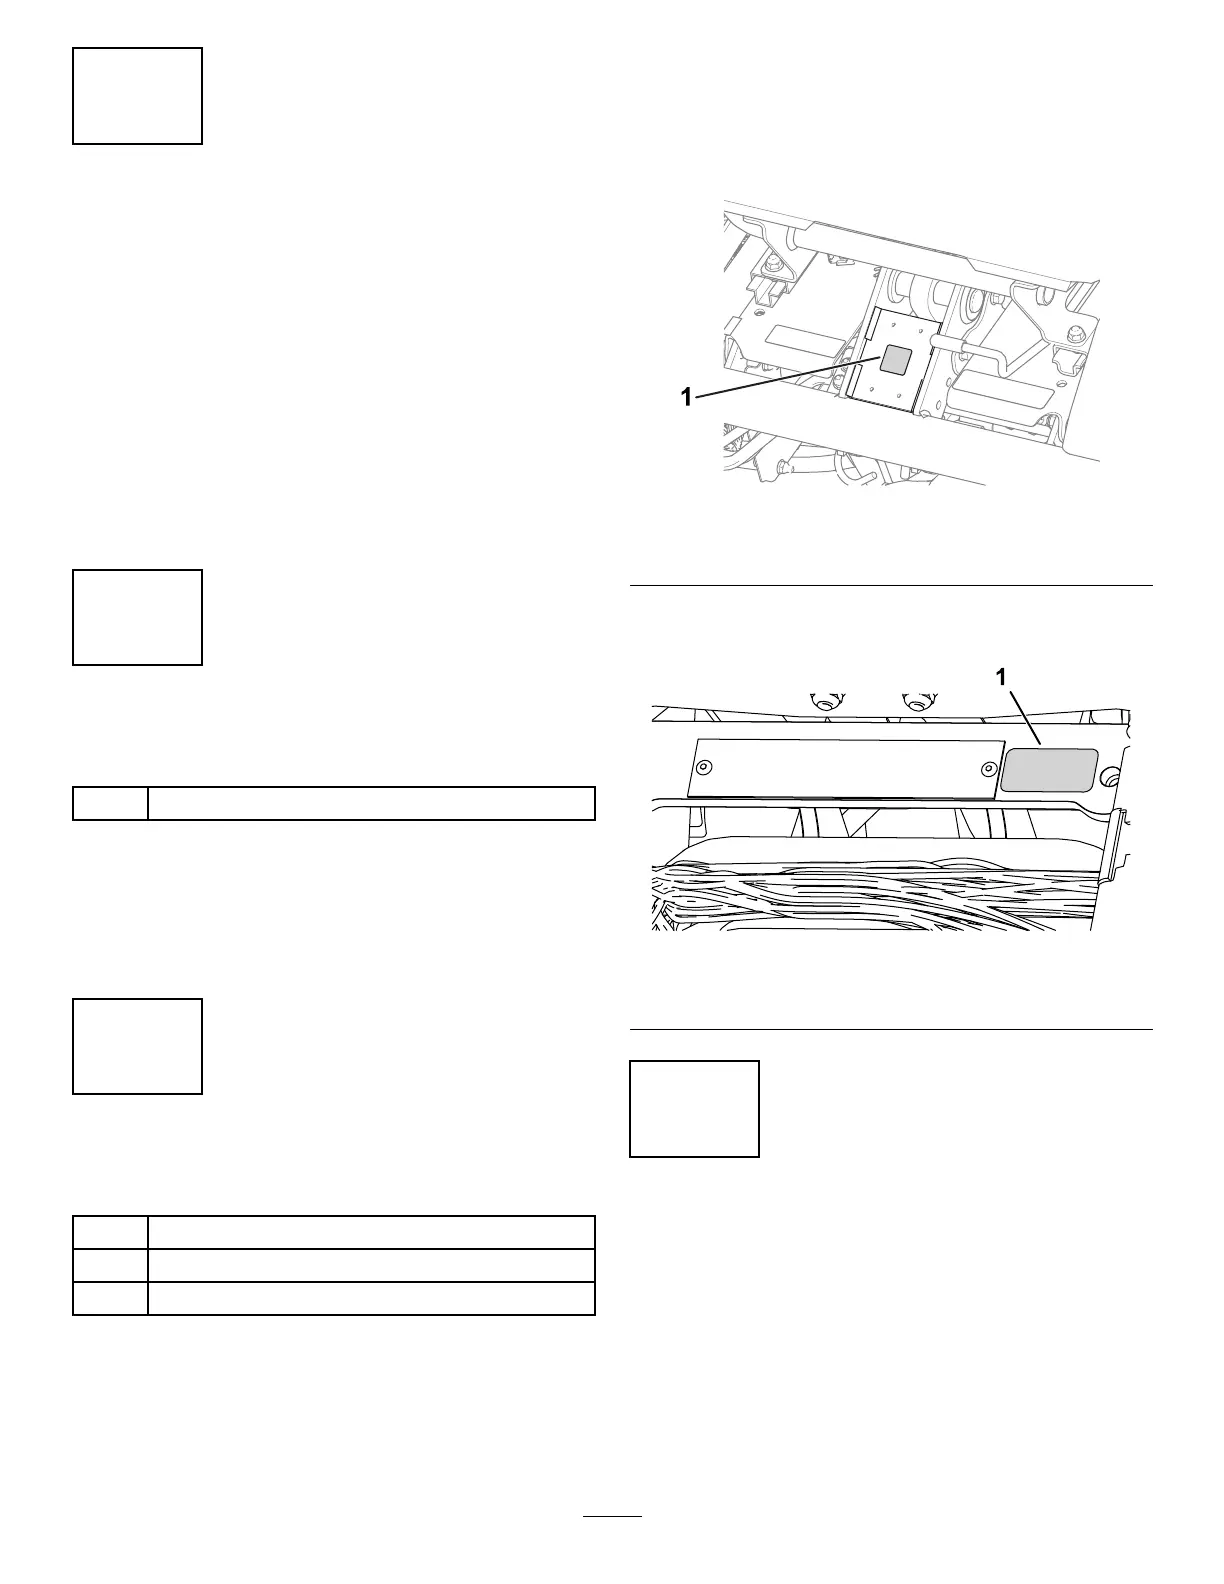
•Installtheproductionyeardecalneartheserial
plate(Figure12).
g271539
Figure12
1.Productionyeardecal
11
ReducingtheTirePressure
NoPartsRequired
Procedure
Thetiresareoverinatedatthefactoryforshipping
purposes.Reducethepressuretotheproperlevels
beforestartingthemachine;refertoCheckingtheTire
Pressure(page40).
15