Installation
7
m–3456
1
2
Figure 9
Left Side of Tractor Shown
1. J–pin 2. Mower
slot in side
mounting bracket.
8. After the two J–pins are seated through the
mower’s mounting brackets, using the
attachment lift and your hand on the right front
adjustable mower wheel bracket (Fig. 10),
position the mower so its attachment bar fits into
the mid Attach–A–Matic mount.
POTENTIAL HAZARD
• The “scissor” formed by the mower
mounting brackets and the attachment lift
arm is dangerous.
WHAT CAN HAPPEN
• Hands and fingers can get caught between
the mower parts and the tractor and be
injured.
HOW TO AV
OID THE HAZARD
• Keep hands away from moving parts while
operating the attachment lift.
• Always position the mower with your hand
on the right front mower wheel bracket.
• Never try to position the mower with your
hands on the mower mounting brackets or
below the mower housing.
m–3575
Figure 10
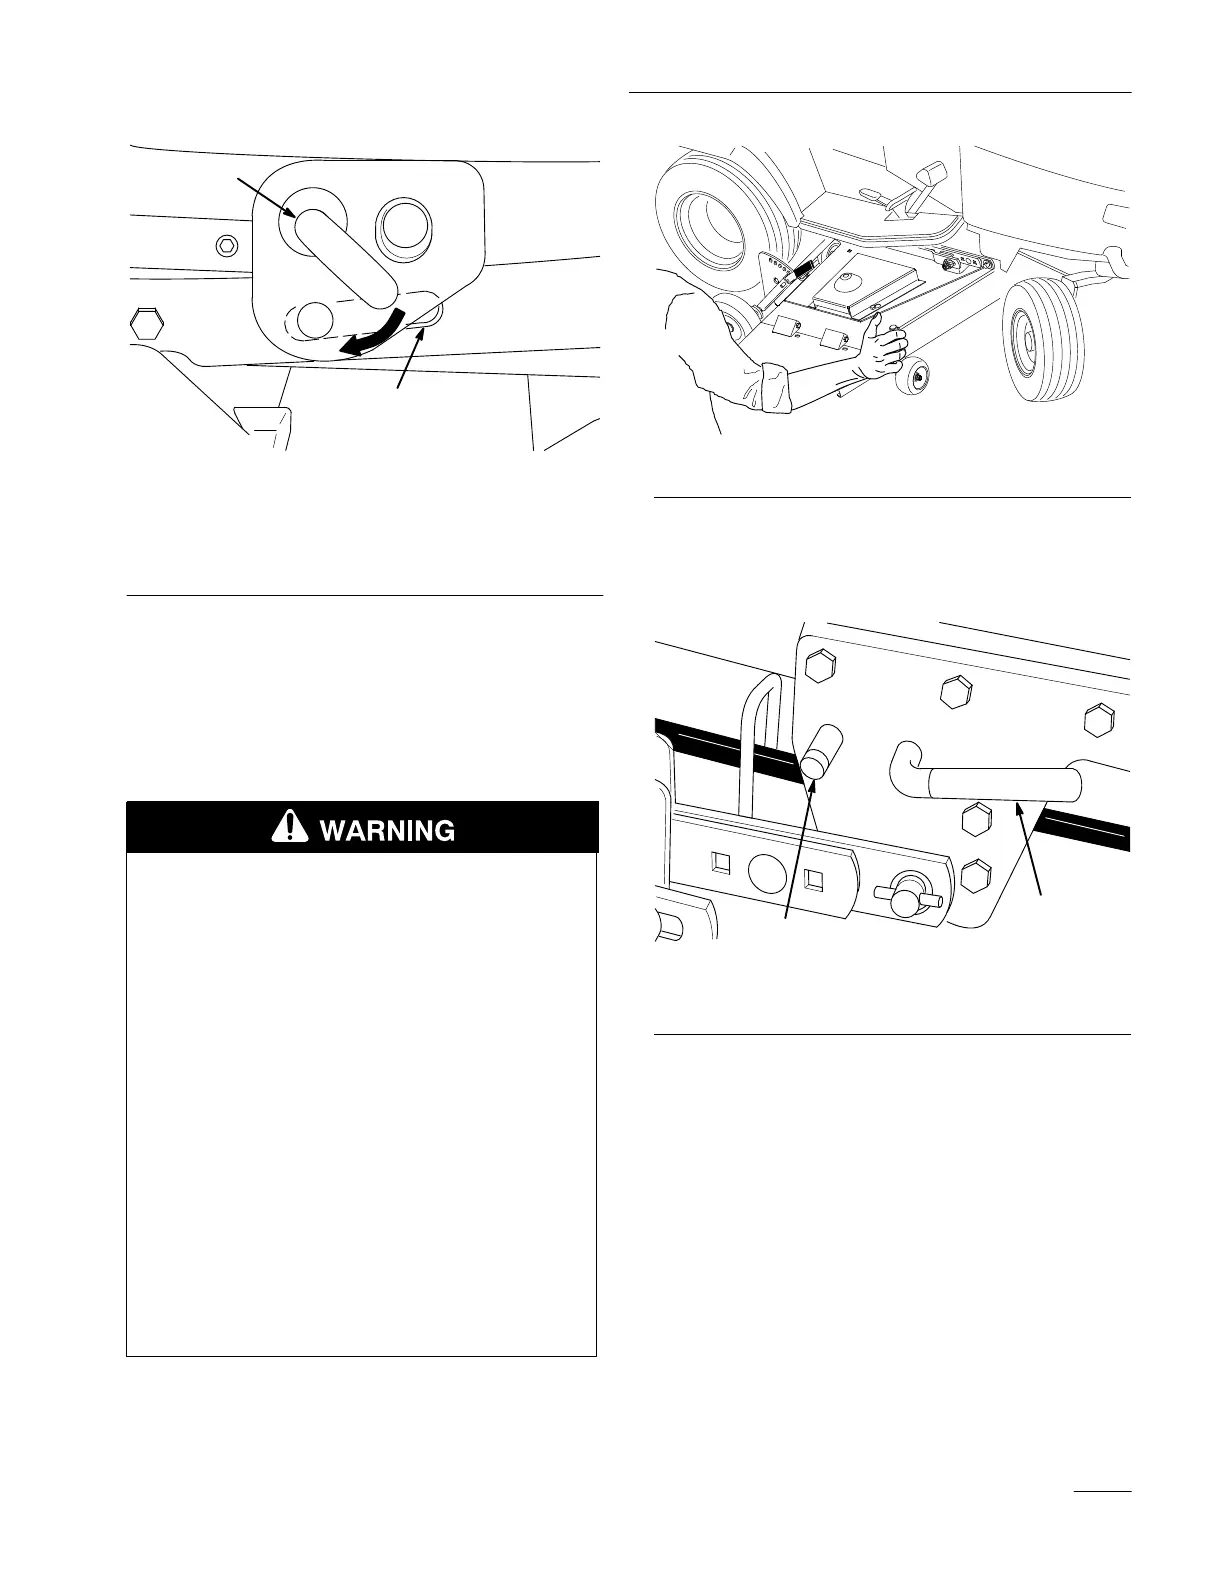
9. Turn the lever of the Attach–A–Matic
counterclockwise to lock the mower to the
tractor (Fig. 11).
m–34571
2
Figure 1
1
1. Attach–A–Matic
button
2. Attach–A–Matic
lever
10. Now raise the rear center wheel on the deck so
that it will not interfere with mowing.
IMPORTANT: Always raise the rear center
wheel before mowing. The mower may
become damaged if the wheel is left in the
down position while mowing.
A. Remove the hairpin cotter from the wheel
rod.