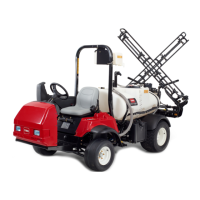
g028168
Figure3
1.Forwardheatshield
3.Frontofthemachine
2.Hex-headboltsand
washers
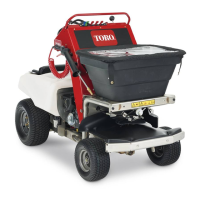
RemovingtheUndercarriage
Shroud
g032041
Figure4
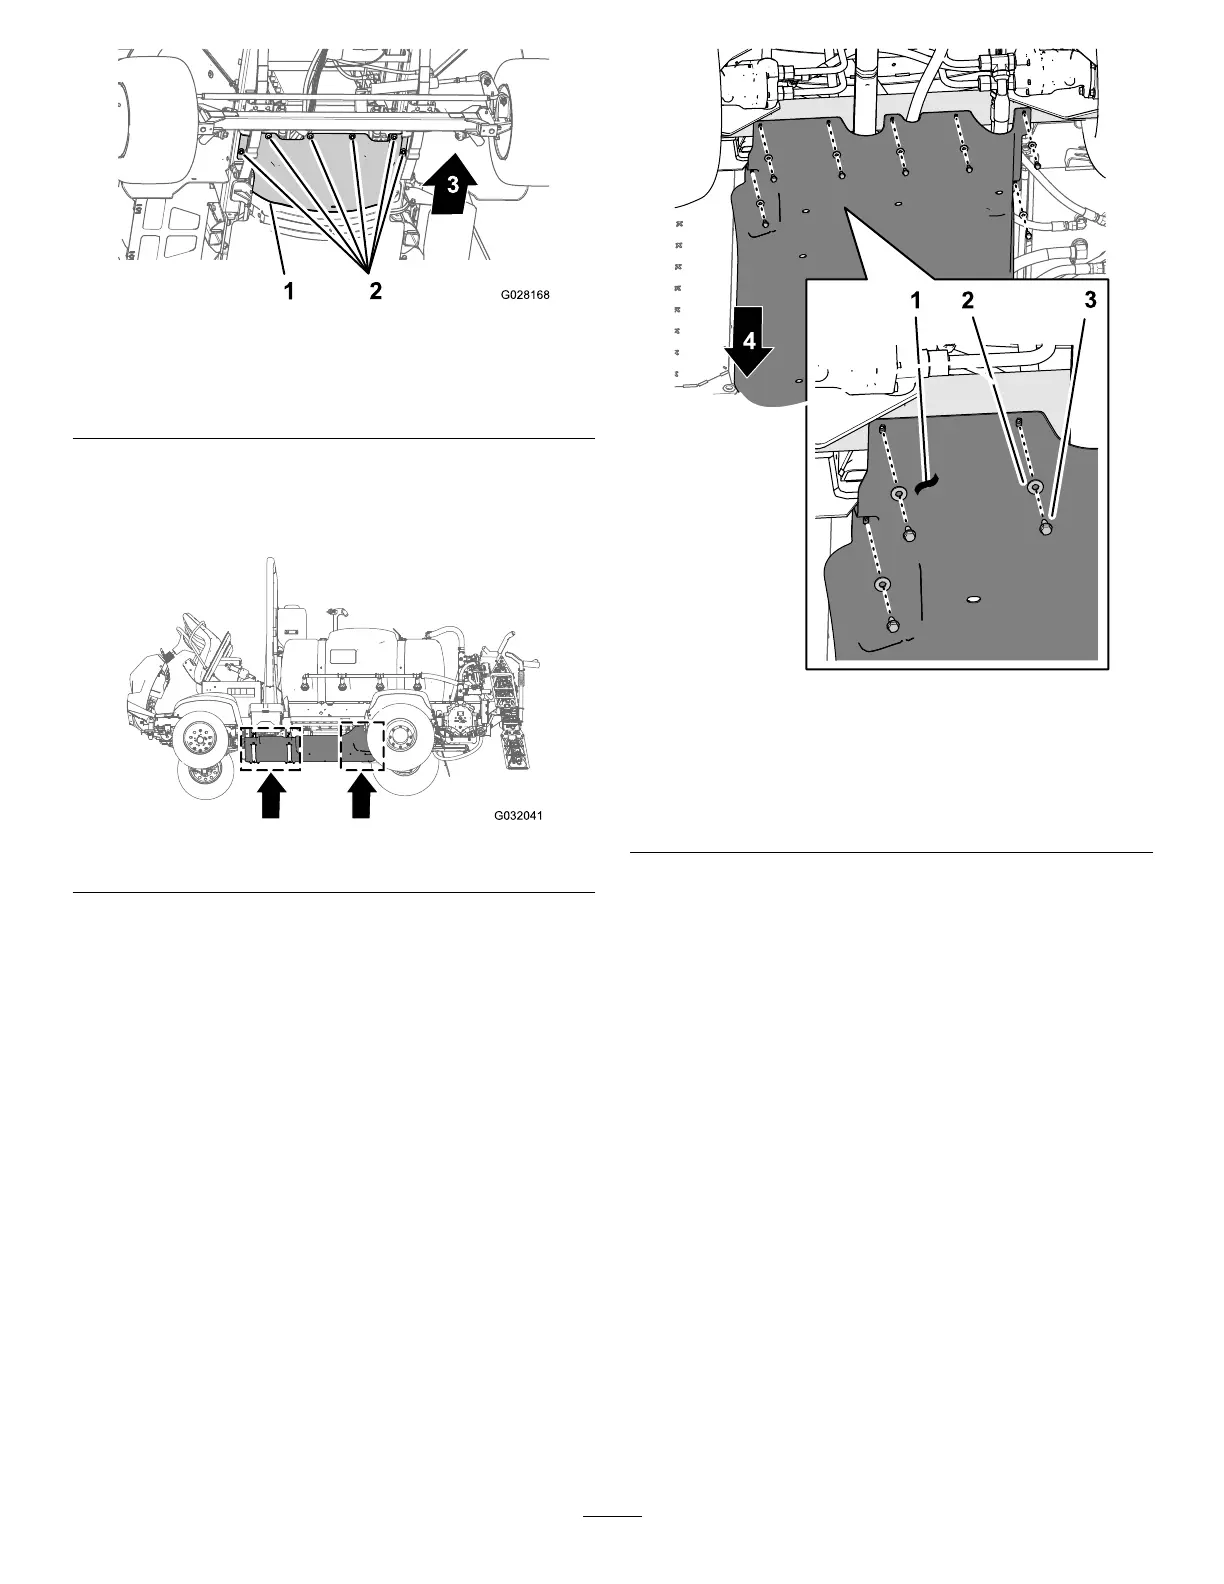
1.Removethefollowinghardwarethatsecuresthe
rearoftheundercarriageshroudtothechassis
ofthemachine(Figure5):
•2016machines—7ange-headbolts(5/16
x7/8inch)and7washers(5/16inch)
•2017andlatermachines—5ange-head
bolts(5/16x7/8inch)and5washers(5/16
inch)
Note:Retaintheange-headboltsand
washersforinstallationinstep5ofRemoving
theUndercarriageShroud(page4).
g208653
Figure5
2017machineshown;2016machinesaresimilar
1.Undercarriageshroud
3.Flange-headbolts(5/16x
7/8inch)
2.Washers(5/16inch)4.Frontofthemachine
2.Removethe4angelocknuts(5/16inch)from
theboltsandcarriageboltsthatsecurethe
supportstrapsoftheundercarriageshroud
totheengine-mountbracketsofthemachine
(Figure6).
Note:Donotremovetheboltsfrom
themachine.Retaintheangelocknuts
forinstallationinstep3ofInstallingthe
UndercarriageShroud(page25).
4

 Loading...