EasyManua.ls Logo

Toro PowerPlex Series User Manual

Toro PowerPlex Series
20 pages
To Next Page IconTo Next Page
Page #1 background imageLoading...
Page #1 background image
FormNo.3424-861RevA
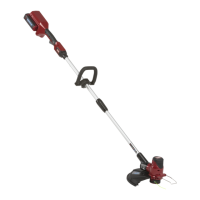
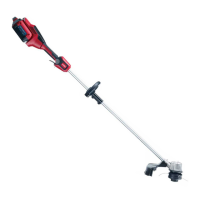
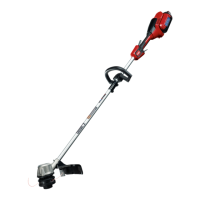
PowerPlex13in40VMAXString
Trimmer/Edger
ModelNo.51481—SerialNo.319000001andUp
ModelNo.51481T—SerialNo.319000001andUp
Registeratwww.Toro.com.
OriginalInstructions(EN)
*3424-861*A
Question and Answer IconNeed help?

Do you have a question about the Toro PowerPlex Series and is the answer not in the manual?

Toro PowerPlex Series Specifications

General IconGeneral
BrandToro
ModelPowerPlex Series
CategoryTrimmer
LanguageEnglish

Summary

Introduction

Safety

Work Area Safety

Keep the work area clean and well lit. Avoid dangerous environments and wet locations.

Personal Safety

Stay alert, use PPE, prevent unintentional starting, do not overreach, dress properly, keep hands and feet away from cutting area.

Power Tool Use and Care

Do not force the tool, use it correctly, remove battery before adjustments, store properly, maintain tools.

Service

Have power tool serviced by a qualified repair person using only identical replacement parts.

Battery Safety

Do not charge or use appliance in rain. Use only specified battery types. Handle batteries with care.

Safety and Instructional Decals

Setup

Mounting the Battery Charger (Optional)

Procedure to securely mount the battery charger on a wall using wall-mount key holes.

Unfolding the Handle

Procedure to unfold and assemble the trimmer handle to the desired height.

Installing the Auxiliary Handle

Procedure to align and snap the auxiliary handle onto the trimmer handle.

Installing the Guard

Procedure to remove screws, slide guard onto trimmer base, and secure with screws.

Installing the Edge Guard

Procedure to spread wire edge guard ends and insert them into trimmer housing holes.

Product Overview

Specifications

Appropriate temperature ranges for charging, using, and storing the product.

Operation

Starting the Trimmer

Ensure vents are clear, align battery cavity with tongue, push battery pack until latched, press lockout button, squeeze trigger.

Shutting Off the Trimmer

To shut off the trimmer, release the trigger. Remove battery pack when not using or transporting.

Removing the Battery Pack from the Trimmer

Press the battery latch to release the battery pack and slide it out of the machine.

Charging the Battery Pack

Charge battery within temperature range. Ensure vents are clear, align cavity, slide pack into charger.

Advancing the Line

Auto-feed: release trigger, wait, press lockout, squeeze trigger. Manual feed described later.

Advancing the Line Manually

Remove battery, push button at spool retainer base, pull trimmer line to advance.

Adjusting the Handle Height

Loosen connector, slide shaft to desired position, tighten connector. Do not slide upper shaft over vents.

Adjusting the Auxiliary Handle

Release latch, slide handle up/down, close latch to secure. Do not remove rubber bumper.

Trimming

Illustration of proper trimming technique, showing tool angle and cutting path.

Edging

Maintenance

Replacing the Spool

Procedure to remove the spool retaining cover, replace spool, and thread string into the eyelet.

Replacing the String

Procedure to replace the string, wind it onto the spool, and secure it.

Storage

Store tool, battery, and charger in appropriate temperatures, out of reach of children and away from corrosive agents.

Preparing the Battery Pack for Recycling

Cover terminals with tape, do not disassemble. Recycle or dispose of at a facility.

Troubleshooting

California Proposition 65 Warning Information

Related product manuals