4.SCAN FUNCTIONS
Scan to E-Mail 105
4 SCAN FUNCTIONS
5
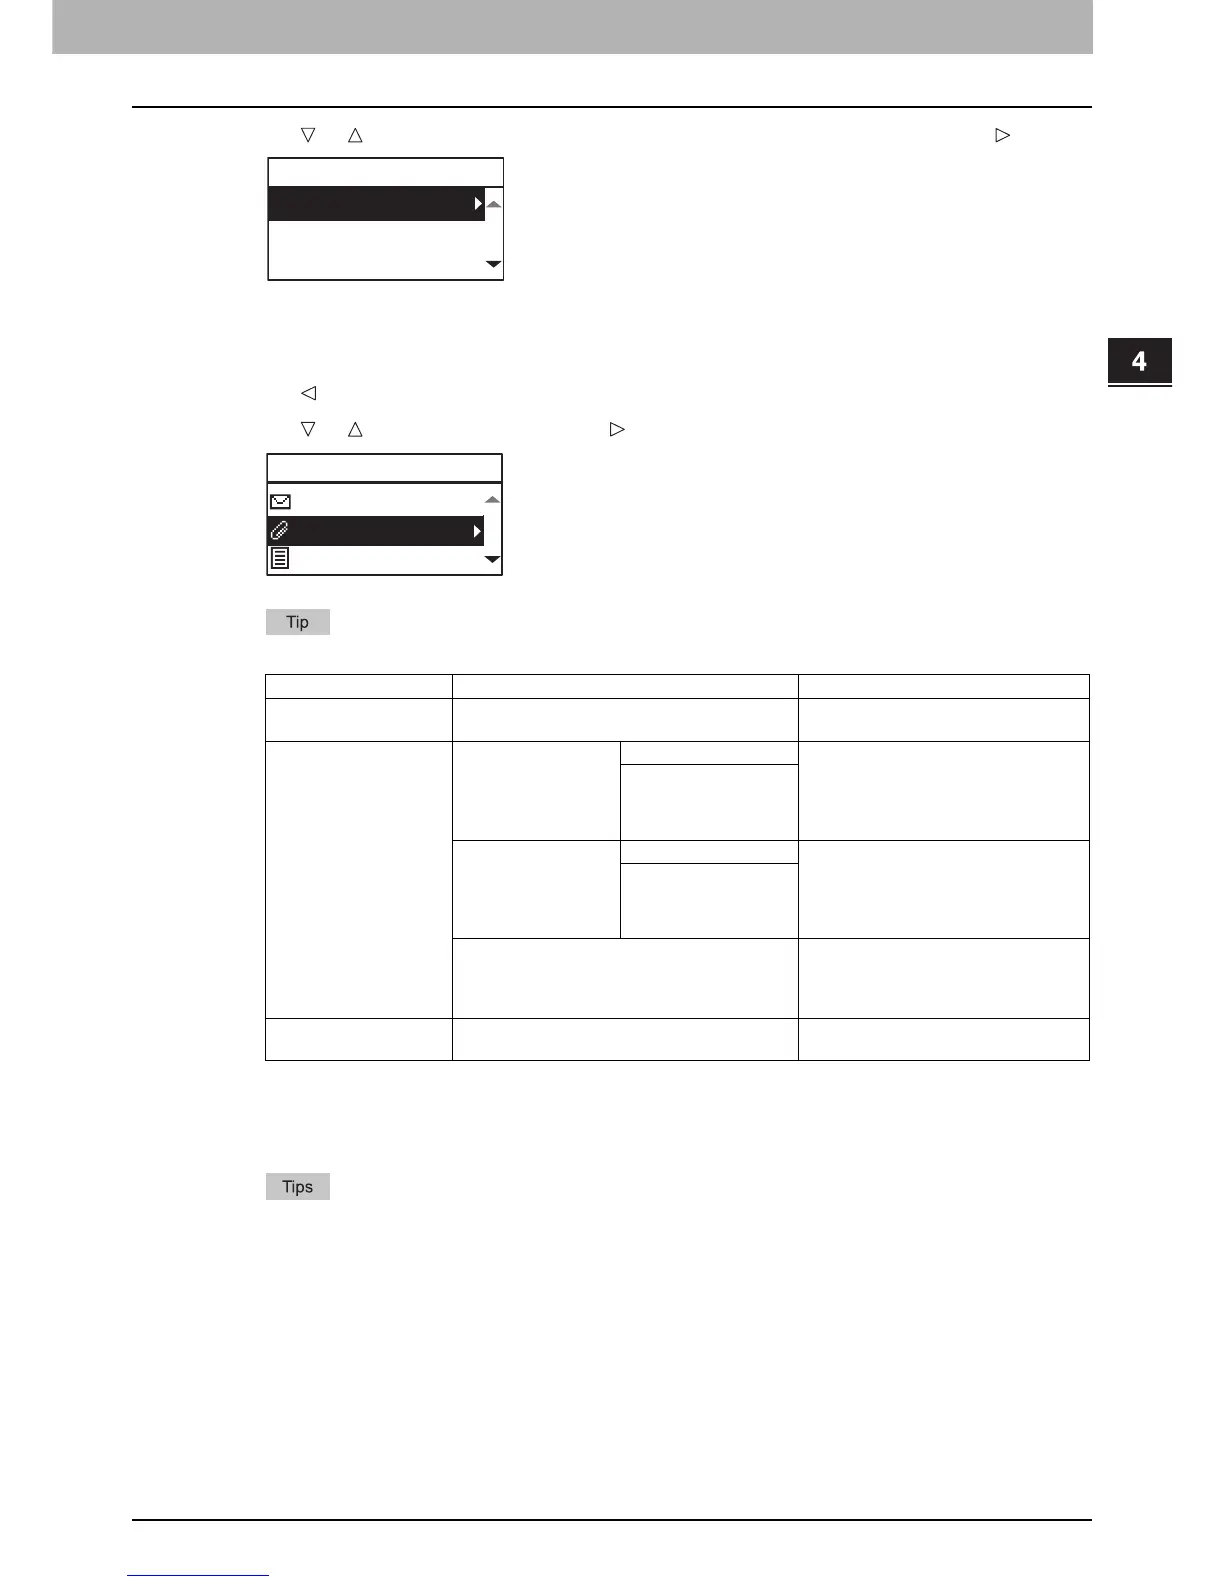
Press or to select “TO (ADDRESS)” or “CC (ADDRESS)”, and then press .
6
Select from the Address Book or enter the address directly.
P.116 “Specifying E-mail Addresses”
P.120 “Character entry”
7
Press to return to the E-MAIL screen.
8
Press or to select the item, press , and then make the scan settings as required.
The settings available for Scan to E-Mail are as follows:
To make further settings, see the following.
P.112 “Scan Settings”
9
Press [START].
Originals are scanned and stored if they are placed on the Reversing Automatic Document Feeder.
If originals are placed on the original glass, perform the procedure from step 10.
Menu Functions Settings Description
FILE NAME(MAX128) - An initial file name can be changed.
P.120 “Character entry”
FILE FORMAT PDF MULTI Stores your scan as a PDF file.
Select [MULTI] for saving several pages
as a single file.
Select [SINGLE] for saving several pages
as a separated single file for each page.
SINGLE
TIFF MULTI Stores your scan as a TIFF file.
Select [MULTI] for saving several pages
as a single file.
Select [SINGLE] for saving several pages
as a separated single file for each page.
SINGLE
JPEG Stores your scan as a JPEG file.
This setting is not available when
“BLACK” is selected in the “COLOR
MODE” function.
MESSAGE SIZE NONE, 64, 128, 256, 512, 1024, 2048 Scans the data at the selected file size
and sends them separately.

 Loading...


