4 SCAN FUNCTIONS
116 Scan Settings
Adjusting the exposure
You can adjust the density to make scans lighter or darker in nine levels from -4 to +4. The auto density setting can
represent the scan image in the middle density status.
This function is not available when “GRAY SCALE” is selected in the “COLOR MODE” function.
“AUTO” is available only when “BLACK” is selected in the “COLOR MODE” function and “TEXT” or “TEXT/PHOTO”
is selected in the “ORIGINAL MODE” function.
1
Press [SCAN].
2
Press or to select the item displayed on the LCD screen, and then press .
3
Press or to select the setting item.
4
Adjust the density as follows.
For “AUTO”:
Press [OK].
For manual:
1) Press or to increase or decrease the density level.
2) Press [OK].
Specifying E-mail Addresses
To specify e-mail addresses for the Scan to E-mail function, you have the following options:
Up to 220 addresses can be specified.
P.116 “Entering an e-mail Addresses”
P.117 “Selecting from the address book”
P.117 “Searching the address book with single numbers”
P.118 “Searching the address book with group numbers”
P.118 “Viewing/Deleting specified e-mail addresses”
Entering an e-mail Addresses
1
Press or to select “INPUT ADDRESS”, and then press .
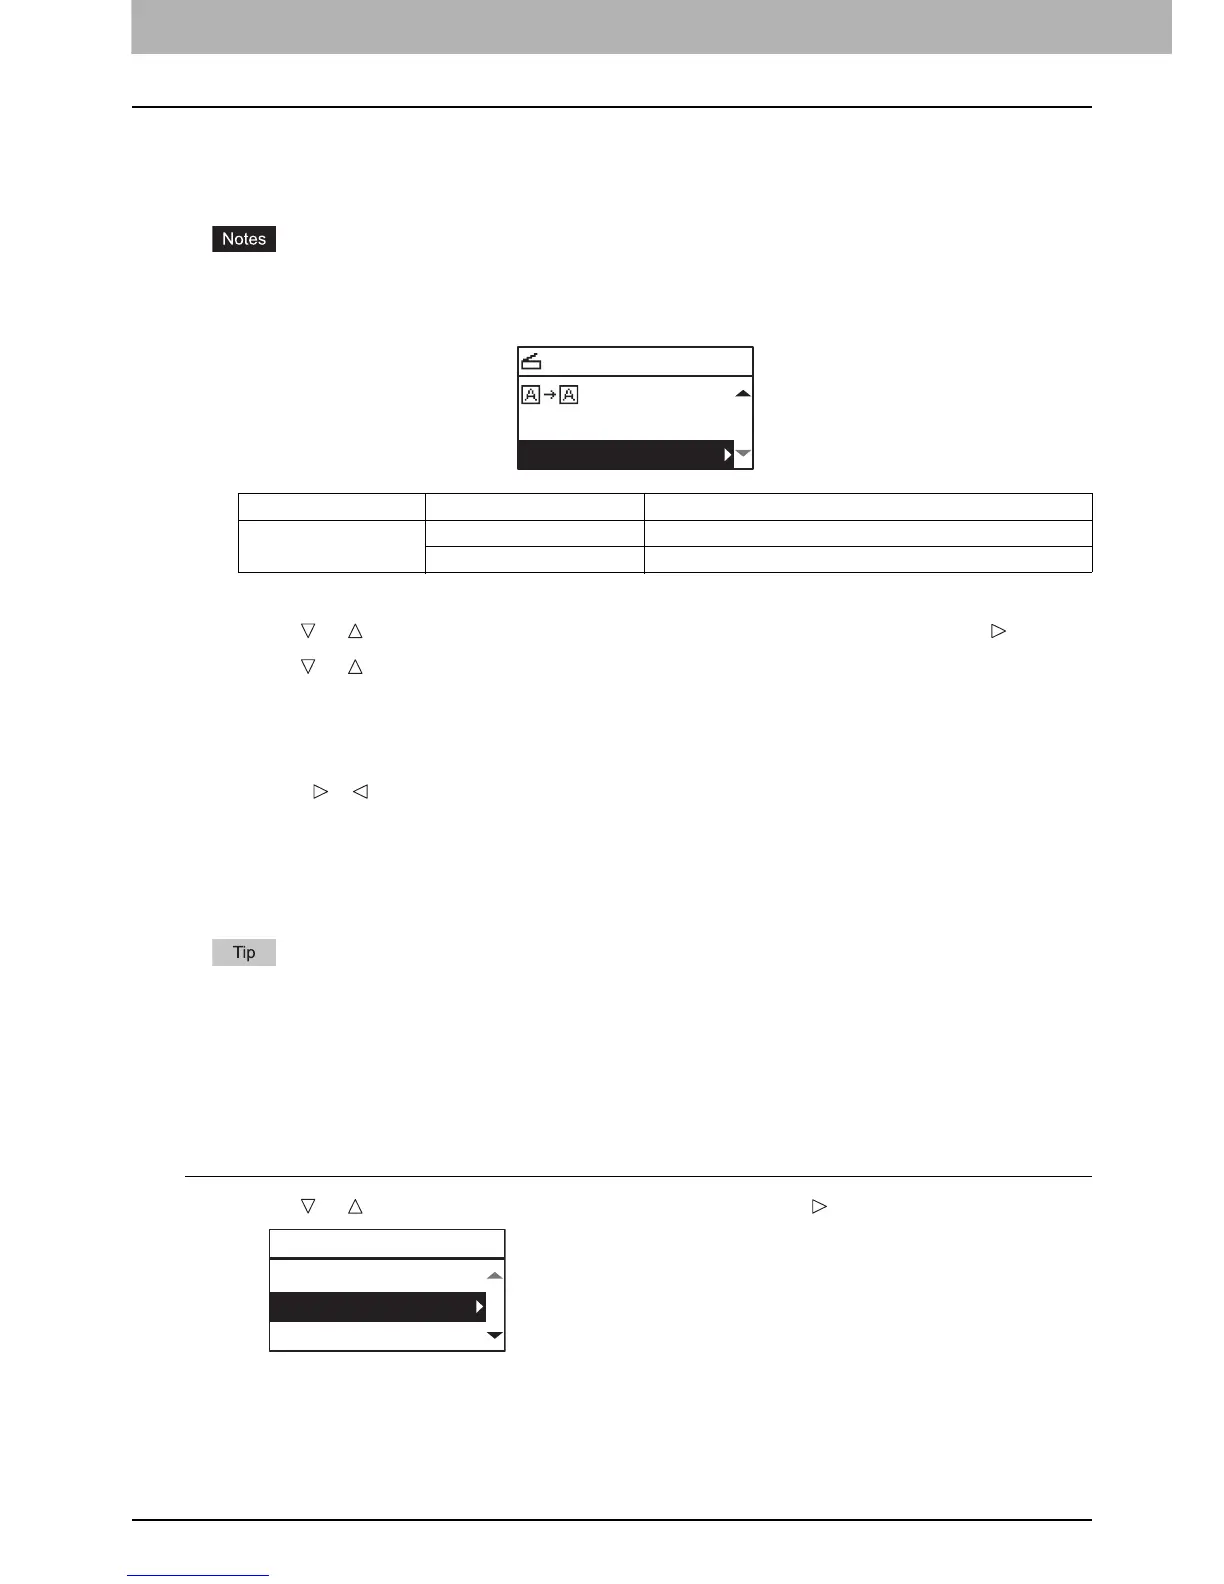
Menu Functions Settings Description
EXPOSURE AUTO Adjusts the density automatically.
Manual Adjusts the density manually.
SELECT SCAN TYPE
AUTO EXPOSURE
COMPRESS:LOW
TO(ADDRESS)
REVIEW LIST
INPUT ADDRESS
SEARCH

 Loading...


