4 SCAN FUNCTIONS
108 Scan to File
4
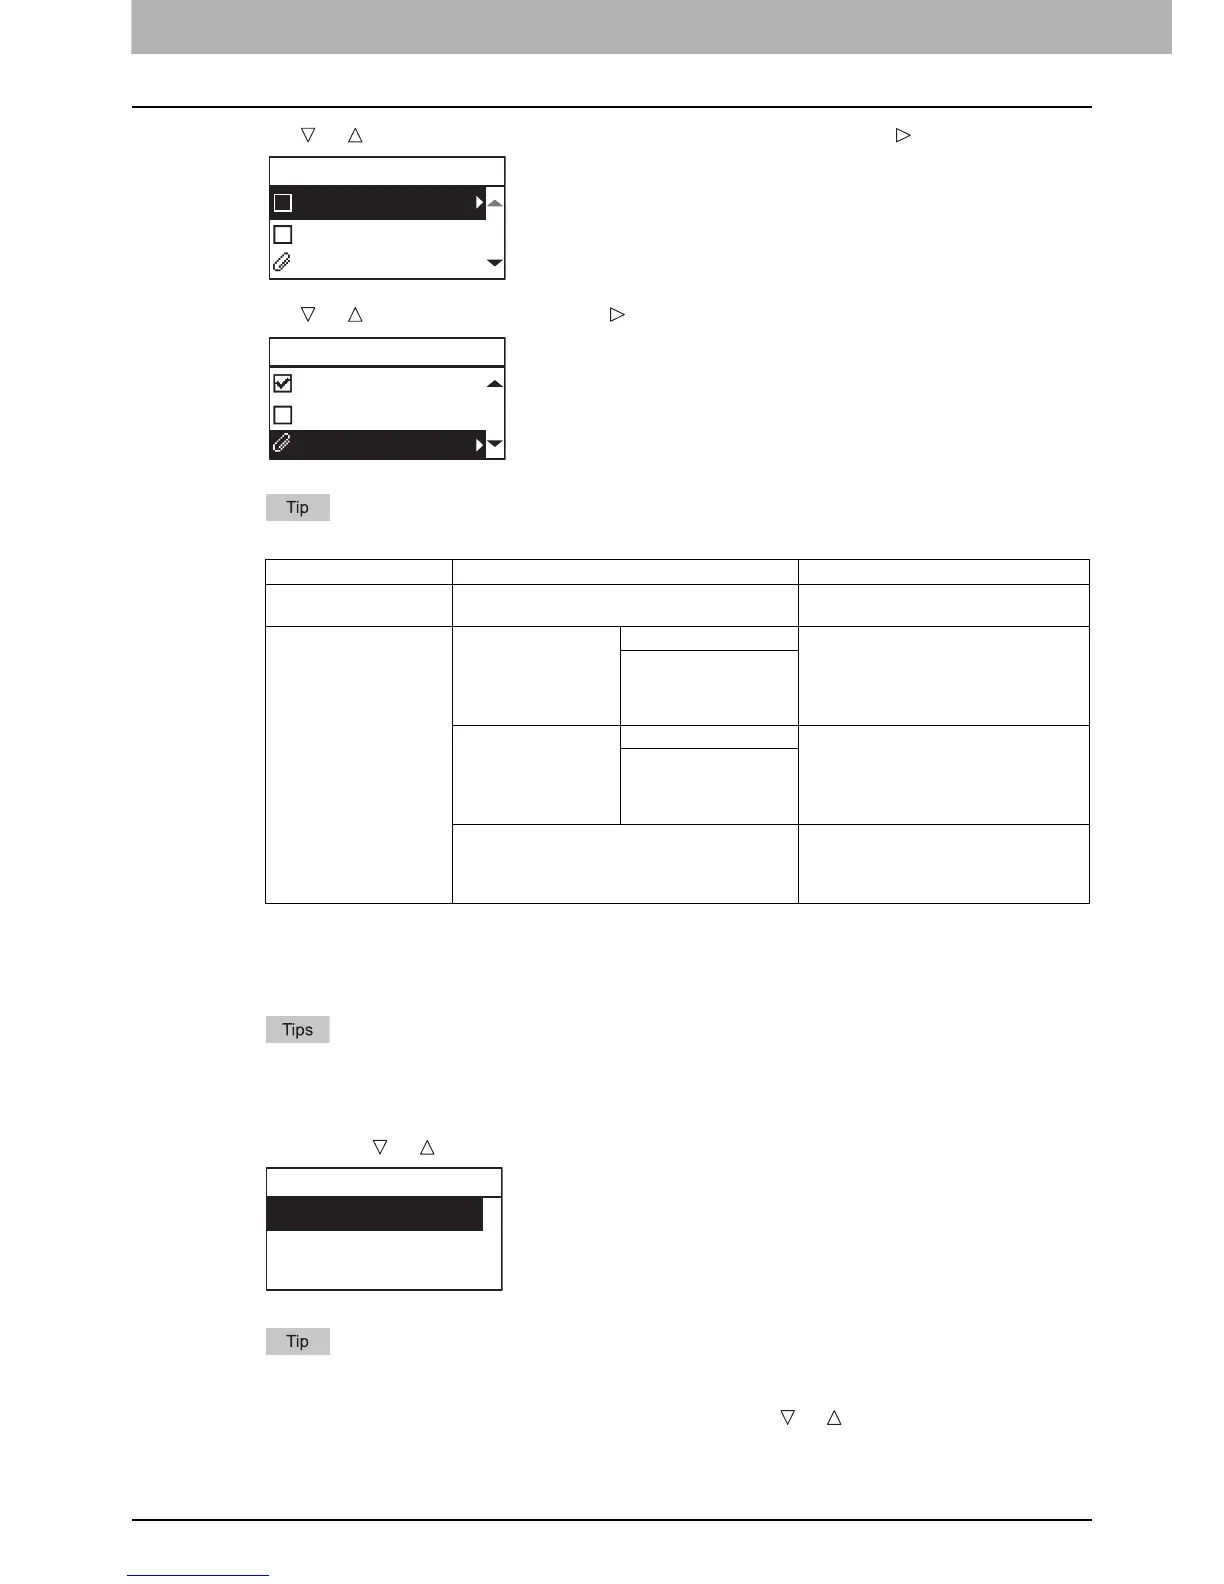
Press or to select “REMOTE1” or “REMOTE2”, and then press .
5
Press or to select the item, press , and then make the scan settings as required.
The settings available for Scan to FILE are as follows:
To make further settings, see the following.
P.112 “Scan Settings”
6
Press [START].
Originals are scanned and stored if they are placed on the Reversing Automatic Document Feeder.
If originals are placed on the original glass, perform the procedure from step 7.
7
If there are more originals, place the next one on the original glass. Select “SCAN NEXT
PAGE” using or and press [OK].
Repeat step 7 until all the originals have finished being scanned.
8
If there are no more originals, select “FINISHED” using or . The originals are stored
by pressing the [OK].
Menu Functions Settings Description
FILE NAME(MAX128) - An initial file name can be changed.
P.120 “Character entry”
FILE FORMAT PDF MULTI Stores your scan as a PDF file.
Select [MULTI] for saving several pages
as a single file.
Select [SINGLE] for saving several pages
as a separated single file for each page.
SINGLE
TIFF MULTI Stores your scan as a TIFF file.
Select [MULTI] for saving several pages
as a single file.
Select [SINGLE] for saving several pages
as a separated single file for each page.
SINGLE
JPEG Stores your scan as a JPEG file.
This setting is not available when
“BLACK” is selected in the “COLOR
MODE” function.
FILE
REMOTE1
REMOTE2
DocYYMMDD
FILE
REMOTE1
REMOTE2
DocYYMMDD

 Loading...


