4 SCAN FUNCTIONS
118 Scan Settings
2
Using the digital keys, enter the single number for the desired contact.
3
Press [OK].
When setting “CC (ADDRESS)”, you can specify additional e-mail addresses.
If you want to view or delete the specified e-mail addresses, see the following page.
P.118 “Viewing/Deleting specified e-mail addresses”
Searching the address book with group numbers
1
Press or to select “GROUP NUMBER”, and then press .
2
Using the digital keys, enter the group number for the desired contact.
3
Press [OK].
When setting “CC (ADDRESS)”, you can specify additional e-mail addresses.
If you want to view or delete the specified e-mail addresses, see the following page.
P.118 “Viewing/Deleting specified e-mail addresses”
Viewing/Deleting specified e-mail addresses
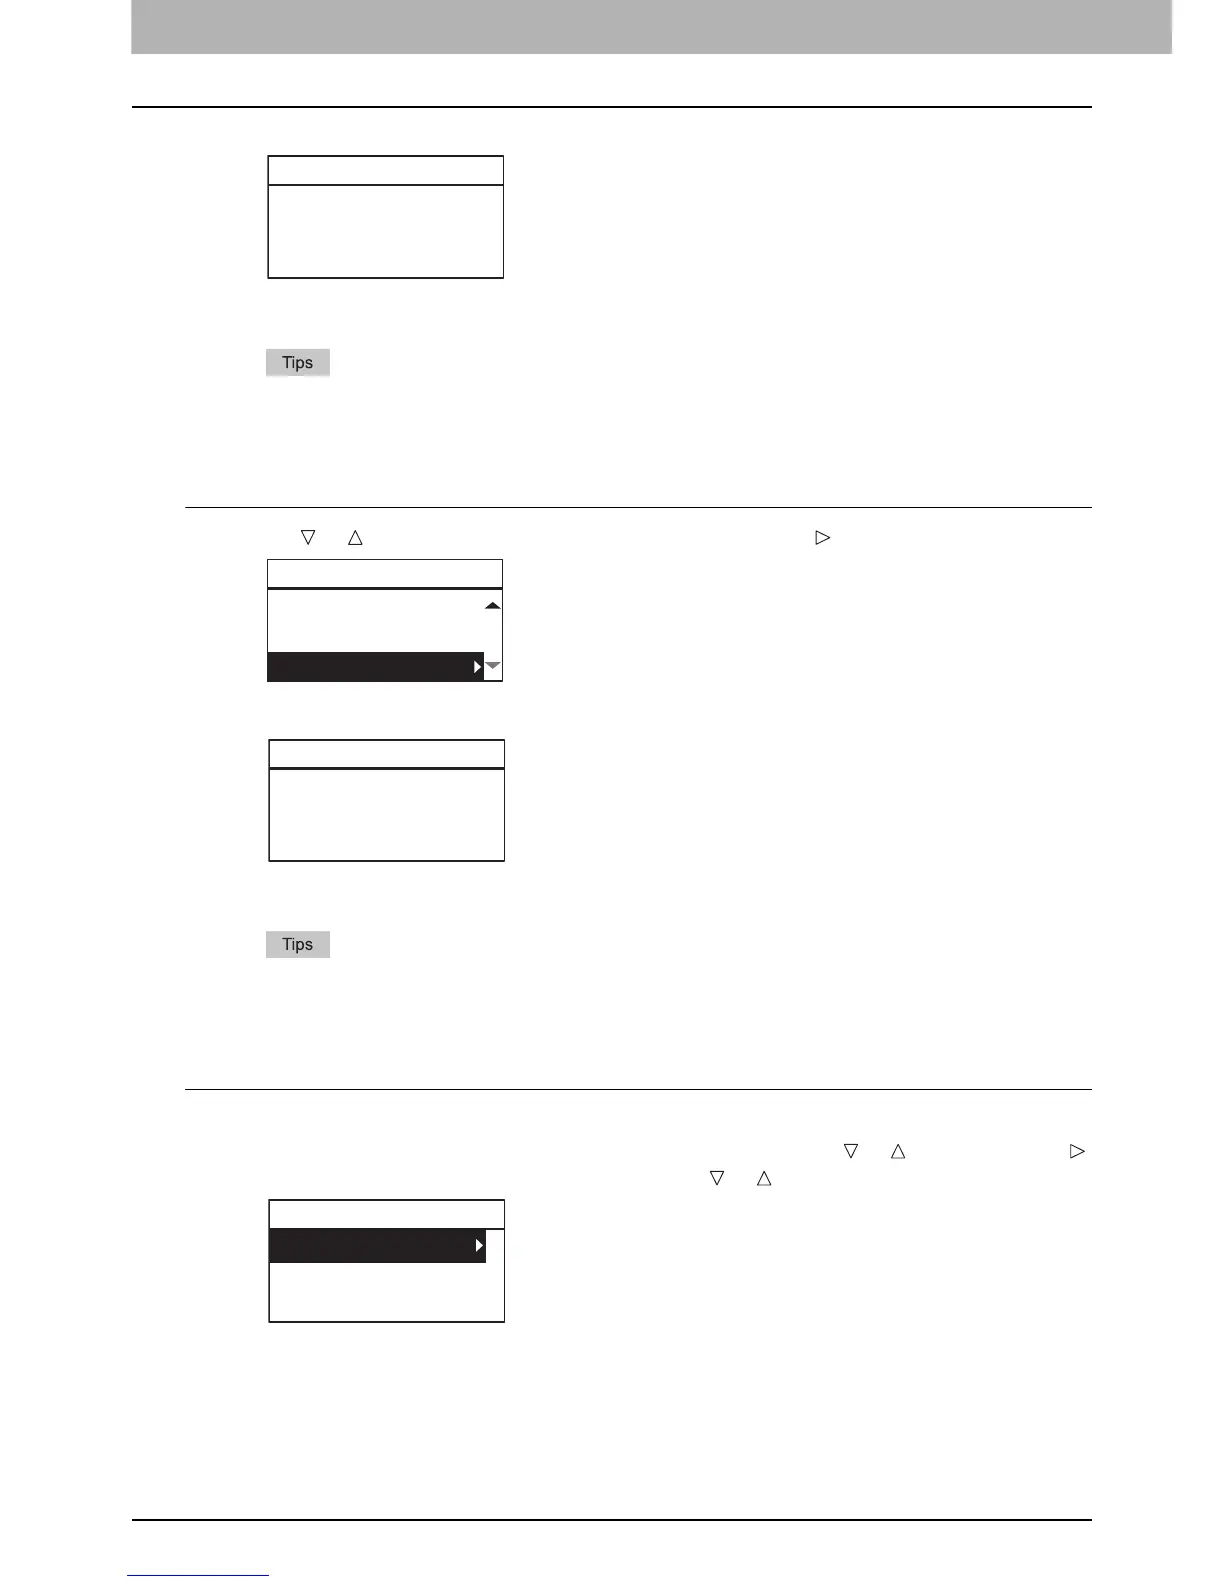
You can view the specified e-mail addresses, contacts, and groups, and delete them from the list.
1
On the “E-MAIL ADDRESS” menu, select “TO” or “CC” using or , and then press .
If you select “CC”, select “REVIEW LIST” using or , and then press [OK].
Currently selected e-mail addresses, contacts, and groups are listed on the screen.
To delete an e-mail address, contact, and/or group from the list, go to step 2.

 Loading...


