4.INSTALLATION IN UNIX/Linux
32 Configuring the Printer Using CUPS
Configuring the print options
You can set the print options that are applied to the print jobs using CUPS.
1
Click the [Manage Printers] link on the [Administration] tab.
2
Select this equipment and then click [Set Default Options].
3
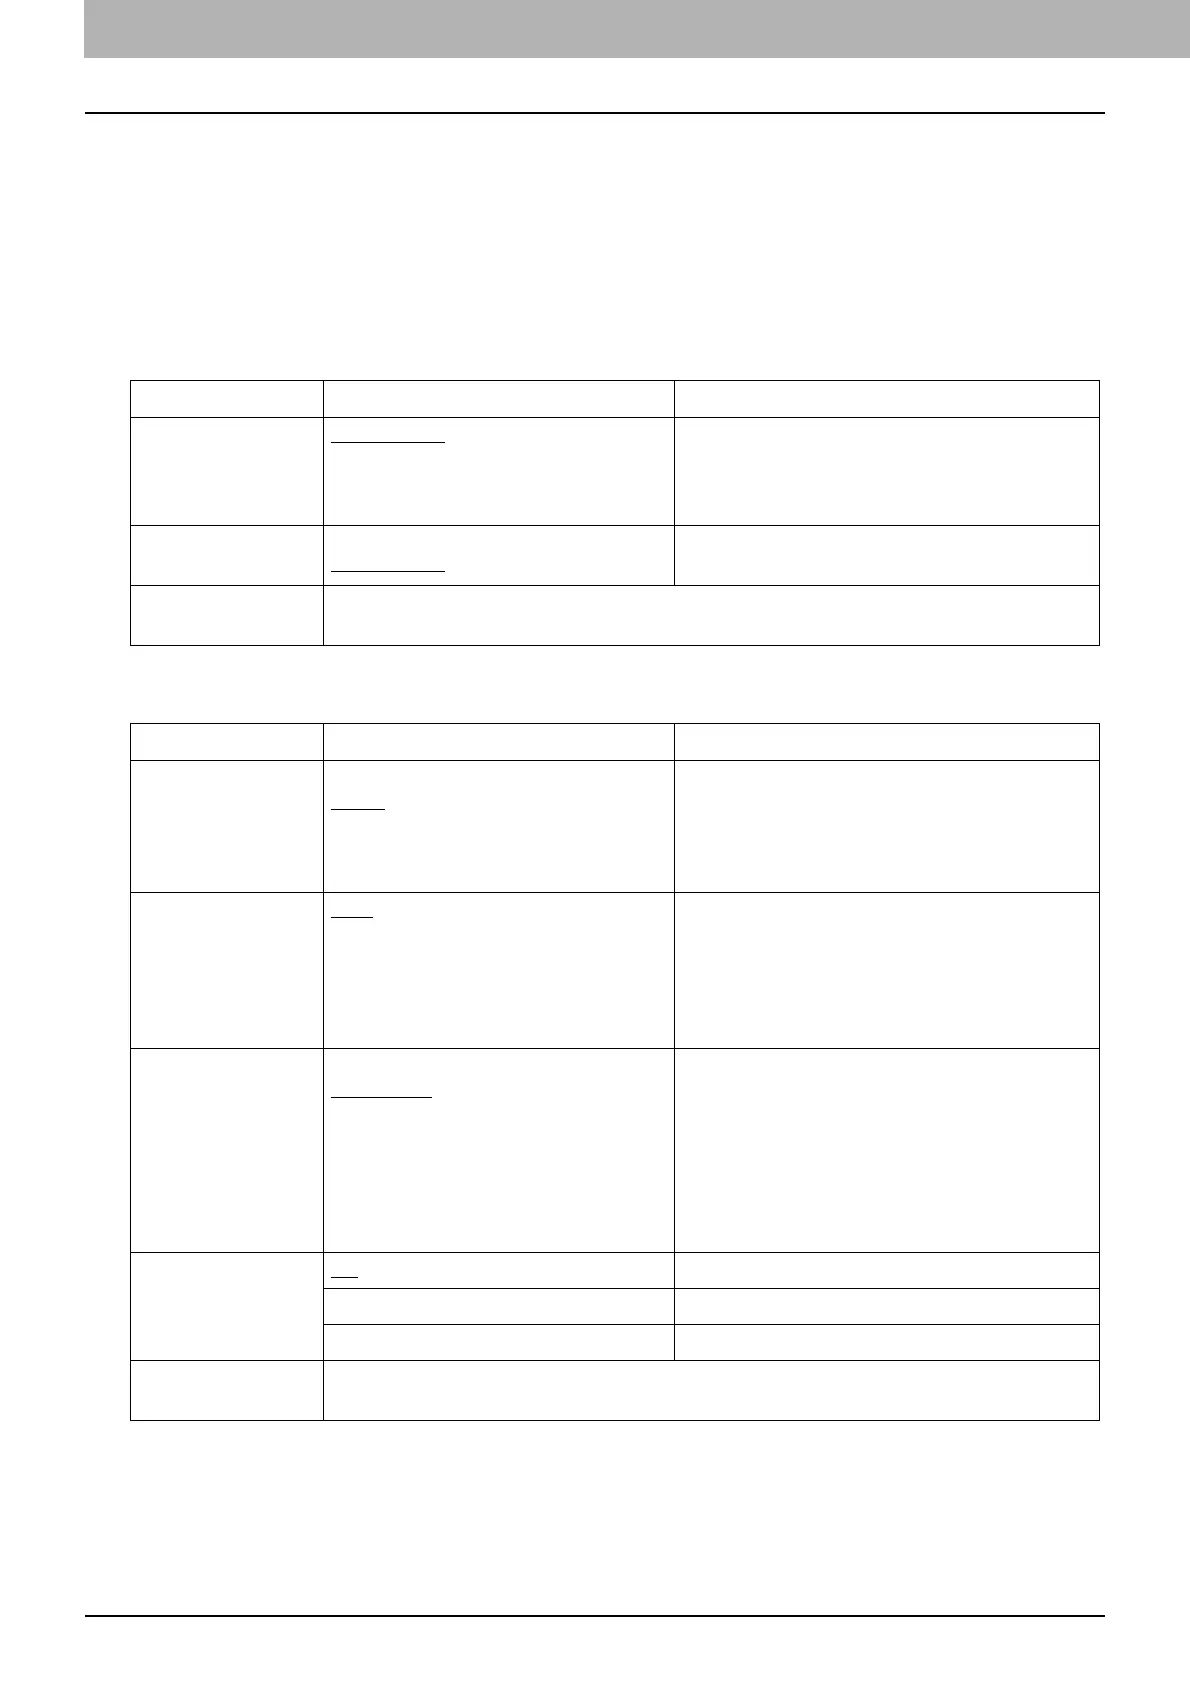
Configure the print options on the displayed page.
The underscored items are set by default.
Installed Options
General
Option Value Alternative Value Description
Drawers Not Installed
Drawer 2
Drawer 2 and 3
Drawer 2,3 and 4
Select an optional drawer.
ADU Installed
Not Installed
Select the Automatic Duplexing Unit option.
[Set Default Options]
button
Determines the selected items.
Option Value Alternative Value Description
Media Size A3, A4, A5, J Post Card, B4, B5, Folio,
Letter, Ledger, Legal, Statement,
Computer, 13" LG, 8.5" SQ, 8K, 16K, Env
DL, Env Cho-3, Env You-4, Env-Com10,
Env-Monarch
Select the paper size.
Media Source
Auto (Default)
Drawer 1
Drawer 2
Drawer 3
Drawer 4
Bypass Tray
Select the paper source.
Media Type Printer’s Default
Plain Paper
Thick
Thick 1
Thick 2
Transparency
Thin
Envelope
Select the paper source.
Duplex
Off 1-sided printing
Long Edge (Standard) 2-sided printing (Long-edge binding)
Short Edge (Flip) 2-sided printing (Short-edge binding)
[Set Default Options]
button
Determines the selected items.
 Loading...