2.BASIC OPERATION
Scan to USB 39
2 BASIC OPERATION
4
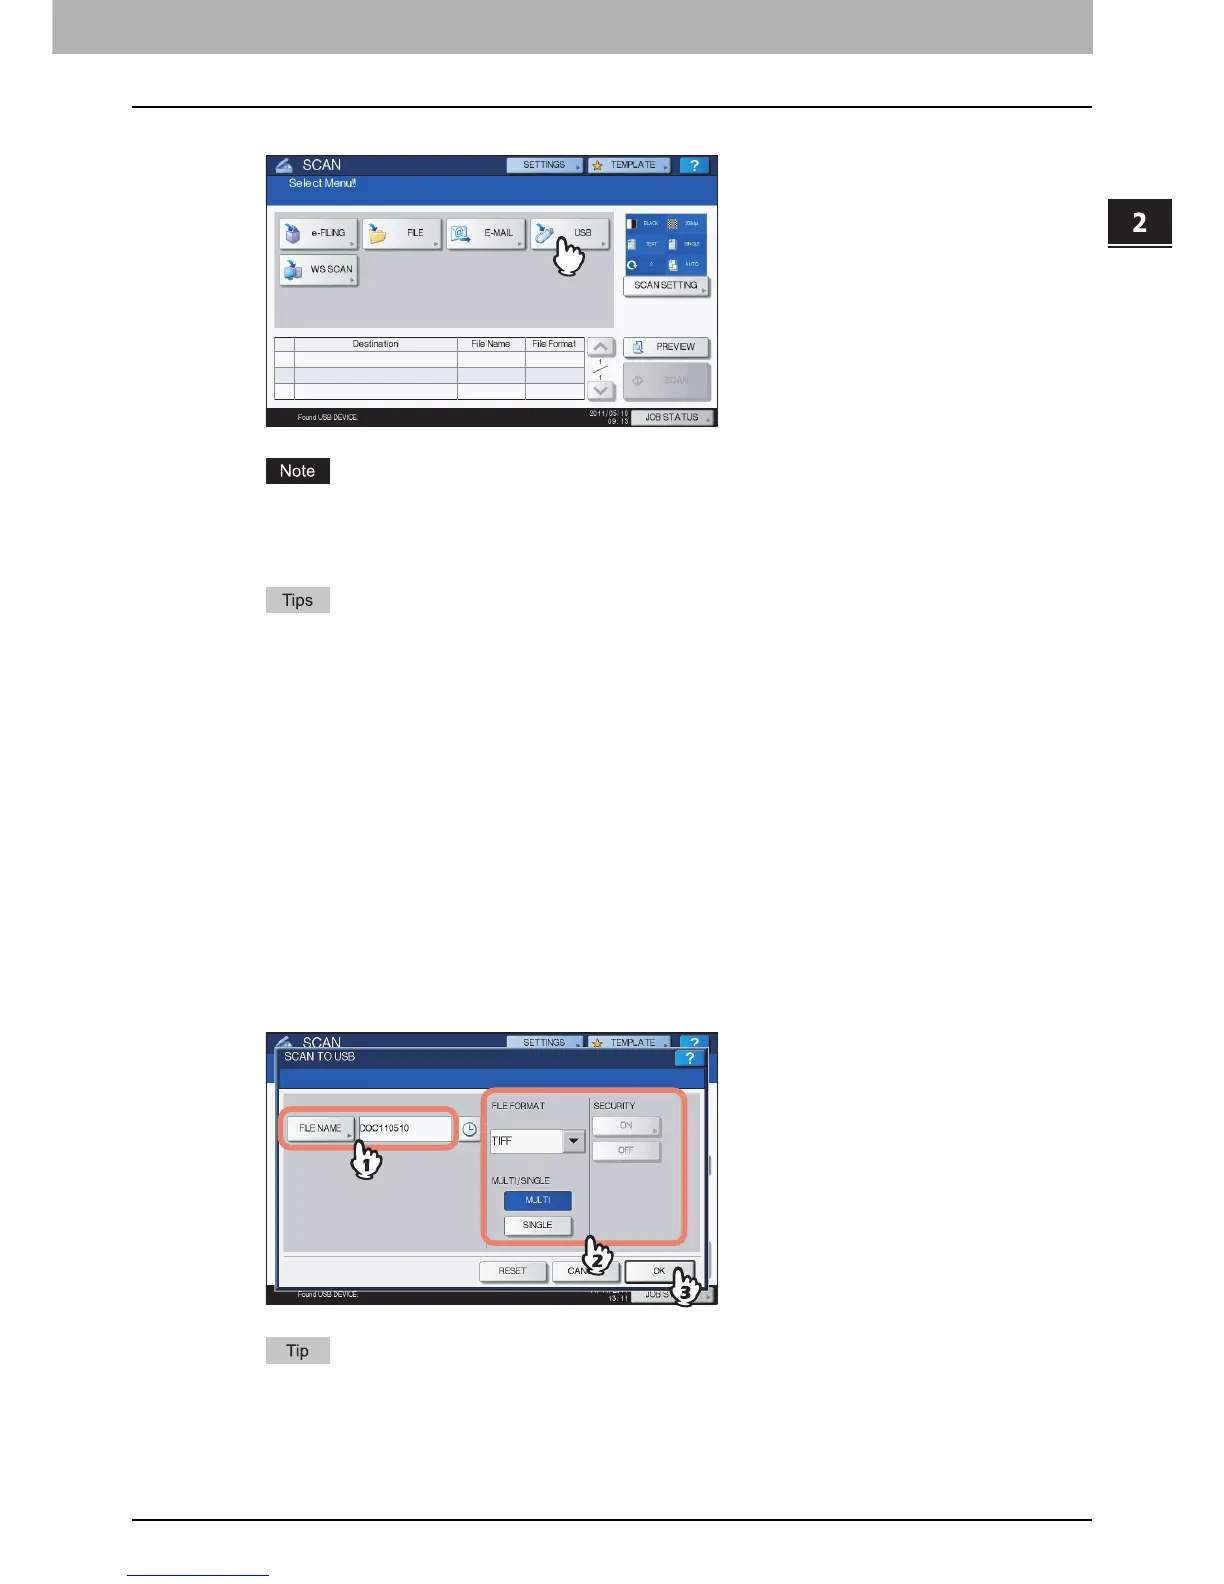
When “Found USB DEVICE.” message appears on the touch panel, press [USB].
When you store scans in a USB storage device, never attempt to remove the device from the
equipment until data transmission is completed. Removing the USB storage device during data
transmission may corrupt the device.
Storing scans to a USB storage device may take a long time depending on the volume of the
scans.
For the models below, press [PREVIEW] in this step and then select the scan function in order to
preview your scans at the end of the operation.
- e-STUDIO6570C Series
- e-STUDIO6550C Series
- e-STUDIO4540C Series
- e-STUDIO2550C Series (only when the hard disk is installed)
- e-STUDIO5055C Series
- e-STUDIO507 Series
- e-STUDIO857 Series
For instructions on how to do so, see the following section:
P.62 “Previewing Scans”
5
Define the settings for the new file as required.
1) Press [FILE NAME] to change the file name.
2) Select an option for each of the FILE FORMAT, MULTI/SINGLE PAGE and SECURITY settings.
3) After the settings are done, press [OK].
To clear the settings, press [RESET].
 Loading...


