HOW TO ATTACH THE LEG PULLEY ACCESSORY KIT
1. Connect the Leg Pulley Bracket to the top of the Vertical Column by
aligning Bracket with the hole at the top of the column. (Be sure
bracket is right side up.) Insert Long Hitch Pin through the hole to
secure Bracket onto the Vertical Column.
2. Detach the Cable Assembly from the loop on the underside of the
Glideboard, attach one of the Clips from the Leg Pulley Assembly.
3. Place D-Ring on Pulley first. Then connect the D-Ring to the
Bracket as shown.
NOTE: If rope appears to be twisted, take D-Ring off and turn
Pulley around.
4. Attach the Foot Harness to one of your feet by placing your foot in
the Harness so the sewn-in O-ring is on the bottom of your foot.
Pull tightly on the strap at the Harness Buckle so the Foot Harness
is secure.
5. (a) Position yourself on the Glideboard correctly for the specific
exercise you want to perform.
(b) While sitting down on the Glideboard, bring 1 knee up, connect
the Clip on the end of the rope to an O-Ring on the Foot
Harness attached to your foot. Depending on the exercise you
are performing, connect the Clip to the proper O-Ring. Be sure
to always stabilize the Glideboard when clipping on or off the
Harness. Also, use caution when getting on or off the Glideboard.
You are now ready to exercise using the Leg Pulley Accessory.
See your Exercise Guide for specific exercises that utilize the
Leg Pulley Accessory.
NOTE: Remove Leg Pulley Bracket when you are not exercising with it.
(c) To disconnect the Foot Harness, unclip the rope from the O-Ring on
the Harness. Be sure to stabilize Glideboard when disconnecting Foot Harness.
TOP VIEW
Left Foot
Right Foot
— 9 —
TOP VIEW
Left Foot
Right Foot
TOP VIEW
Left Foot
Right Foot
Foot Harness
Harness
Buckle
Clip
O-Ring (loose)
O-Ring (sewn in)
O-Ring (loose)
4.
5b.
Leg Pulley Accessory Kit
Rope
Pulley/D-Ring
Assembly
Clip
Long
Hitch
Pin
Clip
Harness
Leg Pulley Bracket
For use with leg pulley
accessory only.
1.
3.
Bracket
Bracket
D-Ring
Long Hitch Pin
Pulley
Pulley
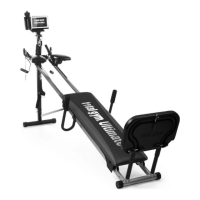
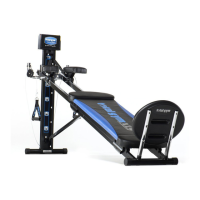
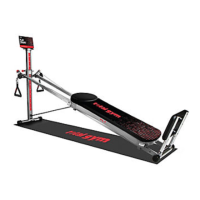
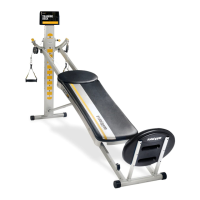
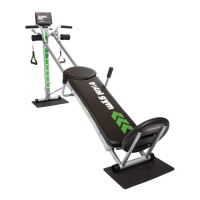
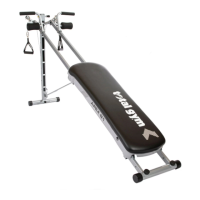
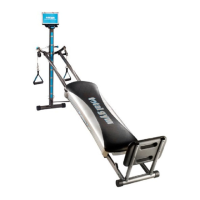
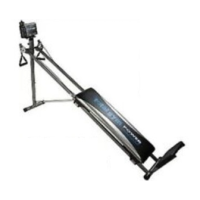
SET UP
Your product comes with:
• Safety Hitch Pin located at the bottom of the Vertical Column, which must be removed prior to unfolding.
• Height Adjustment Quick Release Pin located on back of Vertical Column for raising and lowering rails.
• One (1) Spring Loaded Pin locked into the base of the left rail by the Height Adjustment Tube. Left side is determined
by standing behind the unit facing the Vertical Column.
IMPORTANT: To Prevent Injury – Be sure the Spring Loaded Pin is locked securely into place in the left
rail before using unit. This will prevent the Height Adjustment Column from falling forward.
• Safety Pin - located on Lanyard/attached to Height Adjustment Tube.
• One Medium Hitch Pin for Leg Pulley Bracket, two Medium Hitch Pins for the Wing Accessory, two Short Hitch
Pins for the Dip Bars, two Short Hitch Pins for the Ab Crunch Boards and three Long Hitch Pins for the Squat
Stand/Pilates Bar.
IMPORTANT: Before using the Wing Accessory, Leg Pulley Accessory and Dip Bars, be
sure the Hitch Pins are securely inserted (see pages 6 - 9 of this manual for directions).
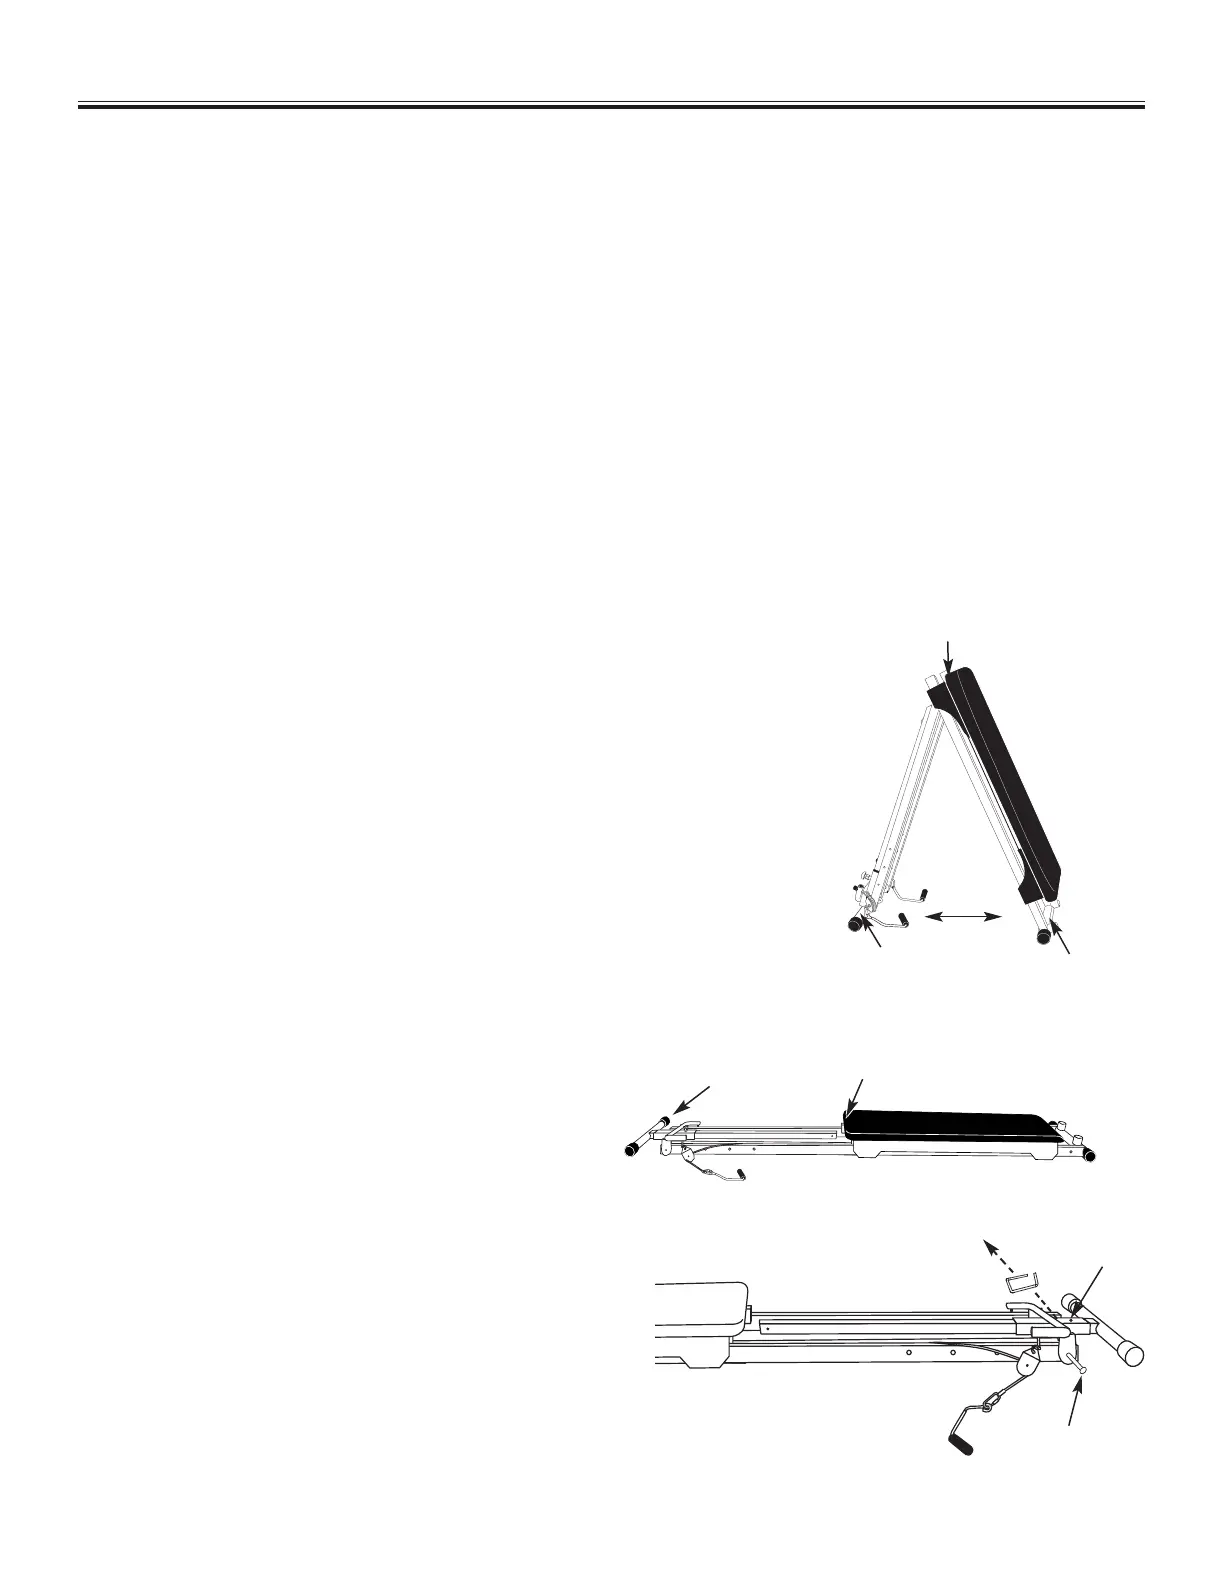
1. Pull the product out of the shipping box. Remove all packaging
materials, including tape and cardboard inserts, from your unit.
2. Lay product on the floor with Glideboard side up. Make sure you have
plenty of space on both ends of the product. Slide the Glideboard as far
as it will go towards the Front Crossbar before you begin lifting unit.
3. Lift the exerciser up by holding it at the top of the rails. Using your foot,
slowly spread the unit open at the bottom approximately 12 inches so
that it rests firmly on the Front and Back Crossbars not allowing it to
go too far.
4. Make sure the handles are out to the sides before
you begin to unfold your unit. Keep hands and
fingers away from pulley. Hold onto the top center
of Glideboard and begin rolling rear rollers. Spread
the unit out until it is flat on the floor. Be careful to
do this slowly.
Be sure to support the frame in the center to
avoid having the product drop suddenly onto
the floor or pinch fingers.
5. (a) Remove Safety Hitch Pin from bottom of Vertical
Column. Next remove plastic packing ties from the top
and bottom of the Vertical Column. Pull out the Spring
Loaded Pin Knob located at the left rail to release
Spring Loaded Pin. Continue to hold pin out while
performing the next step.
— 4 —
3.
12”
5a
4.
Back
Crossbar
Front
Crossbar
Safety Hitch Pin
Quick
Release Pin
Spring Loaded Pin
Lift Here
Hold Here While Lowering
To The Ground
Rear Rollers
 Loading...