Connect the Extender to the Internet
Relocate
1) Plug in the extender about halfway between your router (Host
Network) and the Wi-Fi dead zone.
2) Wait until the LED is lit with a solid blue. If not, relocate the
extender closer to the router to achieve a good (or better) signal
quality.
Enjoy!
Both extended networks share the same Wi-Fi password as your main network,
but may have different wireless network names if you customize the SSIDs
during the configuration.
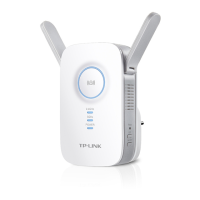
Option TWO: Using WPS (Wi-Fi Protected Setup)
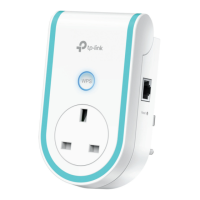
Power On
Plug the extender’s adapter into an electrical outlet near your router, then
turn on the extender and wait until the Power LED is lit and solid blue.
Connect
Press the WPS button on your router.
Immediately press the RE button on your extender. The LED
should change from blinking to solid, indicating that WPS connection
is successful.
For more information about using WPS on your router,
please refer to the router manufacturer's user guide.