14
Chapter 3
Conguring via Web Management Interface
1. Connect to the powerline extender wirelessly. Visit http://tplinkplc.net, and log in with
the username and password you set for the extender.
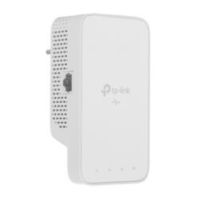
2. Go to Basic > Powerline.
3. Change the Network Name. You can also click Default to use the default network
name, e.g. HomePlugAV. However, if the default name is used, the Wi-Fi Move function
will be automatically disabled.
4. Click Save to make the settings effective.
3. 3. Wi-Fi Move
Wi-Fi Move is enabled by default. With the feature enabled, any changes made to the
Wi-Fi settings and LED schedules of one powerline extender will be automatically
synchronized to other powerline extenders whose Wi-Fi Move feature is also enabled
on the same powerline network .
Follow the steps below to enable the Wi-Fi Move feature:
1. Connect to the powerline extender wirelessly. Visit http://tplinkplc.net, and log in with
the username and password you set for the extender.
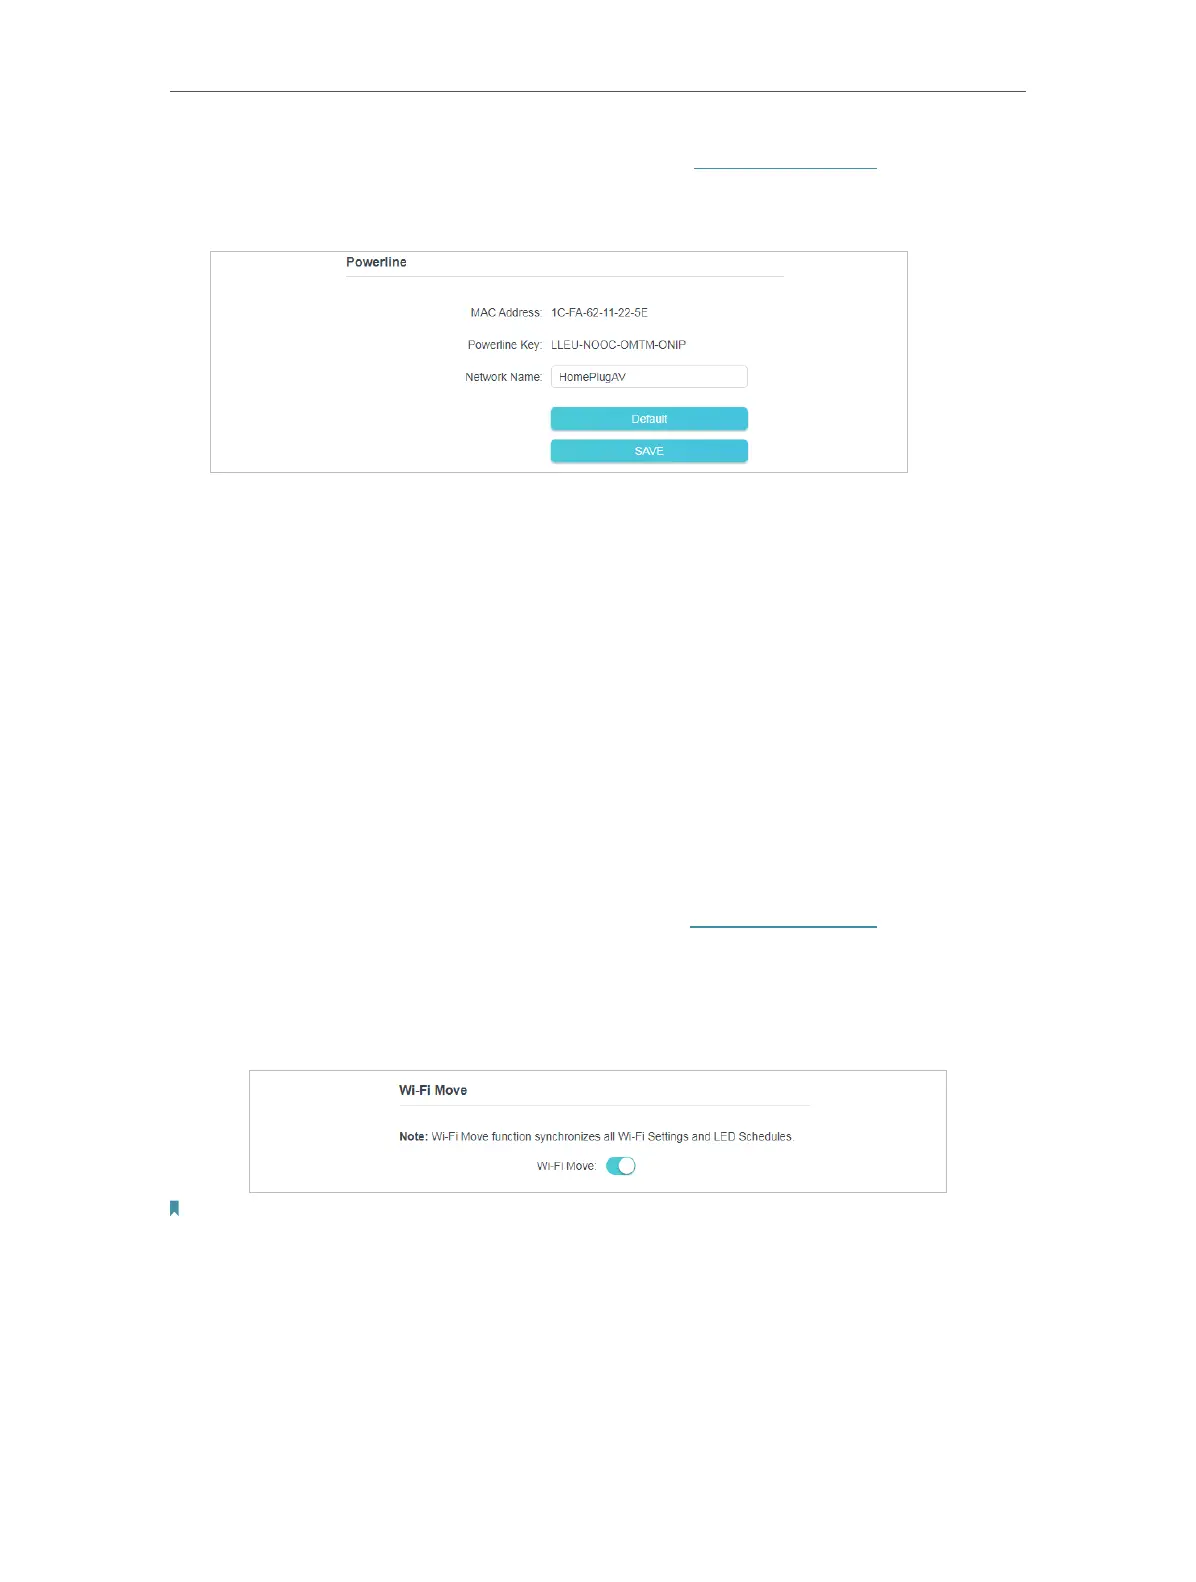
2. Go to Advanced > Wireless > Wi-Fi Move.
3. Toggle on WiFi Move to enable the feature.
Note:
When Wi-Fi Move is enabled, the following features will be synced: Wireless SSID & Password, Wireless
Security, Wireless Mode, Wireless Radio Status, Wi-Fi Schedules, LED Schedules, Wi-Fi Clone Settings,
MAC Filter Settings, Parental Controls, and Guest Network.
3. 4. Wi-Fi Clone
I want to:
 Loading...