English
3
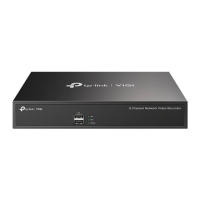
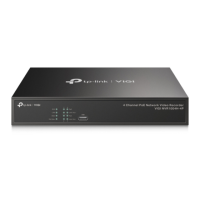
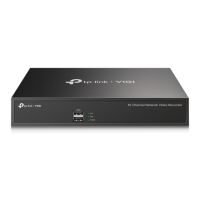
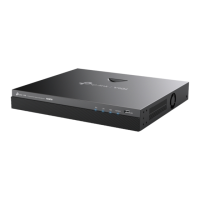
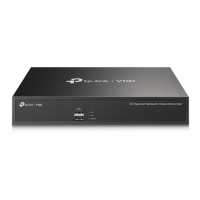
Follow the steps below to complete the hardware connection�
1� Connect your monitor to the HDMI or VGA port according to the connection port
it supports�
2
�
Connect y
our monitor to a power source and turn it on�
3
�
Connect the L
AN port of the NVR to a network device with an Ethernet cable.
4�
Connect the pr
ovided USB Mouse to the USB Interface of the NVR.
5�
Connect the po
wer adapter to the NVR.
*For PoE NVR, you can directly connect the PoE cameras to the PoE ports of the NVR for data
transmission and power supply.
Cautions
• If you want to turn o the NVR after hard drive installation, click the Power button on the web UI of
NVR. Do not unplug it directly.
•
The input v
oltage should match with the device power requirements.
Configuration
NVR can add and manage cameras in batches.
* Here we use TP-Link cameras as an example. For other camera brands,
please refer to their User Manuals to add the cameras.
Step 1. Connect your cameras to the same network as your NVR.
Step 2. Follow the instructions to nish Quick Setup.
1� Create a login password for the NVR and a preset password for your unset
cameras�
2
�
Click
Auto Initialize and the NVR will automatically nd and add the cameras in
your network.
Note: If you don’t want to use Auto Initialize, click Manually Initialize and follow the Setup Wizard to
add cameras in your network and complete the setup.
Step 3. Right click on the Live View screen to open the Main Menu for
management.
Note: For more instructions, please refer to the NVR’s User Guide.
(Optional) Step 4. Bind your NVR to a TP-Link ID for remote access and
management. (Internet required)
Note: If you don’t have a TP-Link ID, sign up rst.
 Loading...