Do you have a question about the TP-Link VIGI NVR1016H and is the answer not in the manual?
Steps to connect NVR, cameras, and monitor to the network.
Guide to initial login and password setup for NVR and cameras.
Step-by-step guide to configure NVR using the quick setup wizard.
Instructions for adding cameras to the NVR, with or without passwords.
Adjusting image quality parameters like brightness, contrast, and sharpness.
Settings for video stream quality, including main and substream.
Operations for managing added cameras, including firmware and reboots.
Customizing how camera feeds are displayed on the screen.
Using the toolbar icons to adjust live view display and settings.
Setting up continuous or motion-based recording schedules for cameras.
Viewing and configuring hard drive settings, including detection.
How to export recorded video files to external storage devices.
Viewing recorded video files from daily continuous and motion detection recordings.
Basic playback controls and options like locking or tagging recordings.
Configuring motion detection parameters and triggered alarm actions.
Configuring alerts for objects crossing a virtual line in the camera view.
Setting up alerts for when a camera loses its video signal.
Setting up the NVR's IP address, subnet mask, gateway, and DNS.
Connecting the NVR to TP-Link Cloud for remote monitoring.
Procedures for updating the NVR's firmware via online or local methods.
Restoring the NVR to its factory default settings.
Adjusting fundamental NVR settings like device name and login timeout.
Creating and managing user accounts with different permission levels.
Searching, viewing, and exporting system logs for troubleshooting.
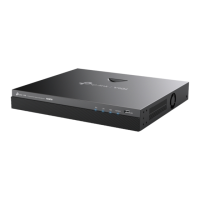
| Maximum resolution | 1920 x 1080 pixels |
|---|---|
| Video input channels | 16 channels |
| Supported resolutions | 1920 × 1080, 1280 × 1024, 1280 × 720, 1680 × 1050, 1440 × 900 |
| Video recording modes | 720p, 1080p |
| Video formats supported | H.264, H.264+, H.265, H.265+ |
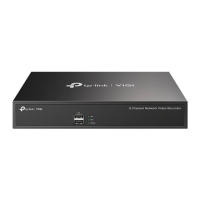
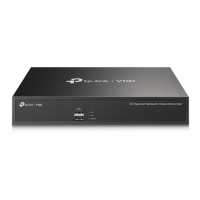
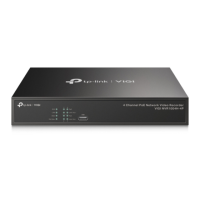
| Product color | Black |
| HDD capacity | - GB |
| HDD interface | SATA |
| Maximum storage capacity | 10 TB |
| Number of HDDs installed | 0 |
| Number of HDDs supported | 1 |
| Ethernet LAN data rates | 10, 100 Mbit/s |
| Output current | 1.5 A |
| Output voltage | 12 V |
| Wi-Fi | No |
| Operating temperature (T-T) | 10 - 55 °C |
| Harmonized System (HS) code | 85219000 |
| Depth | 45 mm |
|---|---|
| Width | 148.2 mm |
| Height | 246.2 mm |
| Weight | 578.5 g |
| Package depth | 296.5 mm |
| Package width | 277.5 mm |
| Package height | 64.5 mm |
| Package weight | 600 g |