7
Note: The unit is shipped “upside-down” in the
downflow orientation and may be easiest to transport
to the job site in that orientation. If the unit must be
transported in a horizontal position, it must be laid
on its back (marked “REAR” on carton).
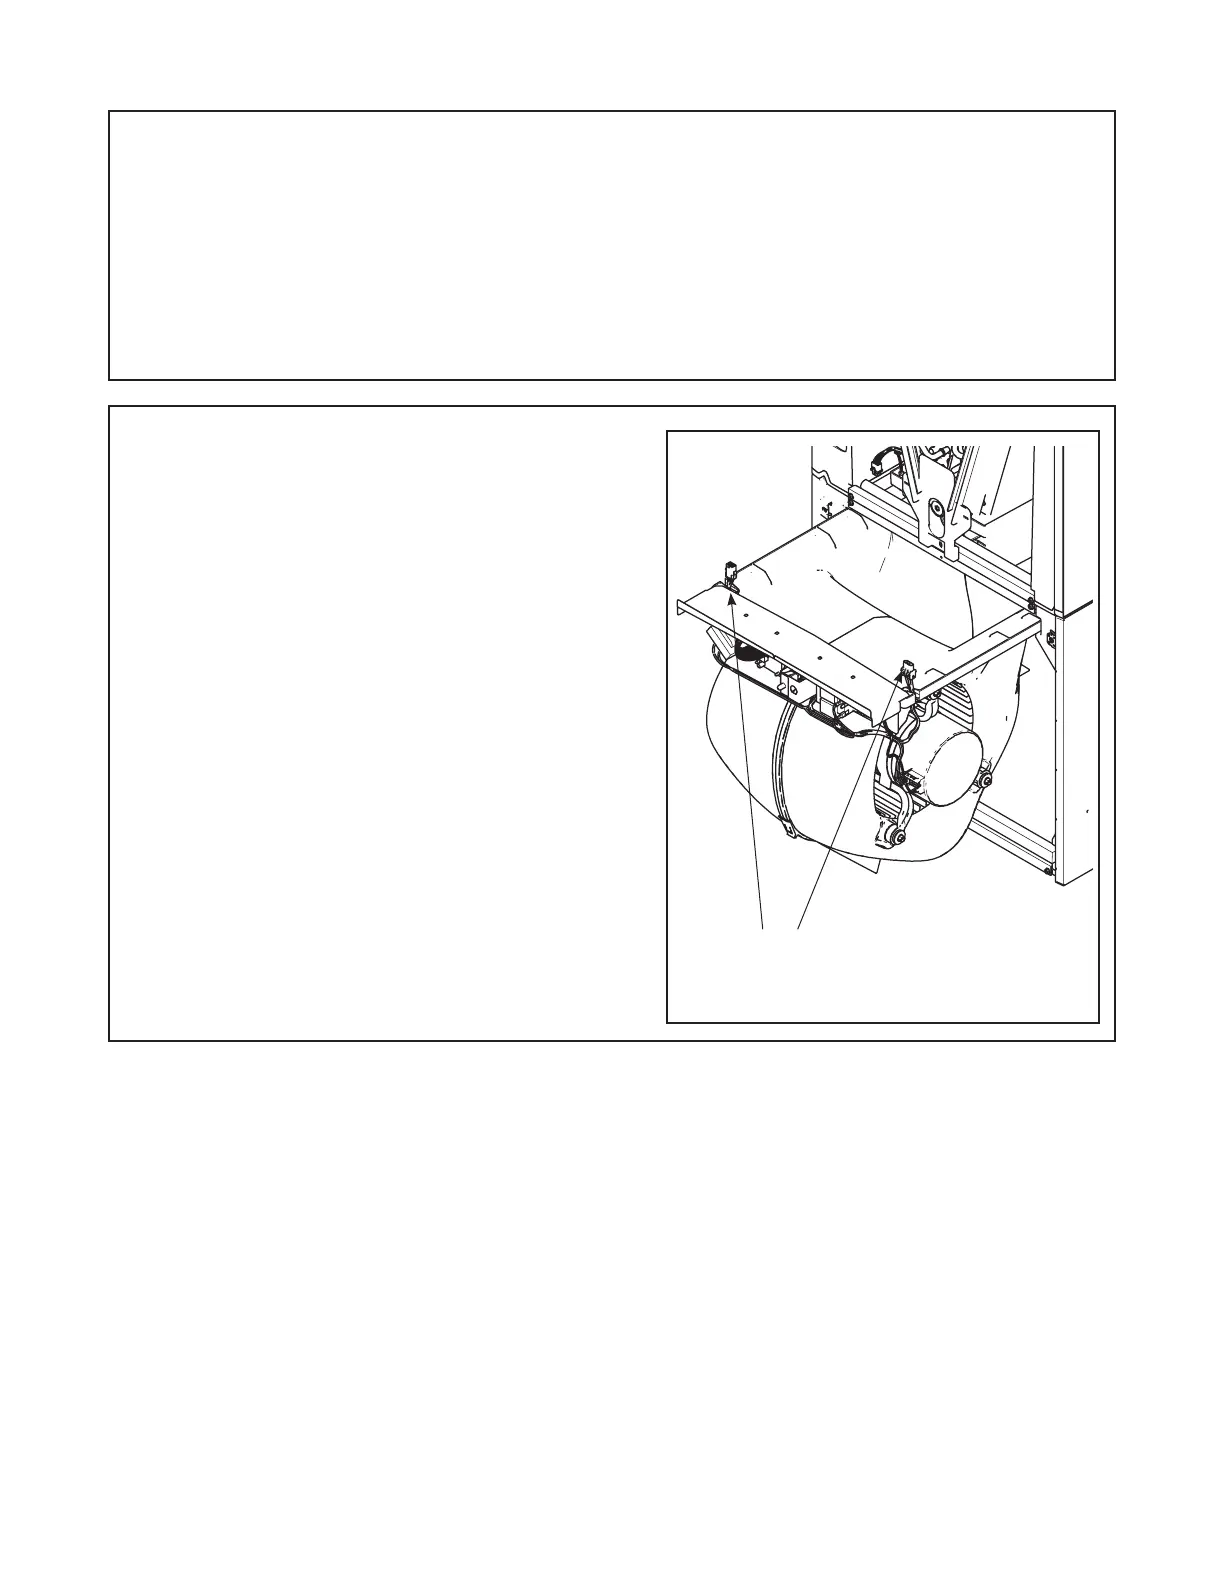
Note: To reassemble cabinet, follow the steps in
reverse order. Ensure electrical connections are
secure and the plug clips are engaged.
4.1 Disassemble cabinet for installation in tight areas or as needed.
Section 4. Optional Cabinet Disassembly
STEP 1 - Remove all four front panels. See Section
2.2.
Blower Electrical
Connections