GECA-SVX01B-EN 19
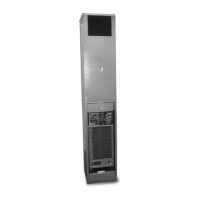
2
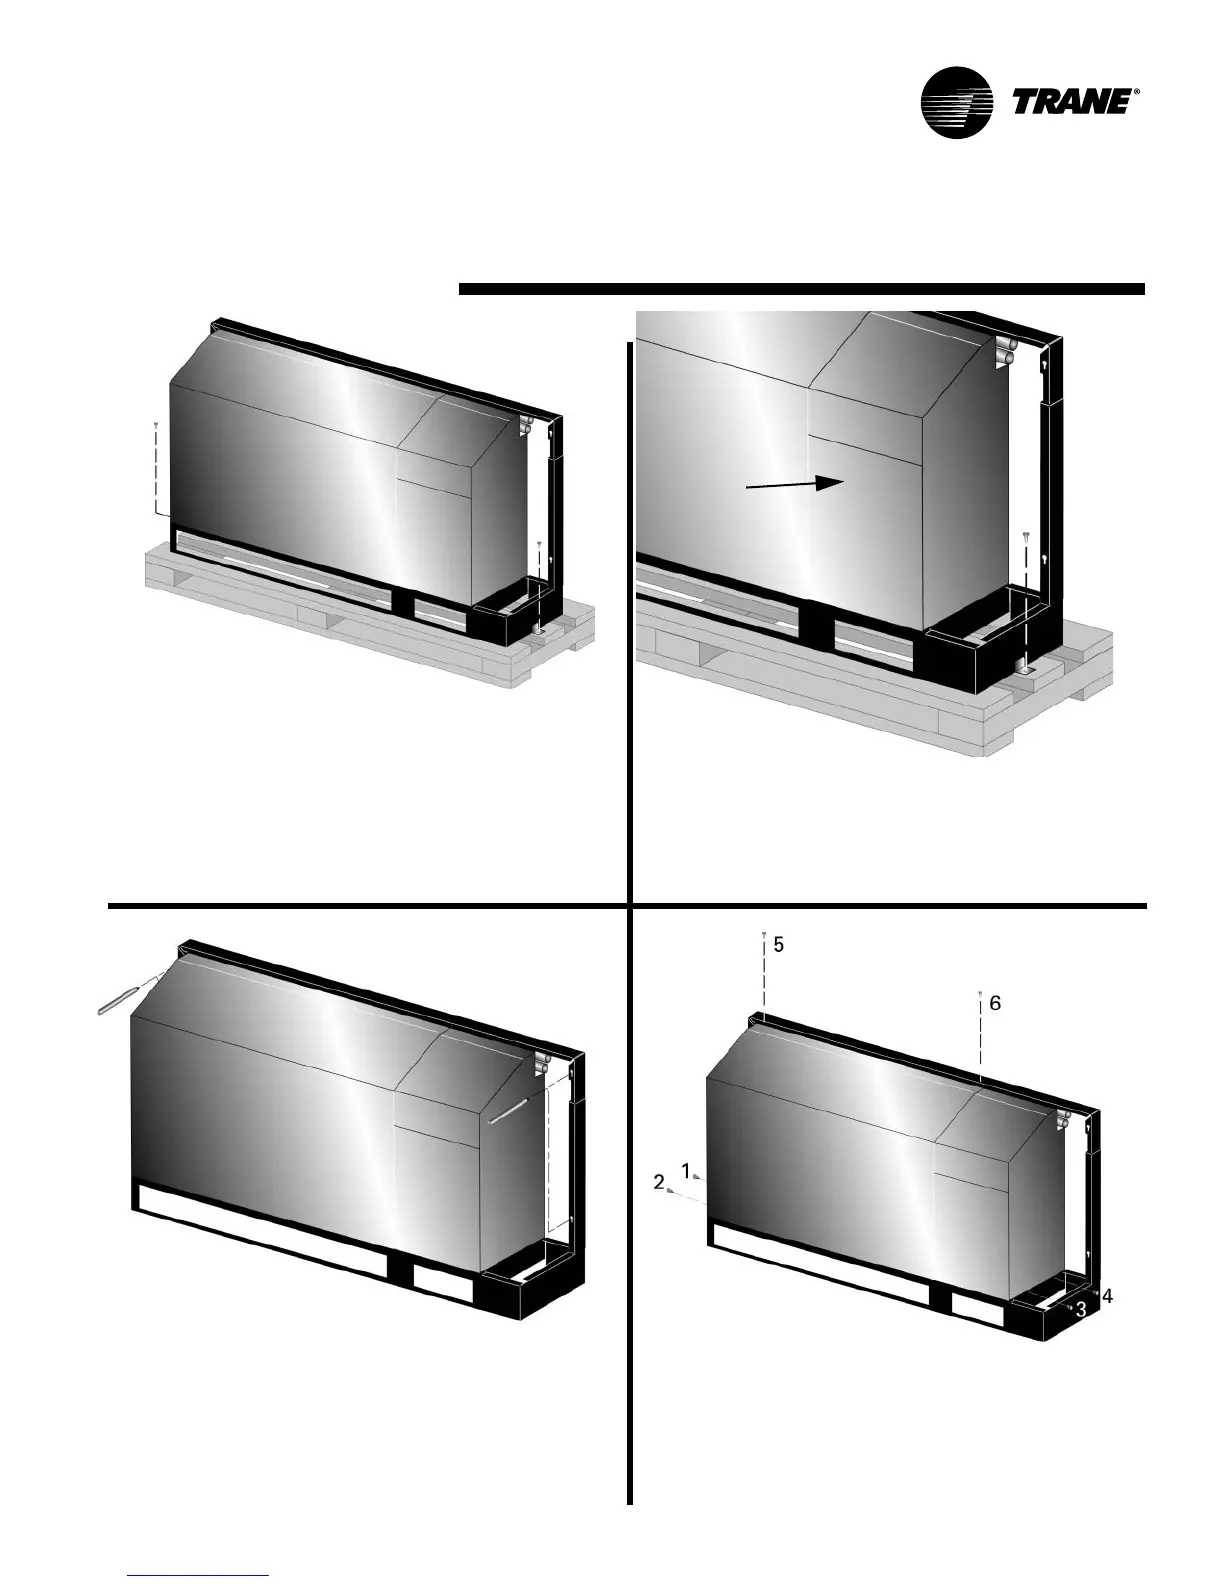
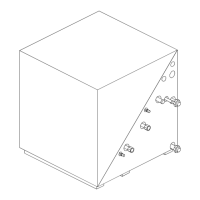
CHASSIS
REFRIGERATION
FRONT PANEL
4
3
1
Uncrate Unit
Remove packaging and inspect the unit. Carefully re-
move the stretch wrap and cardboard pieces. The in-
stallation literature and Torx
®
head tool may be found
on the back of the unit in a clear baggie. Unit has been
tied to skid by (2) shipping brackets.
Inspect Unit
Remove refrigeration panel and inspect the unit. Be
certain the refrigerant tubing has clearance from adja-
cent parts. Verify that the electrical connections are
tight and in-place.
Mounting to Wall
With the chassis still on the subbase, align the unit to
the wall. If unit contains an outside air option, align the
wall cut-out to the subbase outside-air cut-out. Level
the unit per plan requirements. Mark the four mount-
ing locations for wall sleeve mounting to the wall. The
dimensions should fall in line with Step 5.
Remove Chassis
Remove the chassis from the subbase via 6-Torx head
screws. The chassis is attached to both the subbase
and the wall sleeve (see diagram above). To assure
proper alignment, re-install screws 2 and 3 in the final
installation of the unit (Step 11).
Installation
Instructions