43
PTEC-M-1A
Disassembly
Procedures
WARNING!
To avoid possible electrical shock,
personal injury or death, disconnect
the power before servicing.
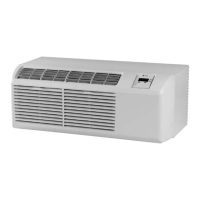
Evaporator
1. Remove front cover.
2. Remove control knobs by pulling
straight up away from the
escutcheon.
3. Remove the escutcheon by lifting
front of escutcheon up and pulling
top tabs from holes.
4. Remove the two mounting
screws, one on each side of the
control board cover. Tilting the
control panel out, remove the
cover.
5. Lift control panel off hinges and
shift out of the way.
6. Remove the two screws securing
the top screen to the evaporator
assembly. (Be sure to slide the top
of the screen between the top
flange and chassis when
reassembling.)
7. Remove screws on mid-partition
panel and shift out of the way.
8. Remove the two screws securing
the heater assembly to the
evaporator.
9. Pull heater assembly up and out of
the chassis.
10. Disconnect all wiring to the
heater assembly and remove the
assembly.
Indoor Coil Thermistor
1. Remove front cover.
2. Remove control knobs by pulling
straight up away from the
escutcheon.
3. Remove the escutcheon by lifting
front of escutcheon up and pulling
top tabs from holes.
4. Remove the two mounting screws,
one on each side of the control
board cover. Tilting the control
panel out, remove the cover.
5. Disconnect the Indoor Coil
Thermistor wiring from the control
board’s Indoor Switch terminals.
6. Remove the two screws securing
the top screen to the evaporator
assembly. (Be sure to slide the top
of the screen between the top
flange and chassis when
reassembling.)
8. Remove the two screws securing
the heater assembly to the
evaporator.
9. Pull heater assembly up and out of
the chassis.
10. Disconnect Indoor Coil Thermistor.