S9V2-SVX001-1A-EN
87
NNoottee:: If required, transition to larger venting within 2'
of the cabinet. CPL00938 – 2" x 3" offset coupling
may be used and is factory supplied with 120
MBTUH furnaces. Canadian applications may
use BAYREDUCE to meet ULC-S636
requirements.
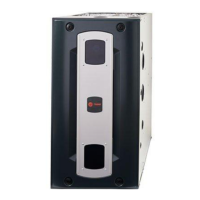
CCoonnddeennssaattee TTrraapp IInnssttaallllaattiioonn
24. Reinstall the condensate adapter if it was earlier
removed or ensure adapter is still in place.
IImmppoorrttaanntt:: The condensate adapter must be present
for proper condensate drain operation.
25. Install condensate trap into new location by fitting
into grommet and aligning the hole on the
condensate trap with the hole labeled “HR”.
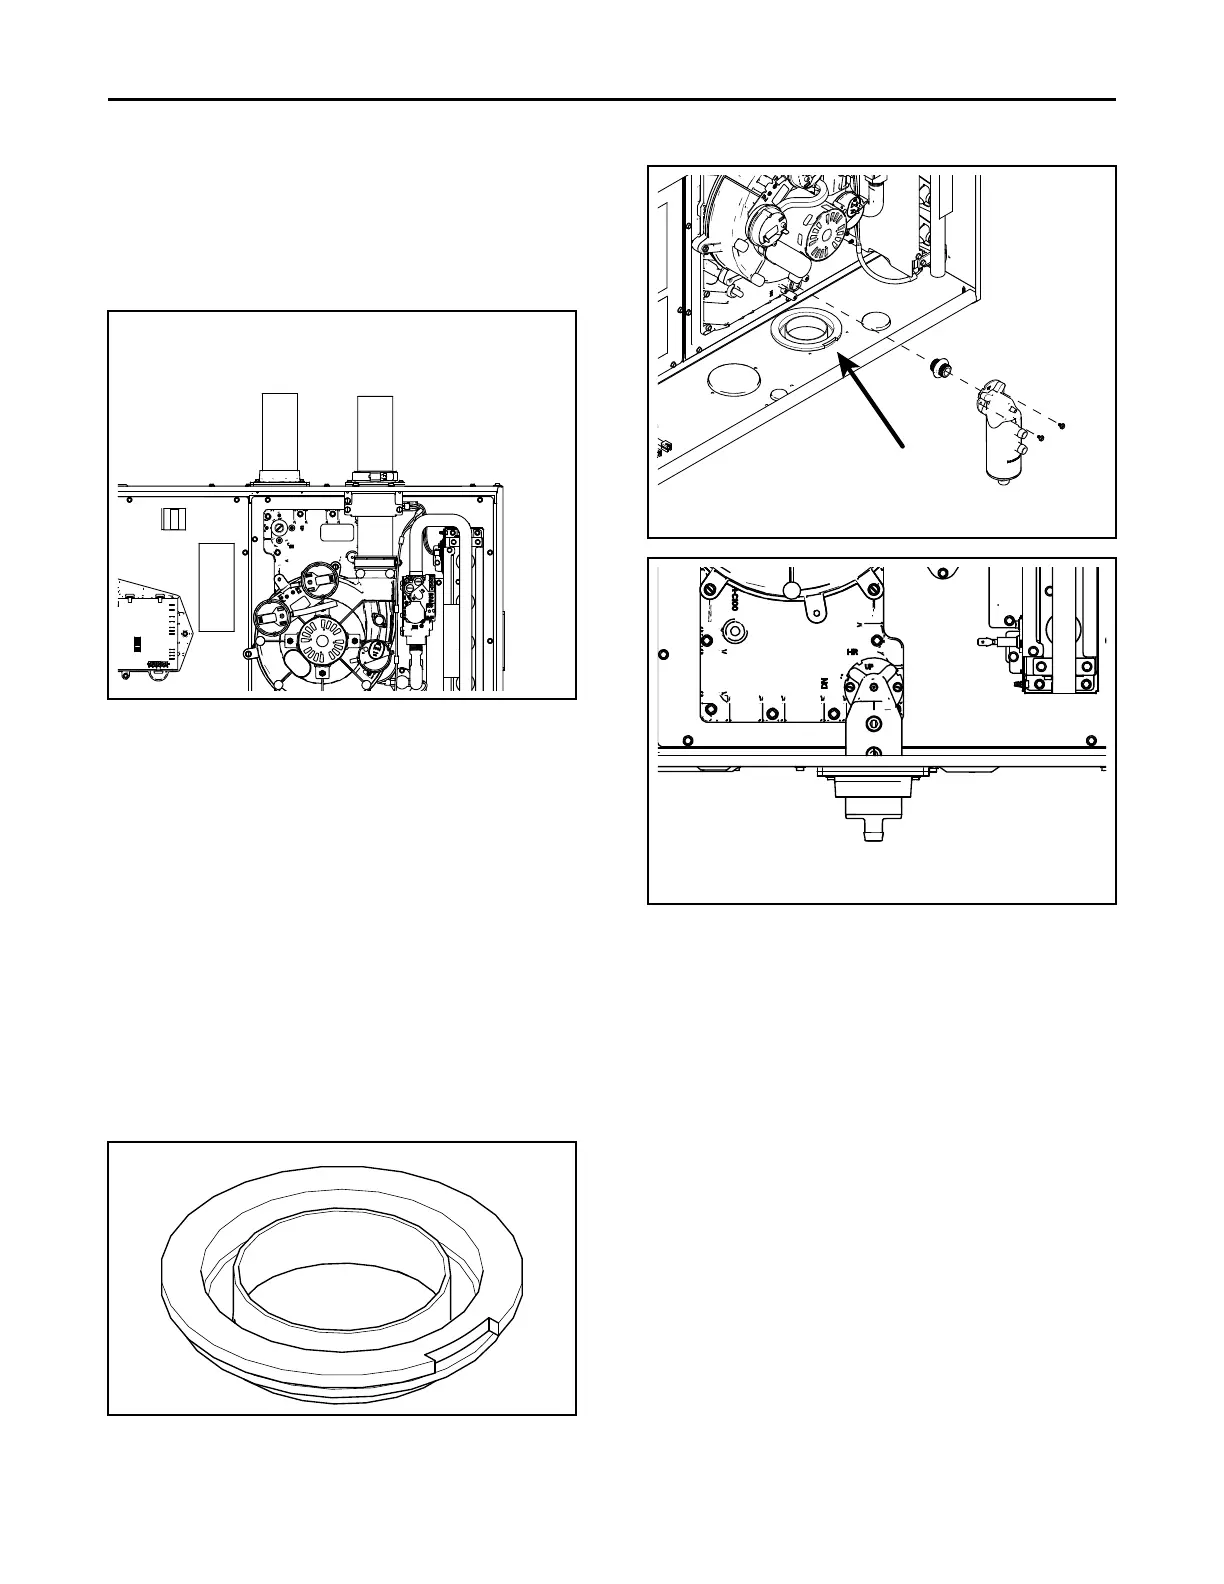
IImmppoorrttaanntt:: When installing a 21.0” wide S-Series
furnace, the condenser trap grommet must
be rotated so that the notch in the grommet
faces the outer edge of the furnace cabinet
as shown in the illustrations below and to
the top right. This allows the rain gutter
tubing to fully seat onto the lower
condensate port trap.
26. Hand tighten screw.
27. Connect PS2 tubing to switch and new sensing
location.
IImmppoorrttaanntt:: Trim the condensate pressure switch
tubing to length to ensure there is no sag or
trap created.
28. Remove port cap on the right side of the inducer
and connect inducer condensate tubing. Connect
other end of inducer condensate tubing to top port
on the condensate trap. Cut tubing to length, if
necessary.
29. Install previously removed port cap onto bottom
port of the inducer.
30. Connect condensate pressure switch tubing to
pressure port on the condensate trap.
IImmppoorrttaanntt:: Cut to length to ensure there is no sag
or trap created.
31. Connect rain gutter condensate hose to the rain
gutter and the lower port of the condensate trap.
FFuurrnnaaccee CCoommbbuussttiioonn AAiirr EExxhhaauusstt OOppttiioonnss
 Loading...