1111
EN
minipool Phantom PR1
U
EN
minipool Phantom PR1
5
2
4
7
3
4
1
6
8
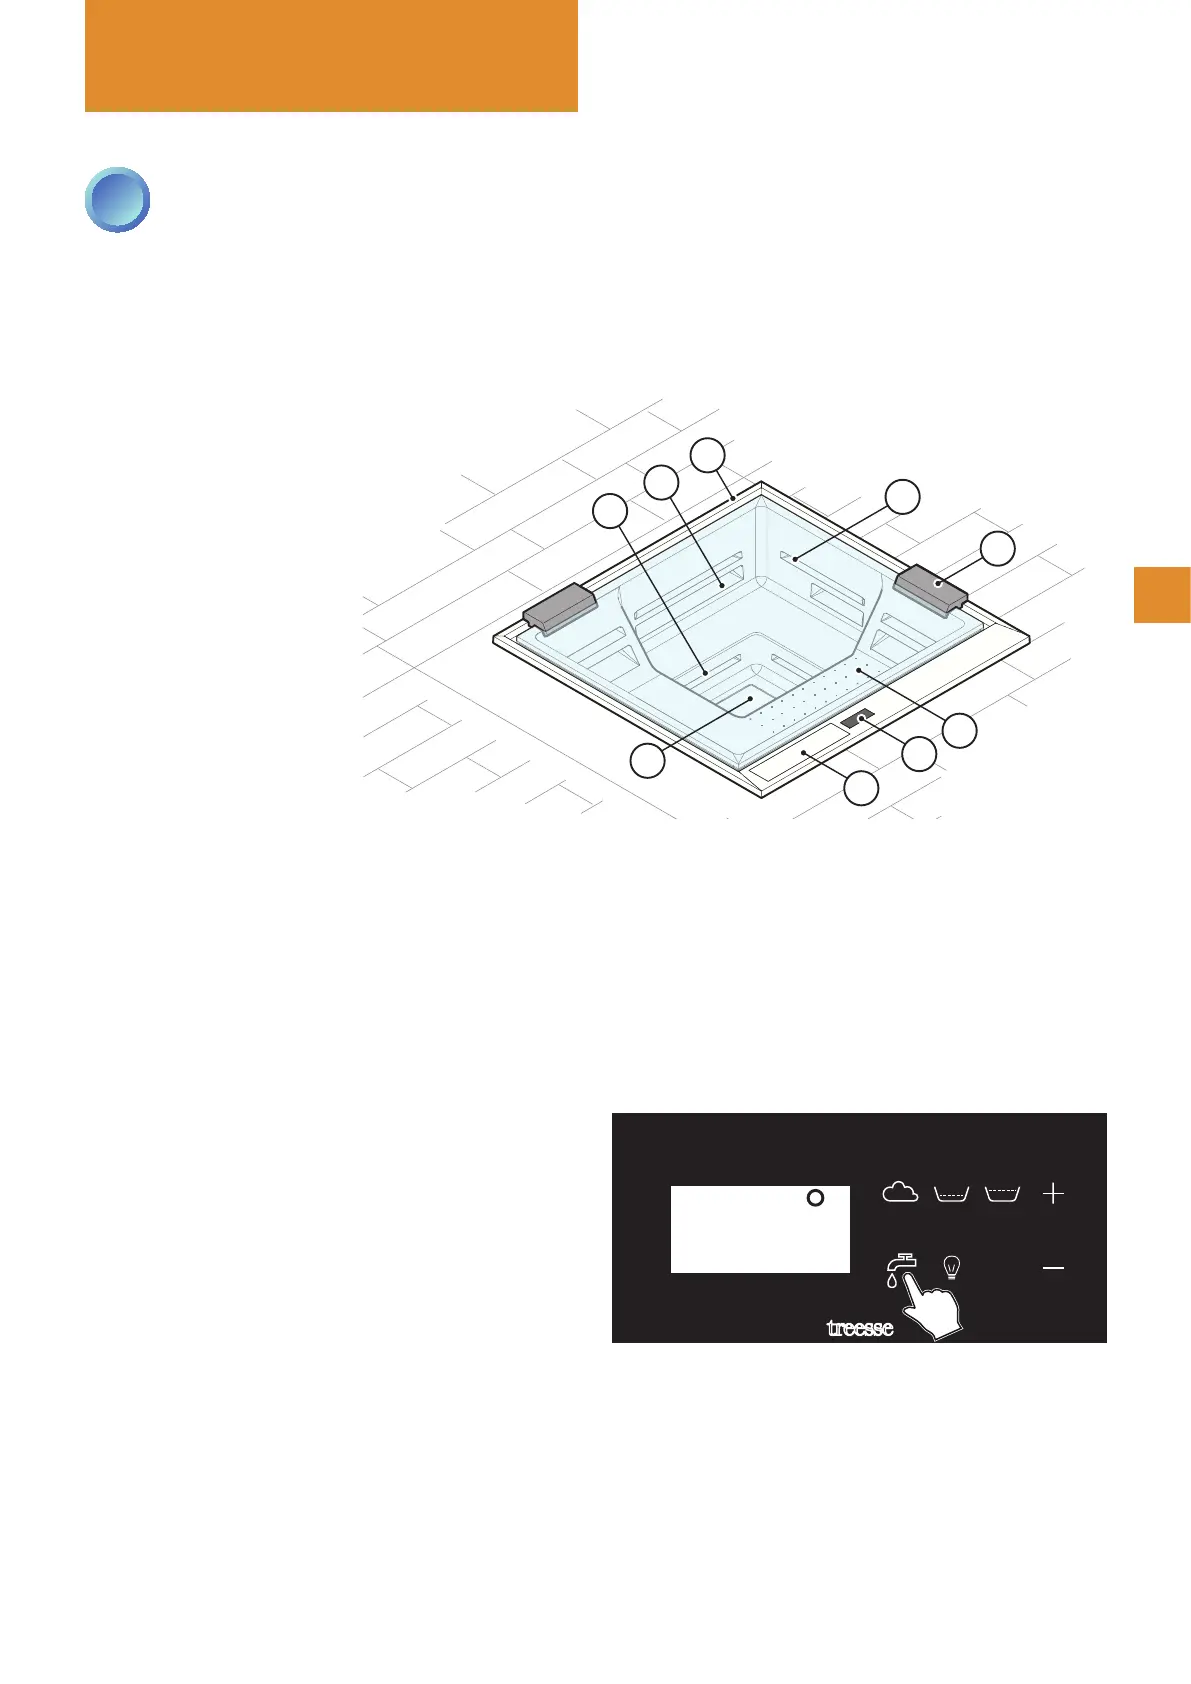
1 - Control panel
2 - Skimmer edge
3 - Pillow
4 - GHOST whirlpool
5 - PLUS whirlpool
6 - Seat blower (optional)
7 - Filling / draining plate
8 - Filter / air regulator compartment
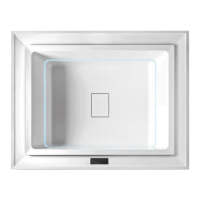
FILLING THE MINIPOOL
Pressing the key provided on the control panel starts
the lling. This occurs through a concealed spout in
the compartment on the bottom of the minipool and is
indicated by the illuminated blue LED.
First, the compensation tank is lled, and then - once
the water has reached the maximum level inside the
tank - the bathtub is lled through a recirculation pump,
passing through the paper lter and the heater.
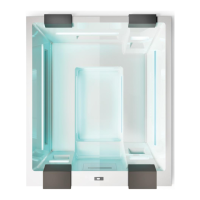
After reaching the correct level, the system automati-
cally stops the lling and makes available the functions
of whirlpool, recirculation, ozone and heater.
During use of the minipool, the system automatically
maintains the water level ush with the skimmer edge
of the pool.
Use
Automatic lling using the keypad: pressing the key activates the
automatic lling of the minipool, controlled by two level sensors.
26∞
OK
2
MINIPOOL FUNCTIONS
The minipool must ALWAYS remain connected to both the electrical grid and plumbing (lling and draining): this is
necessary for ltering, cleaning the lters and maintaining the minipool's water levels and temperature.
ALWAYS cover the minipool when inactive. This protects it from the sun's rays, prevents dirt from accumulating
inside the bathtub and keeps it from losing heat, thus optimising the efciency of the heater.