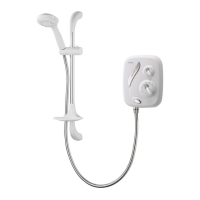
Aquasensation AS2000X
14
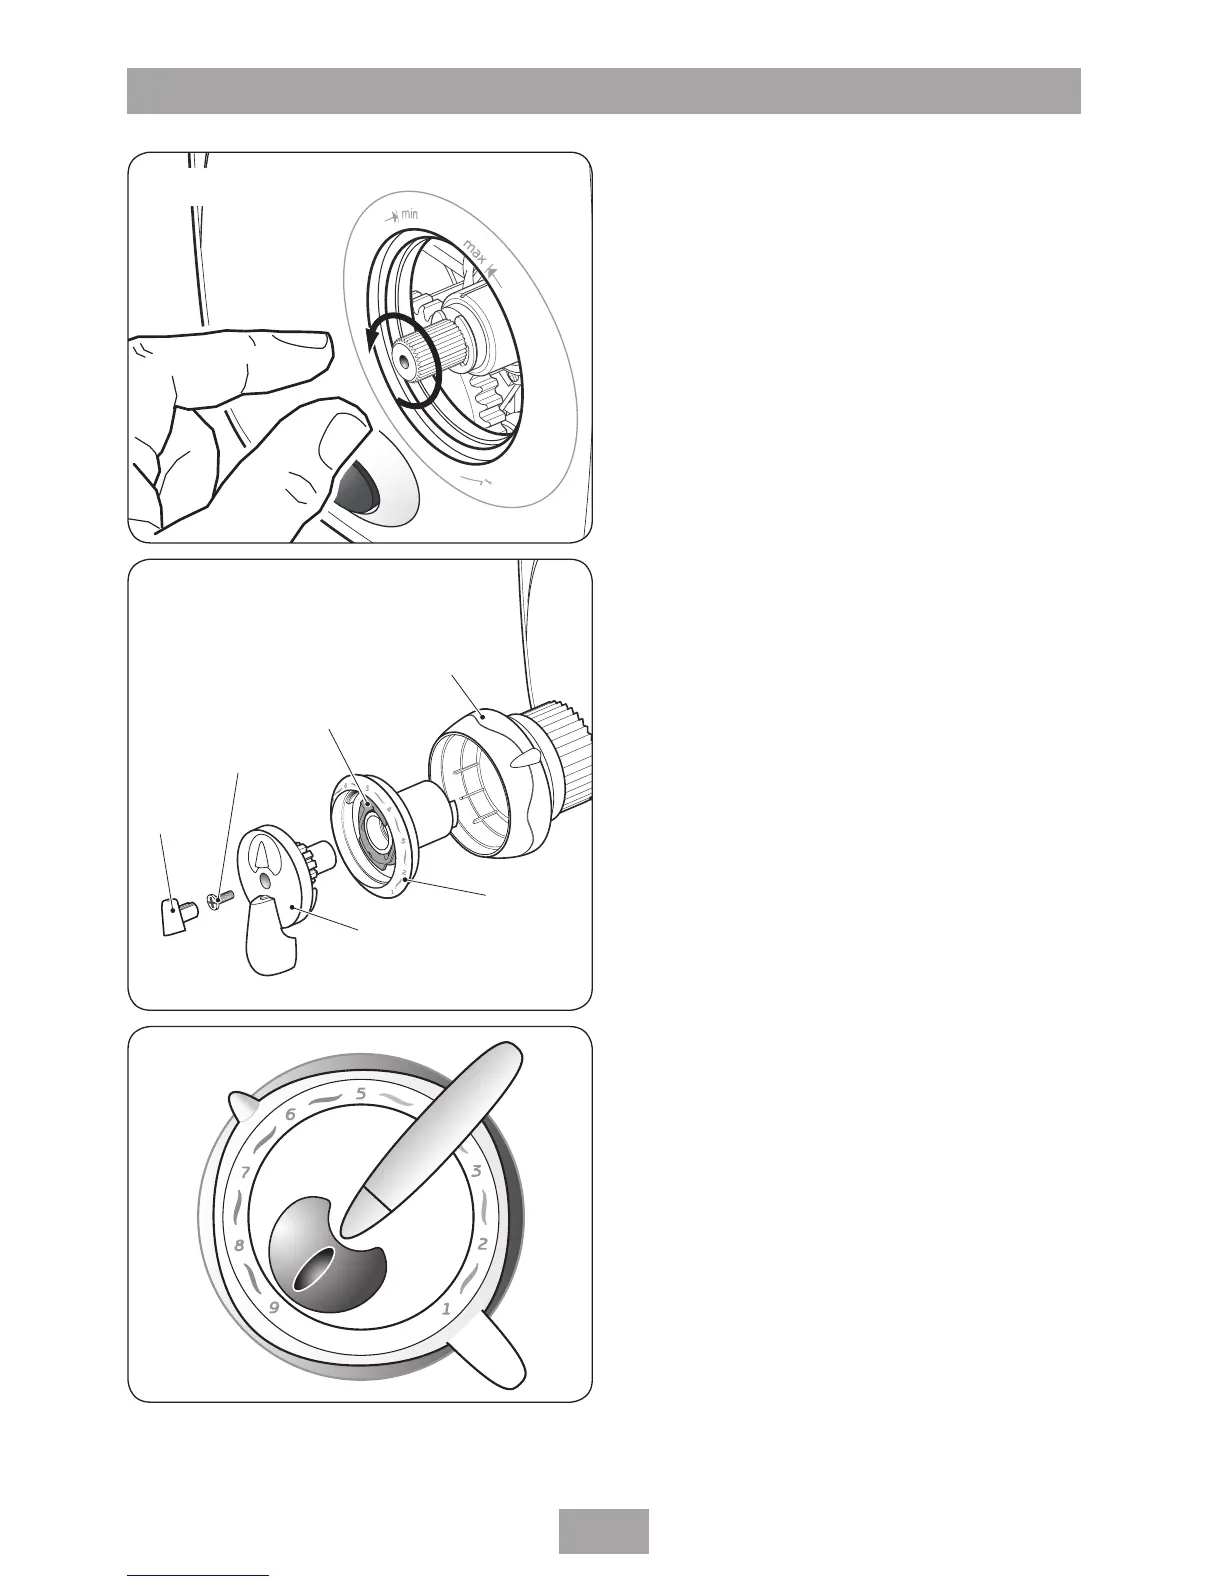
With your fingers, rotate the valve spindle fully
anti-clockwise (fig.27) to the fully hot position.
Replace the flow control so that it aligns with
the ‘min’ position.
Fit the temperature disc (it will only fit one way)
and maximum temperature stop (fig.28).
Note: If adjustment of the maximum
temperature stop is required, refer to section
’Adjusting the maximum temperature stop’.
Replace the temperature control onto the valve
spindle. Make sure the pointer aligns with
setting ‘9’ on the temperature disc (fig.29).
Secure with the retaining screw and fit the cover
trim.
Switch on the electricity supply at the isolating
switch. Make sure both water supplies are still
turned on.
Once the installation of the riser rail is complete,
the shower is ready for normal operation.
Fig.29