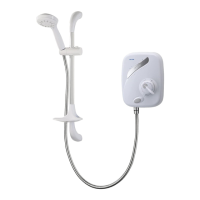
Kit installation
16
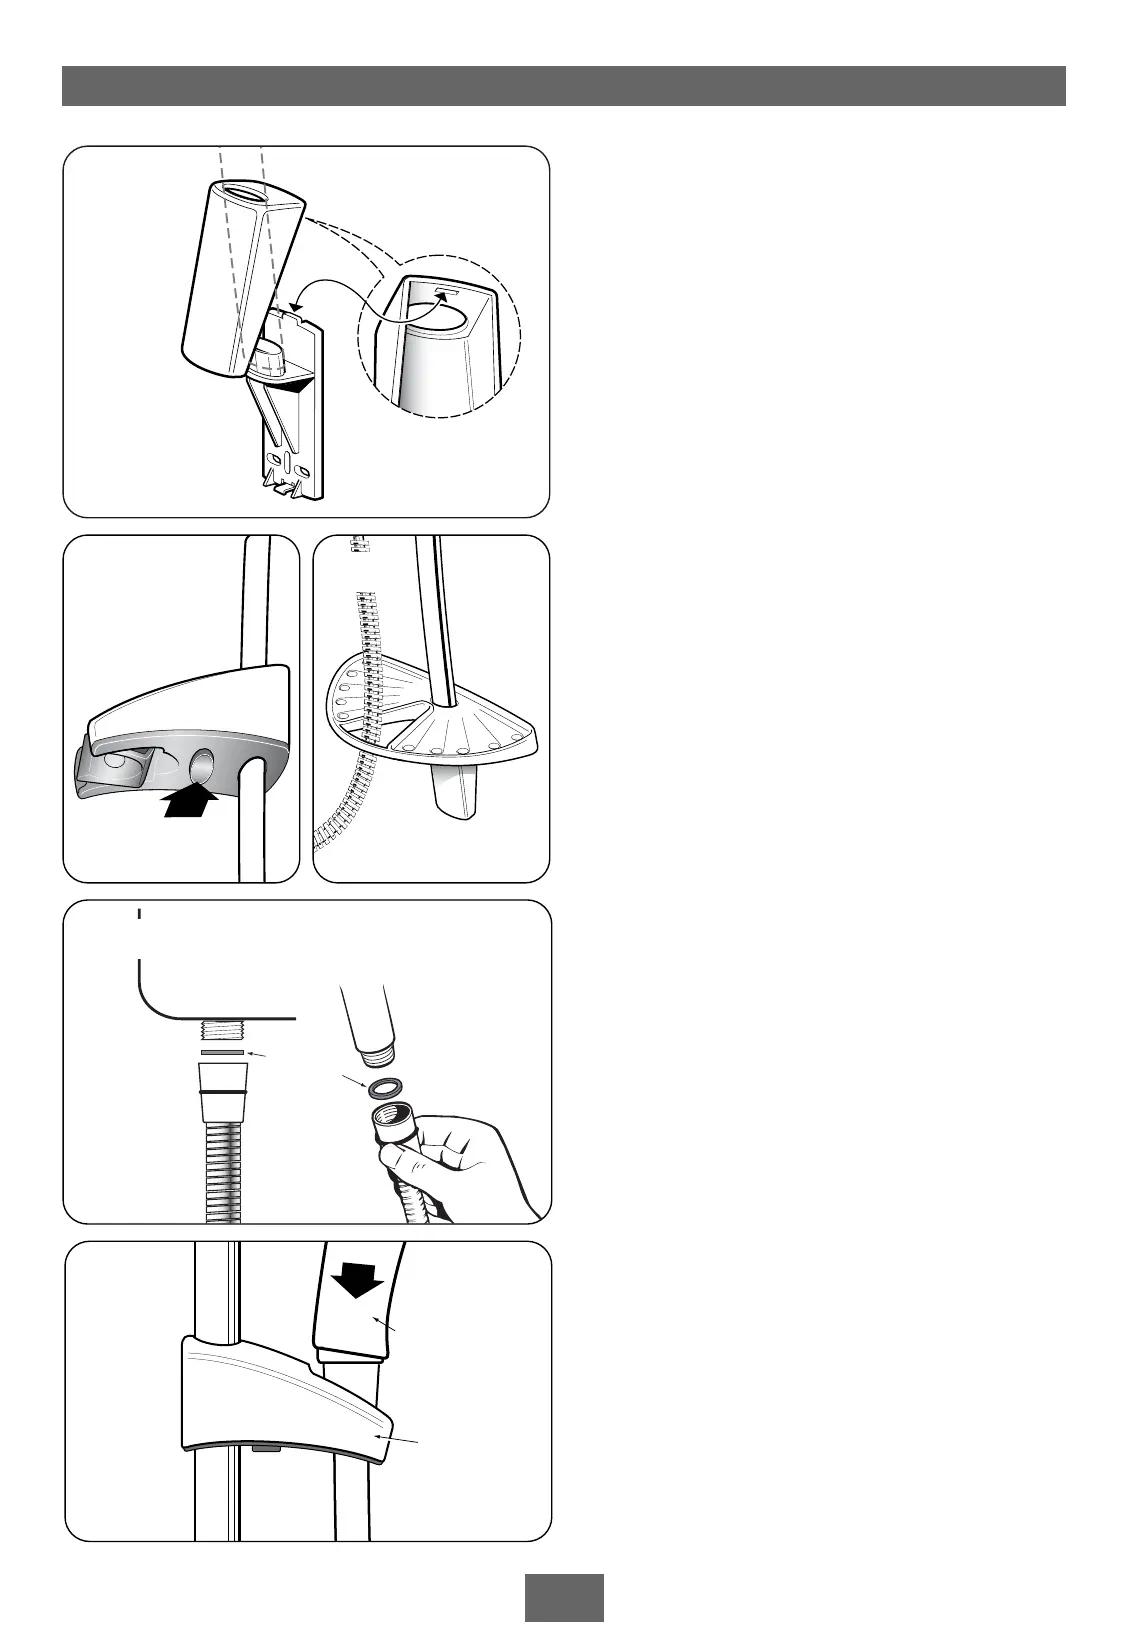
To remove a trim, push a small screwdriver or
similar through the slot in the trim end and
carefully pull away from the wall bracket.
Slide the soap dish down the rail so that its
bracket engages on top of the lower finishing
trim.
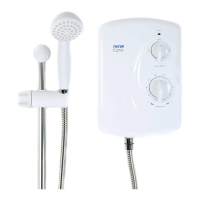
Adjusting the sprayhead holder
To adjust the height, press the button
underneath the holder to release the locking
mechanism (fig.33). Still pressing the button,
move the holder up or down to suit user’s
requirement.
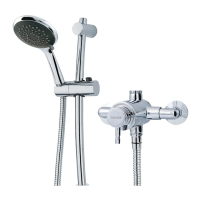
Fitting the hose and sprayhead
Feed the flexible hose through the soap dish
aperture (fig.34) so the dish acts as a retaining
ring (Water Regulations).
Screw the flexible hose to the shower outlet and
sprayhead, checking the supplied washers are in
place at both ends of the flexible hose (fig.35).
Place the sprayhead into the holder and check
that it fits correctly (fig.36).
Note: The holder is slightly tapered and the
sprayhead and hose will only fit from one
direction.
IMPORTANT: It is the conical end of the hose
which grips into the holder. The sprayhead
will not fit in the holder without the hose
attached. At this stage, disconnect the
sprayhead and lay aside until the shower unit
has been commissioned.
Fig.32
Fig.34
Fig.36
Fig.33
Fig.35