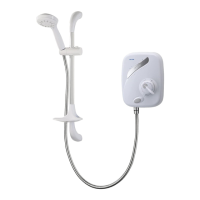
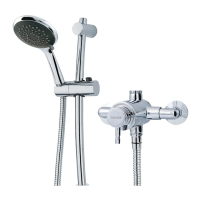
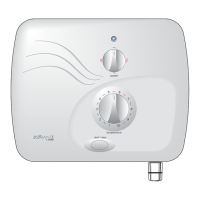
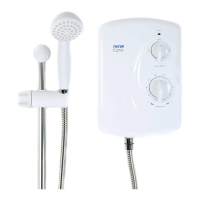
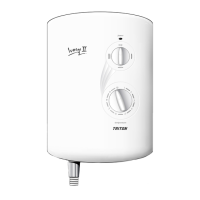
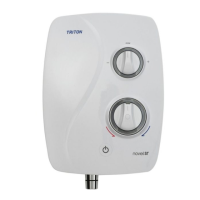
Installation
10
FITTING THE SHOWER TO THE WALL
IMPORTANT: Prior to fitting the shower,
ensure plumbing is flushed out, removing all
debris, flux etc.
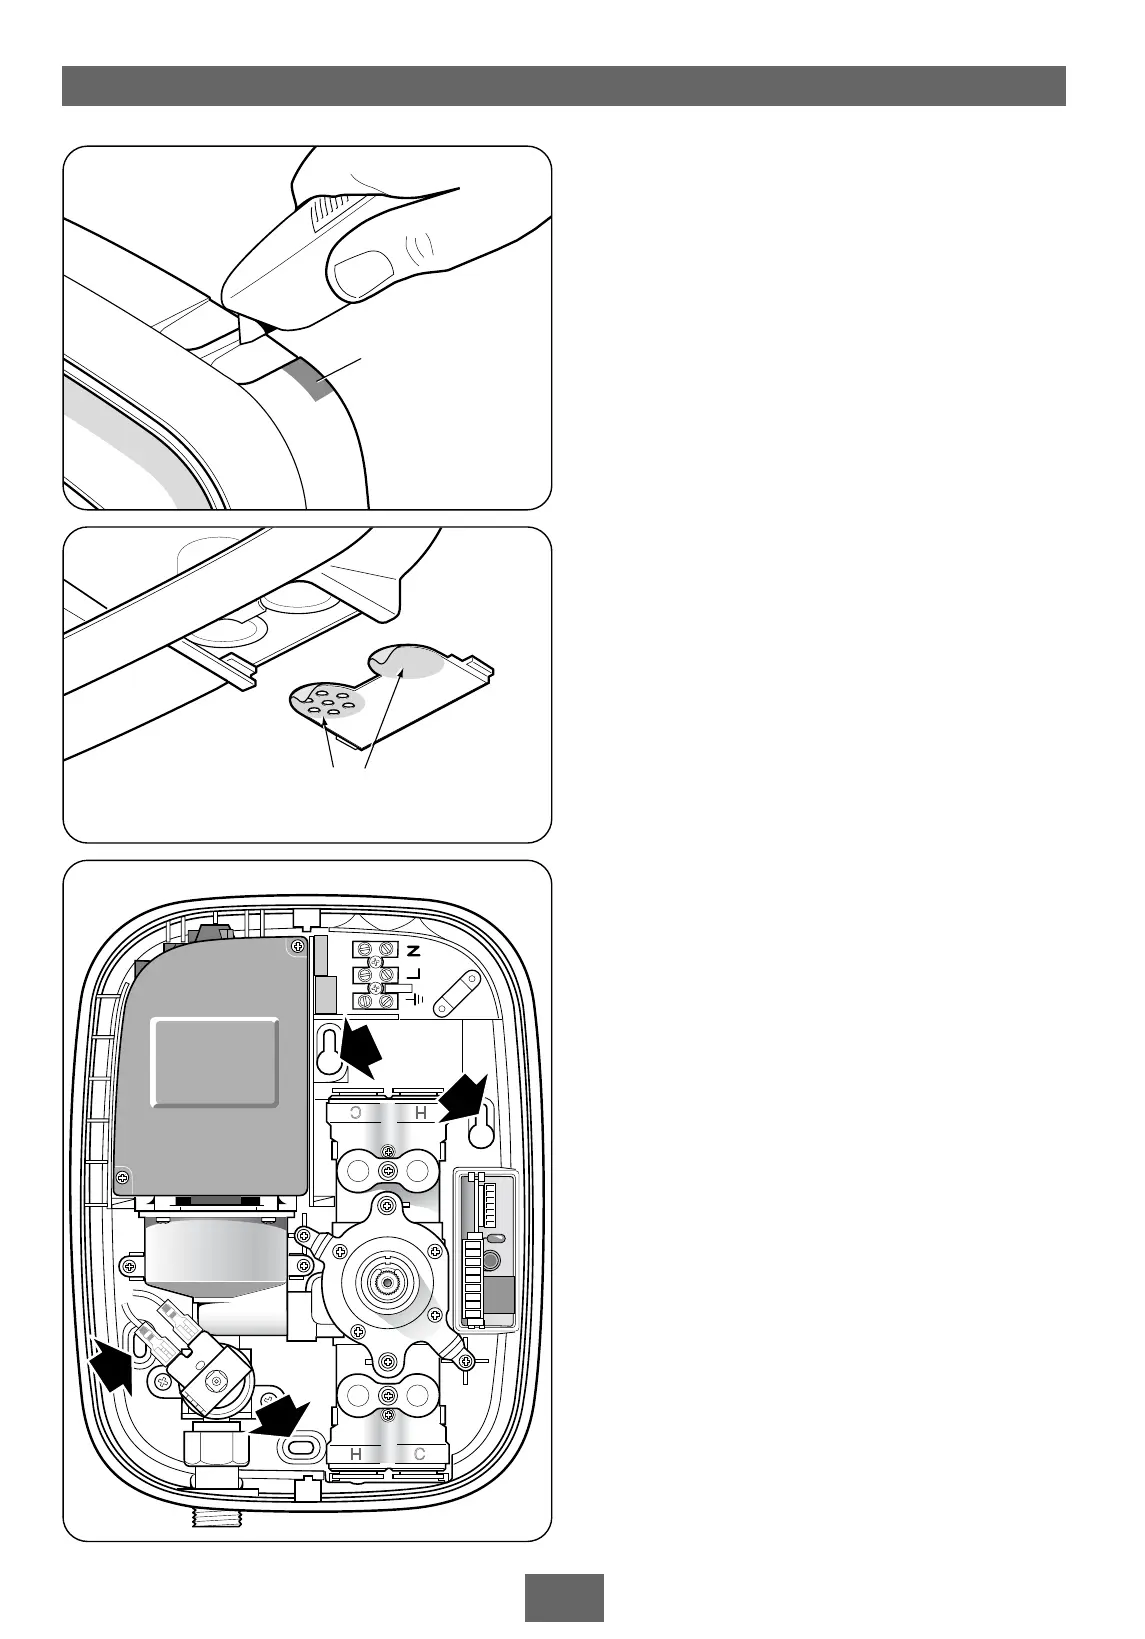
For top pipe entry or top cable entry, remove
the relevant cut-outs by either breaking out or
by using a knife or junior hacksaw (fig.15).
If top entry for both pipe and cable is required,
then additionally remove the shaded area
(fig.15) by using a knife or junior hacksaw.
For bottom pipe entry, remove the cut-out and
break off the two circular parts (fig.16).
Replace the cut-out.
For rear pipe entry only, the supplied elbows
must be used with the necessary portion of
backplate cut away as shown in fig.9.
It will be necessary if rear cable entry is required,
for conduit or other routing of the electrical
cable to be completed before fixing the shower
to the wall.
Offer the backplate unit up to the completed
pipework and manoeuvre so that the end of the
pipes enter fully into the inlet fittings.
Mark positions for wall fixing holes using
backplate as template (fig.17). Note that four
fixing holes are provided but using only two
should be adequate for most site conditions.
Using the pipe removal tool supplied, push back
and hold the collets from the pipework (fig.18)
to disengage the pipework from the inlet elbows.
Remove unit from the wall.
Drill and plug the fixing holes using the screws
and plugs supplied. (The wallplugs provided are
suitable for most brick walls – use an appropriate
masonry drill, but if the wall is plasterboard or a
soft building block, you must use special wallplugs
and an appropriate drill bit).
Note: If fitting rising supplies to the unit, ensure
debris does not enter the pipes when drilling the
wall.
Offer the backplate unit up to the completed
pipework and manoeuvre so that the end of the
pipes enter fully into the inlet fittings.
Check the backplate is square and the fixing
holes are aligned (fig.17).
Secure to the wall with fixing screws supplied.
DISCONNECT FROM
ELECTRICITY SUPPLY
BEFORE REMOVING
THIS COVER
DISCONNECT FROM
ELECTRICITY SUPPLY
BEFORE REMOVING
THIS COVER
Fig.15
Fig.16
Fig.17