21
Cleaning
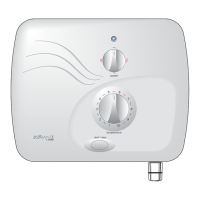
Retaining screw
Filter cover
Filter
Filter
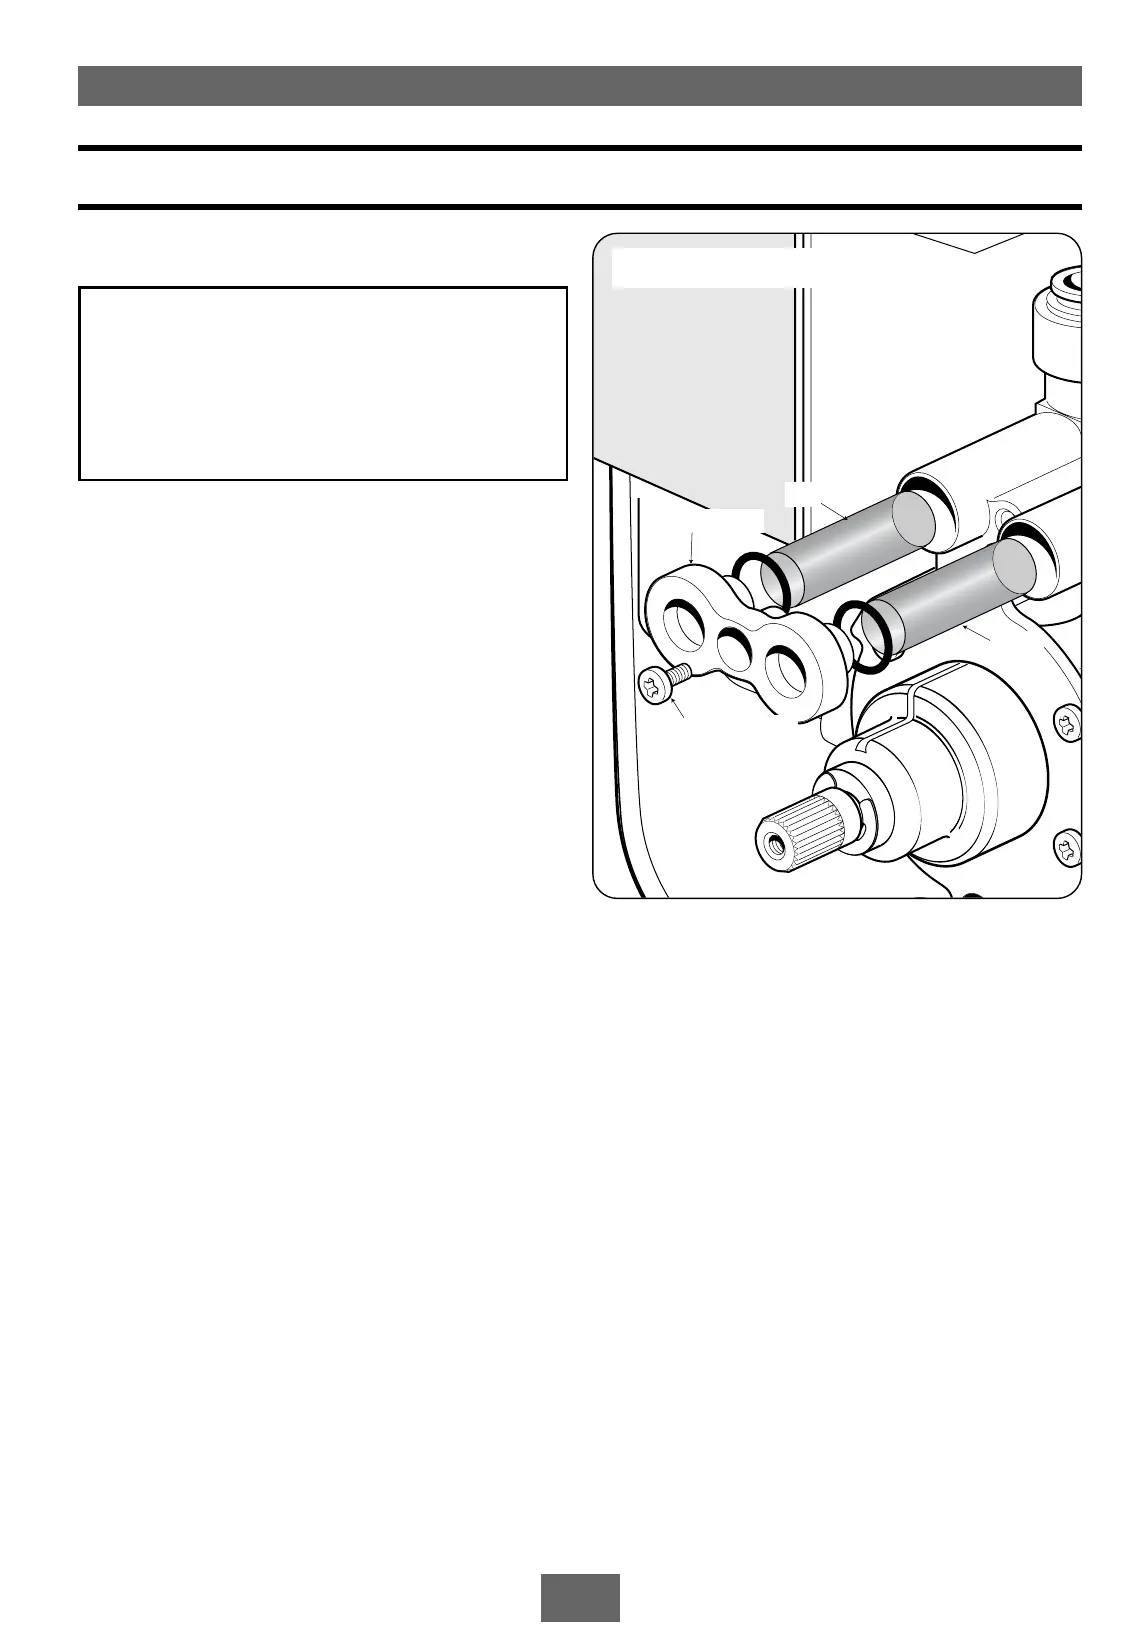
Fig.46 Upper filter shown
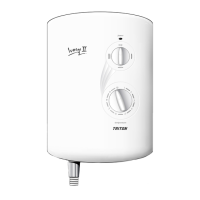
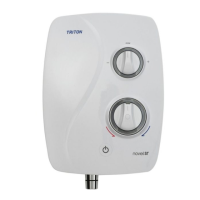
CLEANING THE FILTERS
To remove the unit cover first pull off the cover
trim from the temperature control and then
remove the retaining screw.
Pull off the temperature control.
Remove the two cover fixing screws – top and
bottom – and carefully lift the cover away from
the backplate.
Note: Be aware of the lead connected to the
PCB unit. Carefully pull off the lead from the
PCB. DO NOT let the cover dangle by the lead.
Remove the single retaining screw from either
the upper or lower filter cover (fig.46),
depending upon whether top/rear entry or
bottom entry is used.
Pull off the filter cover.
Carefully hook out the filters together with ‘O’
rings. Thoroughly clean the filters and replace,
ensuring the ‘O’ rings are in position.
Refit the filter cover and secure with the screw.
Make sure the valve spindle is correctly aligned.
See section ‘Temperature control spindle setting’.
Offer the cover to the unit and replace the four
wire lead to the PCB. Secure the cover with the
top and bottom fixing screws.
Refit the temperature control. The pointer on
the temperature control should relate to setting
’5’ on the temperature scale.
Secure in place with the retaining screw and
push fit the cover trim into place.
WARNING!
Switch off the electricity supply and
turn off both hot and cold water
supplies to the unit before proceeding
further.
INSTRUCTIONS FOR INSTALLERS AND SERVICE ENGINEERS ONLY