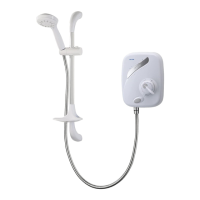
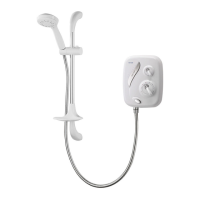
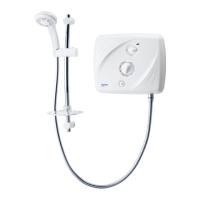
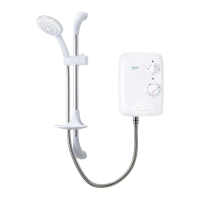
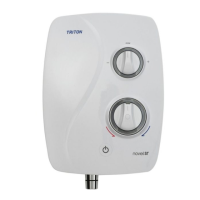
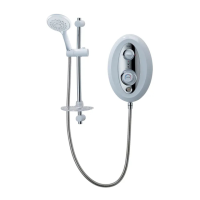
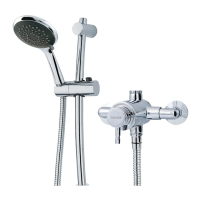
mini exposed sequential thermostatic mixer shower
8
INSTALLATION
Preparing the Mixer Valve
Check the contents to make sure all parts are
present.
Before starting the installation, ensure all the
openings on the shower are carefully covered to
stop ingress of any debris, etc. while routing the
supply pipework.
The mixer shower is suitable for exposed
installation onto:
• a solid wall
• a stud partition wall
• dry lined wall
• or xing to a shower cubicle or panel
Siting of the Shower and Accessories
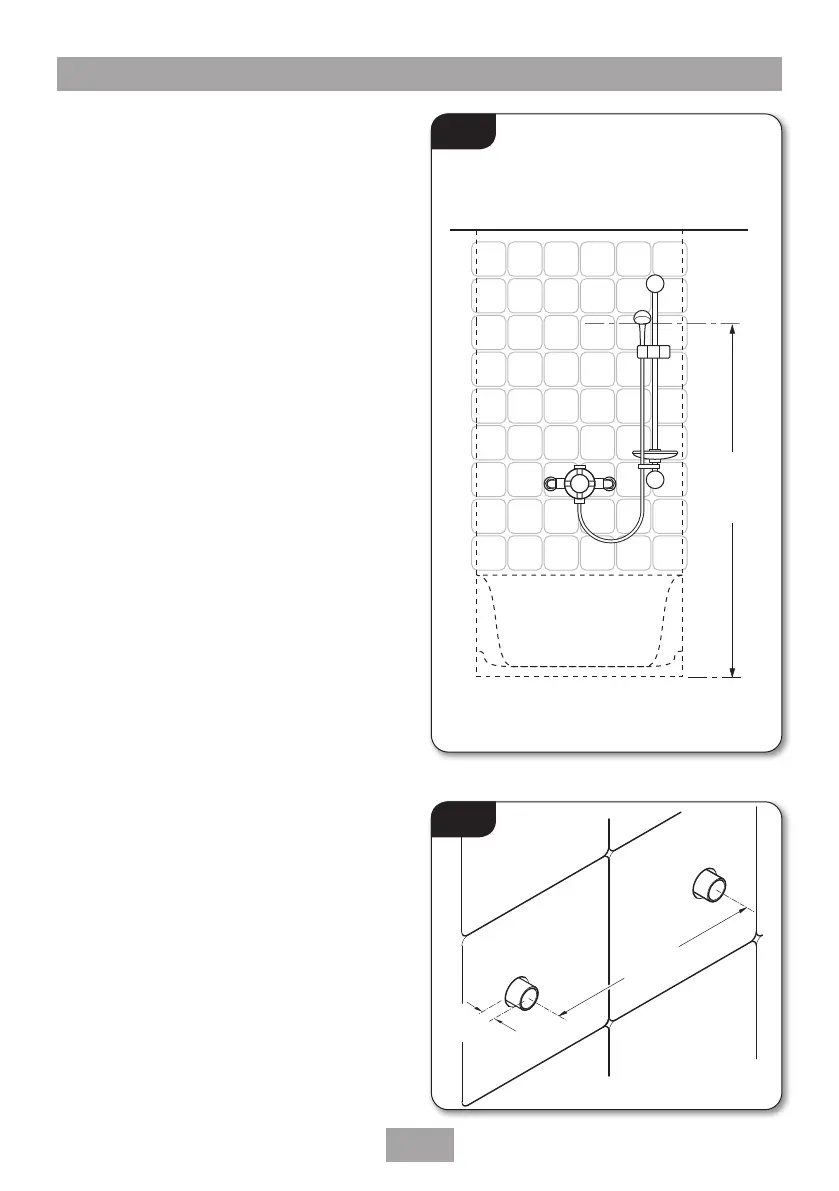
Refer to g.7 for correct siting of the shower.
The mixer shower should be positioned as
detailed, with all controls within comfortable
reach of the user.
The accessories (shower head, riser rail and/or
xed shower head) can be positioned above or
to either side of the shower (g.7).
Supply Pipework
Complete the pipework to the shower area
having decided on the position of the shower
and direction of pipe entry, for example rising,
falling or rear entry.
The hot and cold water pipes should not be
permanently attached to the wall within one
metre of the mixer shower before installation is
complete, to allow for nal adjustment of the
valve position.
For rear entry supplies, use a spirit level to mark
the route of incoming hot and cold water supply
pipes at a distance of approximately 150mm
between centres (g.8).
Approx
30 - 35mm
Approx
150mm
Fig.8
Height of
showerhead
and shower
to suit user’s
requirement.
*Fig.7
*Diagrammatic view – not to scale.
For illustration purpsoes only.
 Loading...