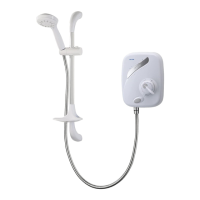
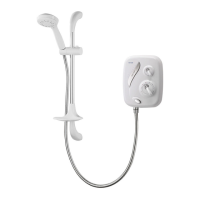
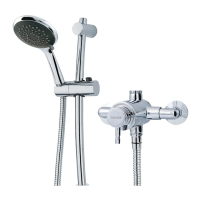
mini exposed sequential thermostatic mixer shower
9
FITTING THE SHOWER
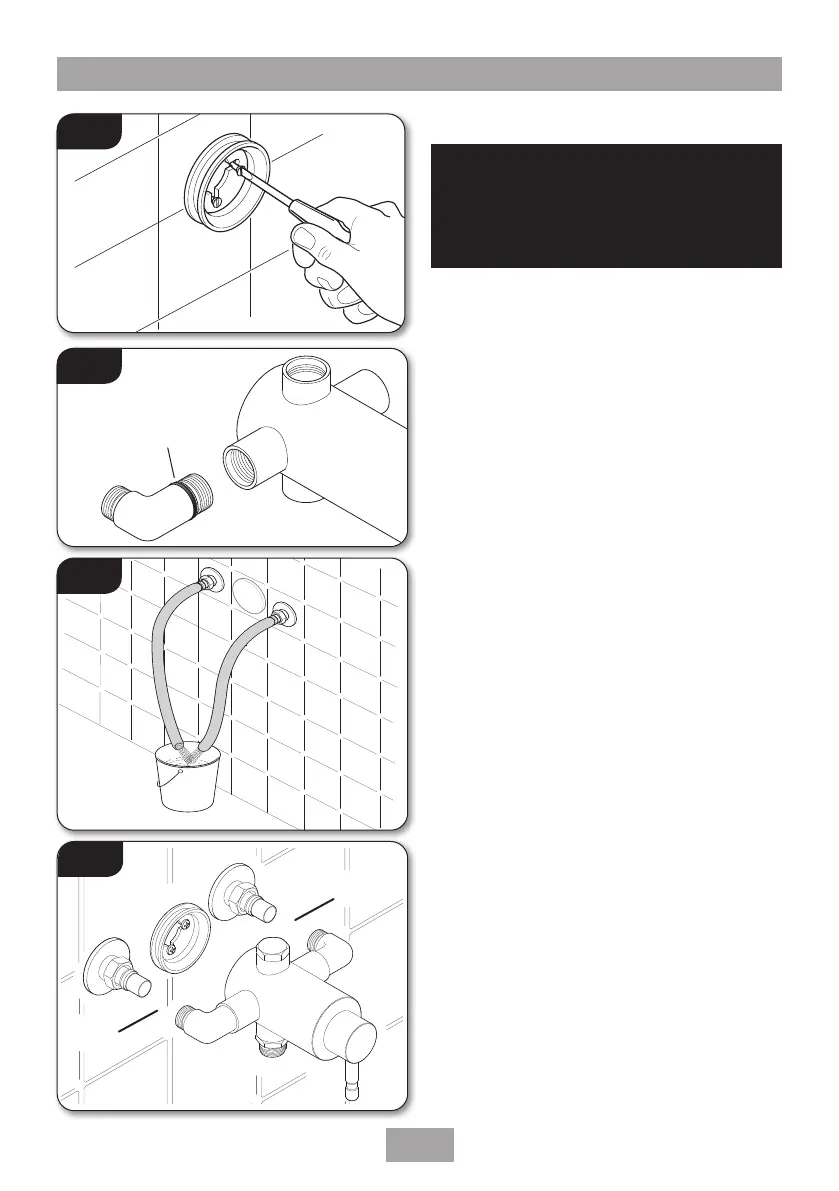
Mark the position of the four locating screws for
the mounting plate, although if installing on to
a solid brick wall using two diagonal holes will
usually be enough.
Drill and plug the wall. An appropriate drill bit
should be used. If the wall is brick, plasterboard
or a soft building block, appropriate wall plugs
and screws should be fitted.
Fit the mounting plate (g.9).
The inlet elbows allow for either rising, falling
or rear entry hot and cold water supplies. The
elbows have ‘O’ ring seals (g.10) to the body
and do not require PTFE tape or other means of
sealing.
IMPORTANT: Make sure that all supply
pipework has been ushed through before
tting the mixer shower (g.11).
Connect the hot water supply to the inlet marked
HOT, ‘H’ or red/orange label and connect the
cold water supply to the inlet marked COLD, ‘C’
or blue label (g.12).
Tighten all compression ttings.
Tighten all the grub screws to secure the mixer to
mounting plate.
Outlet Adapter and Plug
The outlet adapter and plug can be repositioned
dependant on the outlet required (top or
bottom). The adapter is suitable for a 15mm rigid
pipe connection.
Fig.11
Fig.10
Fig.9
‘O’ Ring
WARNING!
Check there are no hidden cables or pipes
before drilling holes for wall plugs.
Use great care when using power tools
near water. The use of a residual current
device (RCD) is always recommended.
Fig.12
COLD
HOT
 Loading...